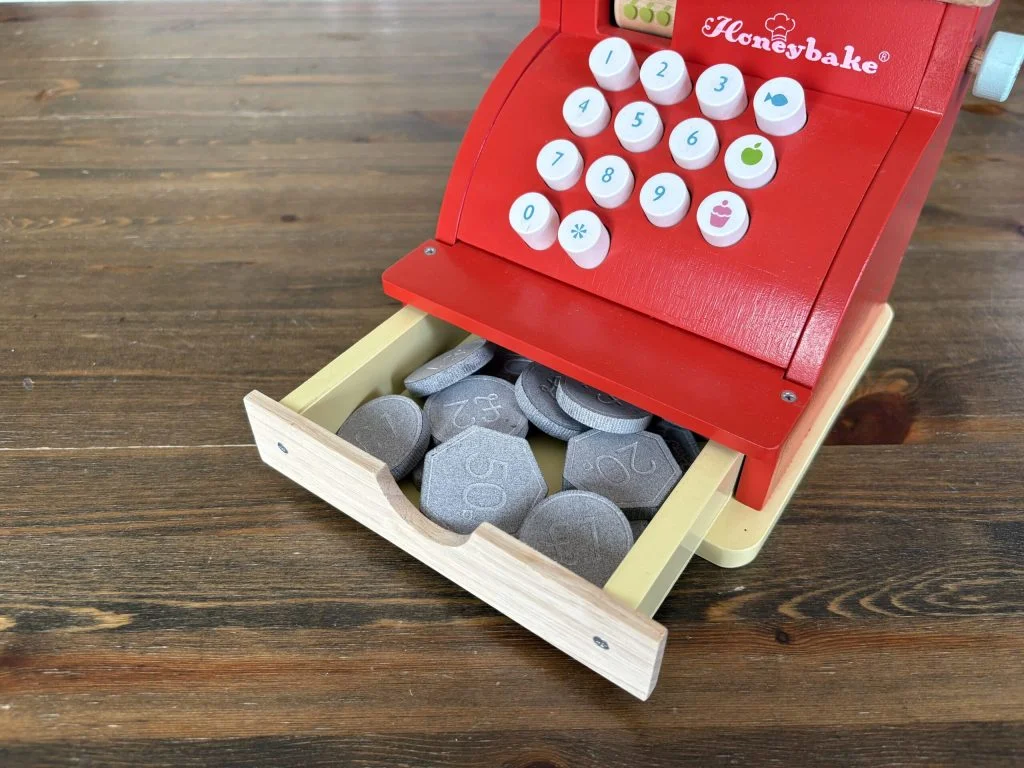

For this mini SOLIDWORKS tutorial, I decided to make some toy coins for my son’s wooden cash register. The original toy came with just four coins, and I realized they were a bit too small for my youngest son—under 32mm in diameter, which is considered a choking hazard. Plus, four coins really aren’t enough when you’re trying to teach older kids about money. That’s when the idea hit me, why not 3D print safe, fun, and personalized coins? I designed a set of coins slightly larger than 32mm and added custom DXF sketches featuring my boys as “young kings” on the back. It was a fun little project, and it gave me a chance to play with SOLIDWORKS while creating something practical.

The first coin I made was a simple £1. I started by sketching a 33mm circle on the top plane and extruding it 6mm midplane. I like to make the base a little thicker because it makes adding details later easier—and it ensures the coin is safely larger than the small parts cylinder standard of 31.7mm.
For the top face coins details, I offset the face by 2.5mm and used a thin cut extrude to carve a 0.5mm wide, 0.3mm deep groove into it. Then I added “£1” with the text tool, sized the font to 12mm, and extrude cut it into the coin.

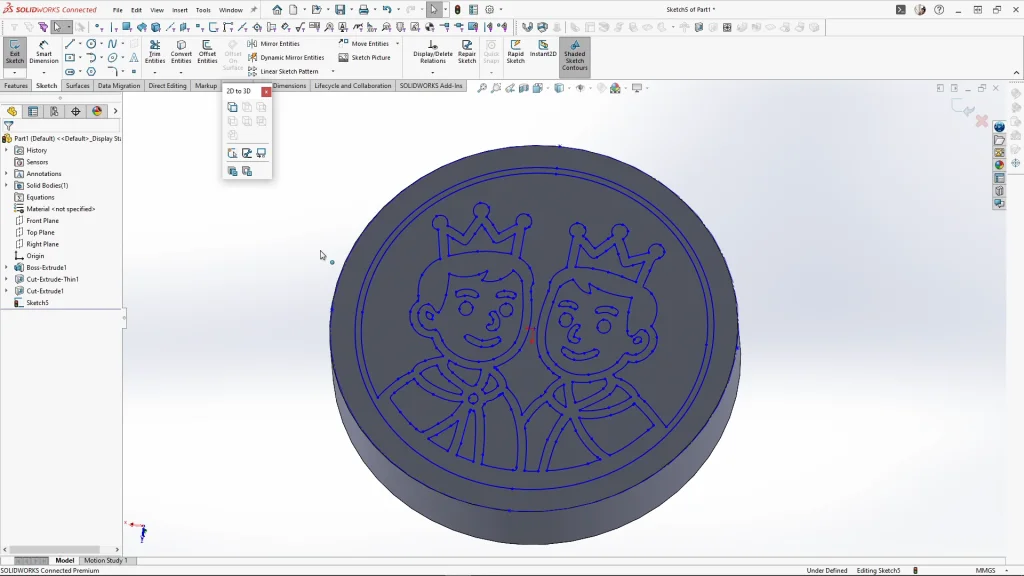
On the back, I imported my custom DXF sketch and made sure it was centered and in millimeters. Once imported, I rotated it 180 degrees with rotate entities, and cut the details by 0.3mm.
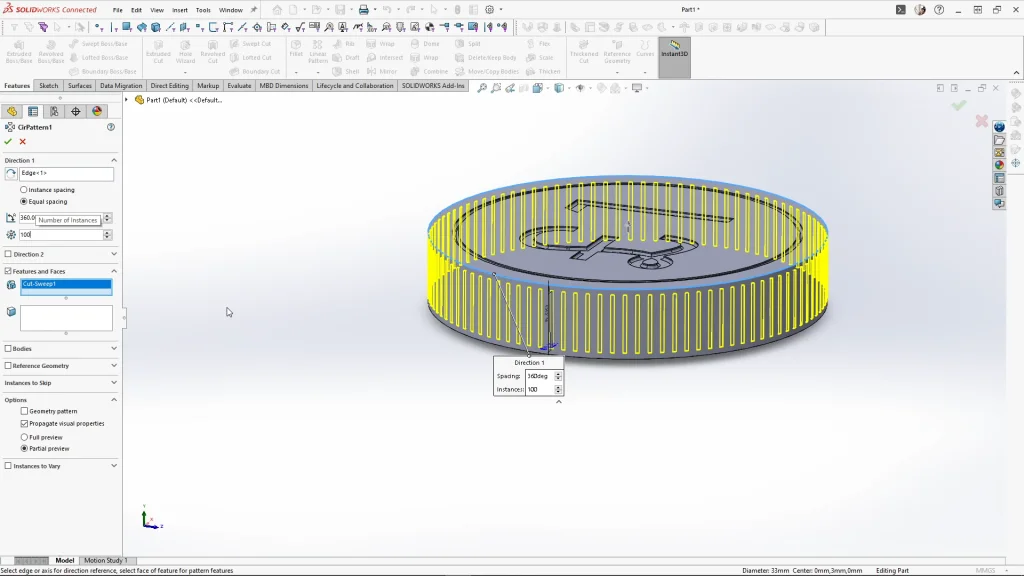
To finish, I added small 0.2mm fillets to soften the edges and the text. For the coin’s edge texture, I sketched a short line from the coin’s midpoint, used a 0.3mm circular profile for a sweep cut, and applied a circular pattern with 100 instances. It gave the coin that realistic ridged feel. Once done, I saved it as an STL, ready for printing.
The 50p coin was a bit more involved because of its seven-sided shape. I sketched a 7-sided polygon, fully defined the bottom edge, and extruded it 6mm midplane. I offset the top face and added a thin cut extrude, then used the text tool to add “50” in 14mm font and a small “p” at 4.5mm. The letters were aligned carefully and extruded 0.3mm.

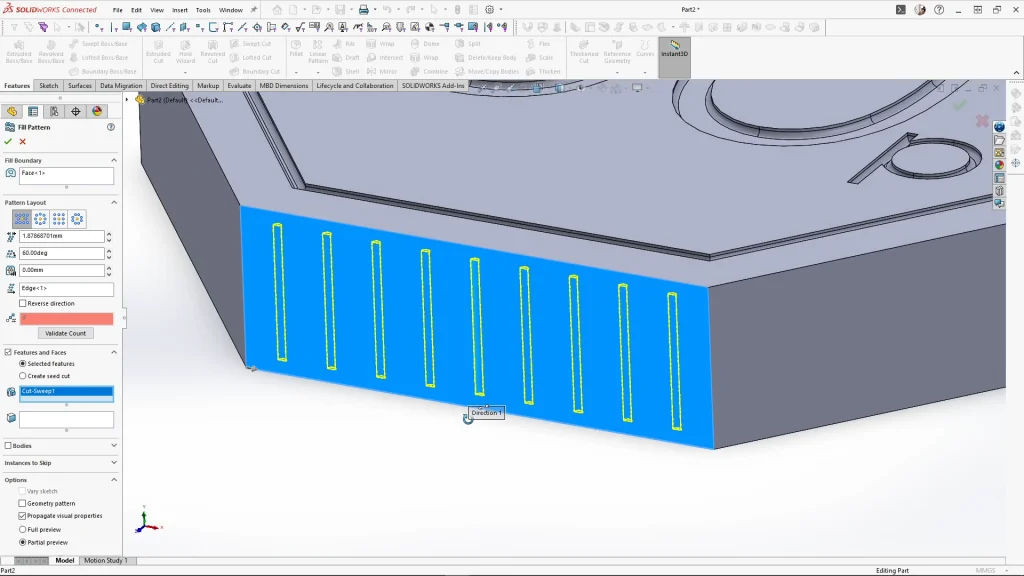
The back featured another DXF sketch, rotated and positioned precisely before cutting. Small fillets of 0.2mm softened the text and face details. Edge textures were trickier than the round coin: I sketched a short line, used a 0.3mm circular profile for a sweep cut, applied a fill pattern with 1.5mm spacing, and then used a vertical line as the axis for a circular pattern with seven instances to match the coin’s sides. A 2mm fillet on the seven outer edges finished it off.
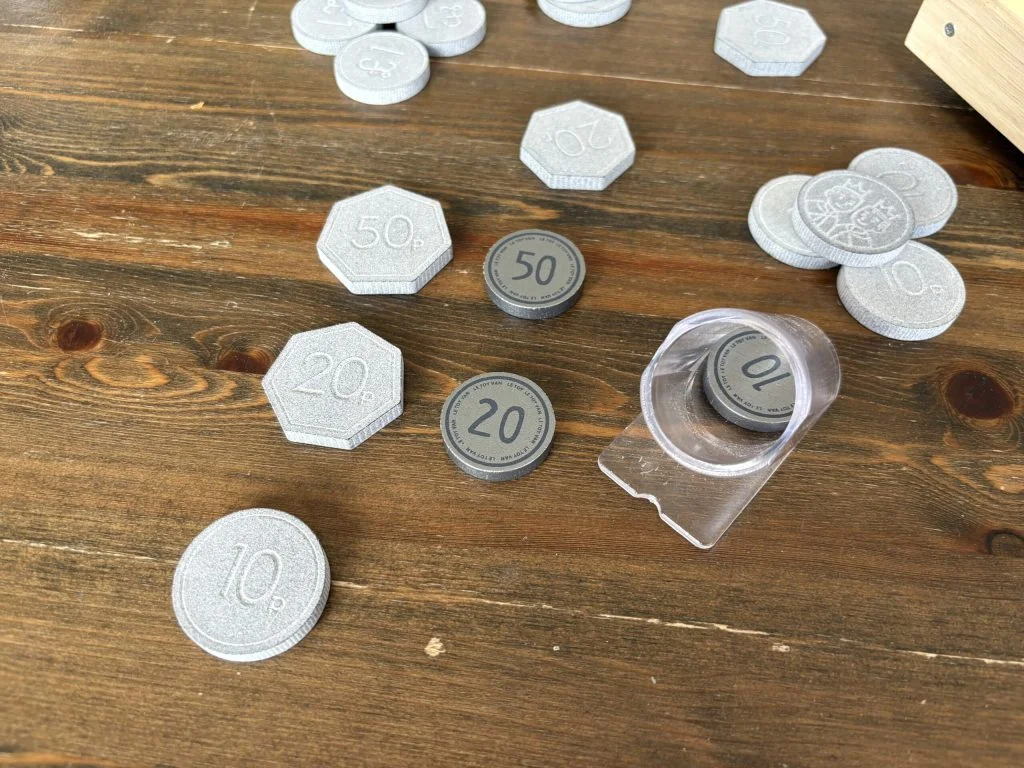
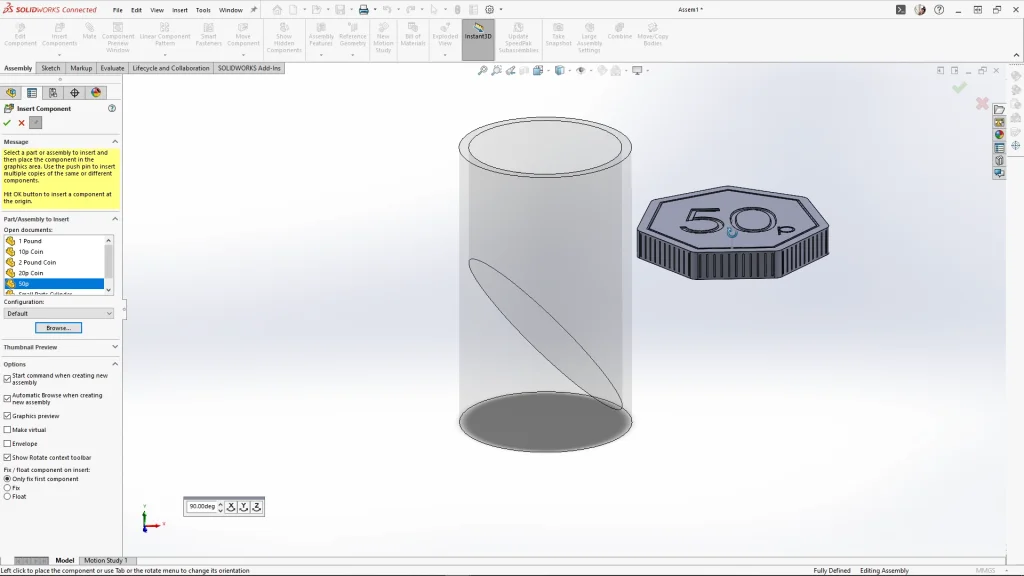
I also made 10p, 20p, and £2 coins using similar techniques. To double-check safety, I assembled all the coins and compared them to the small parts cylinder. Every coin was bigger, so no worries there.
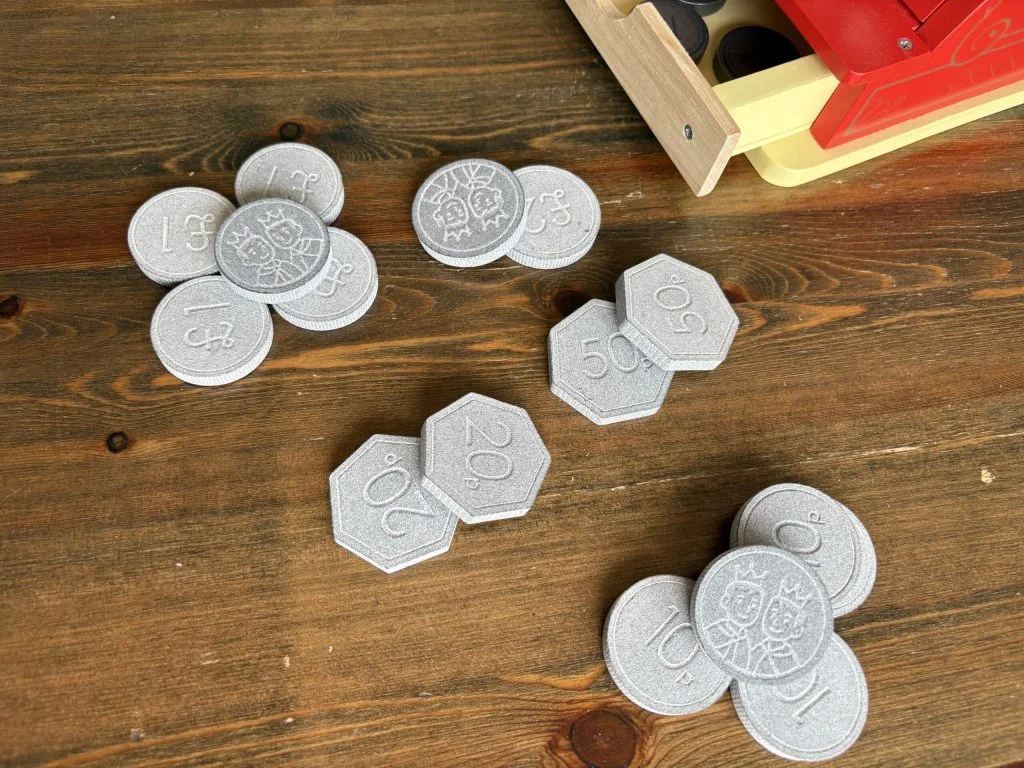
The final coins were printed in MJF PA12 Nylon by 3D Print UK, polished grey for a shiny, almost metallic finish. They turned out beautifully safe, fun, and perfect for teaching my older son about money while keeping the youngest safe.
A few things I learned along the way:
- Always check small toys when under 3 against toy safety standards. Bigger is better when small children are involved.
- DXF sketches make personalizing easy. Designing custom faces for each coin adds a really fun touch.
- Fillets aren’t just for aesthetics, they make the coins safer and more comfortable to handle.
All in all, this project was a fun blend of design, problem-solving, and a little parenting hack. With SOLIDWORKS and a bit of 3D printing magic, it’s easy to turn a simple model into a print to create safer, more educational, unique product.