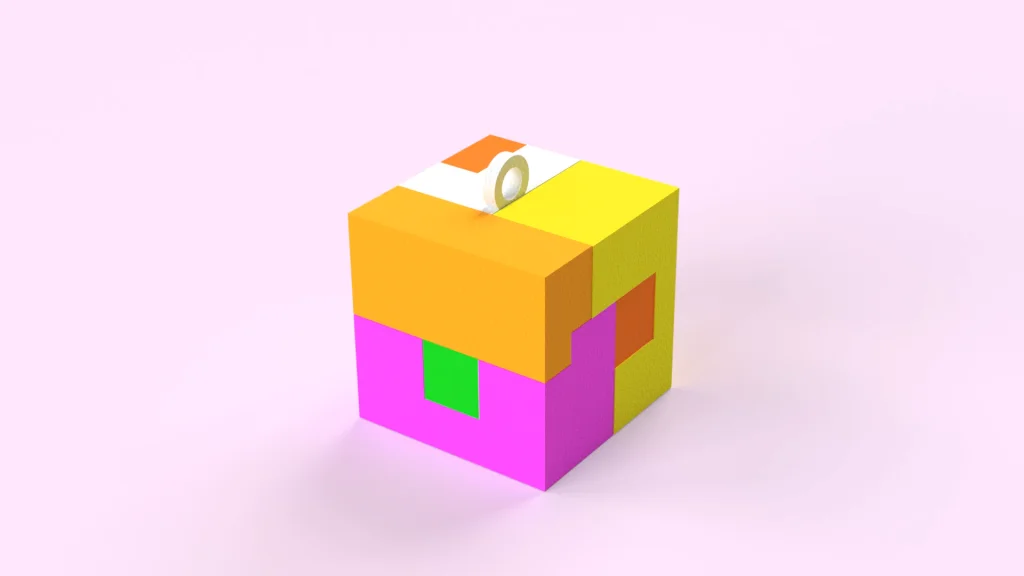

With the cube in hand and a trusty set of callipers beside me, I set out to model each piece using a combination of split features, combine tools and a whole lot of visual organisation.
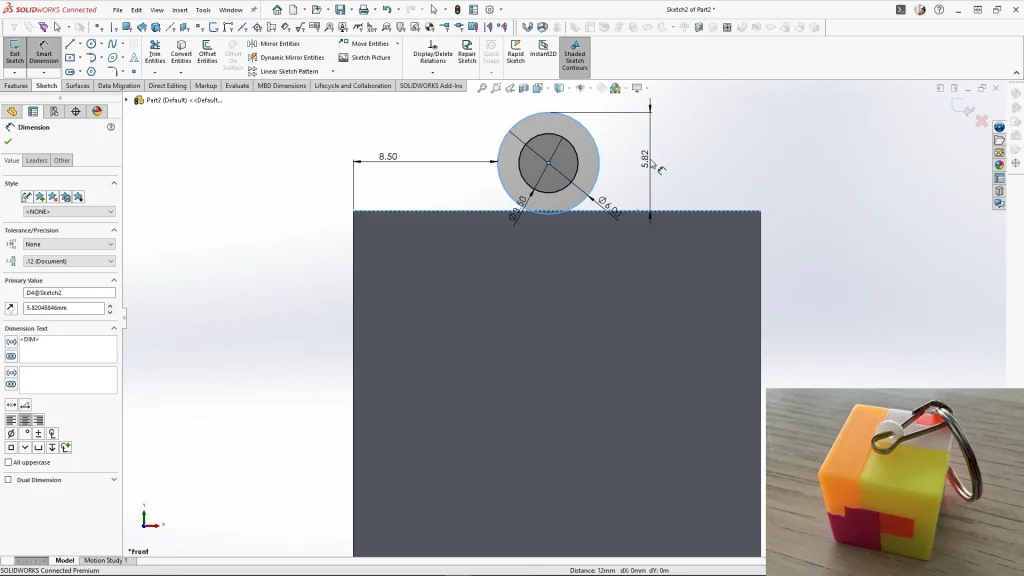
I began by modelling the keyring hoop on the front plane so I could keep the cube correctly oriented throughout the process. Once the base shape was ready, I created a series of splitsketches on different faces of the cube. Each sketch defined a boundary for a puzzle piece, and using the Split feature, I generated new solid bodies from those sketched shapes. I applied appearances as I went so each body was easy to identify as the model became more complex.
As more bodies were created, I used the Combine feature to re-join certain split bodies into their final puzzle-piece shapes. Some pieces needed several split operations before they could be combined back into the correct form.
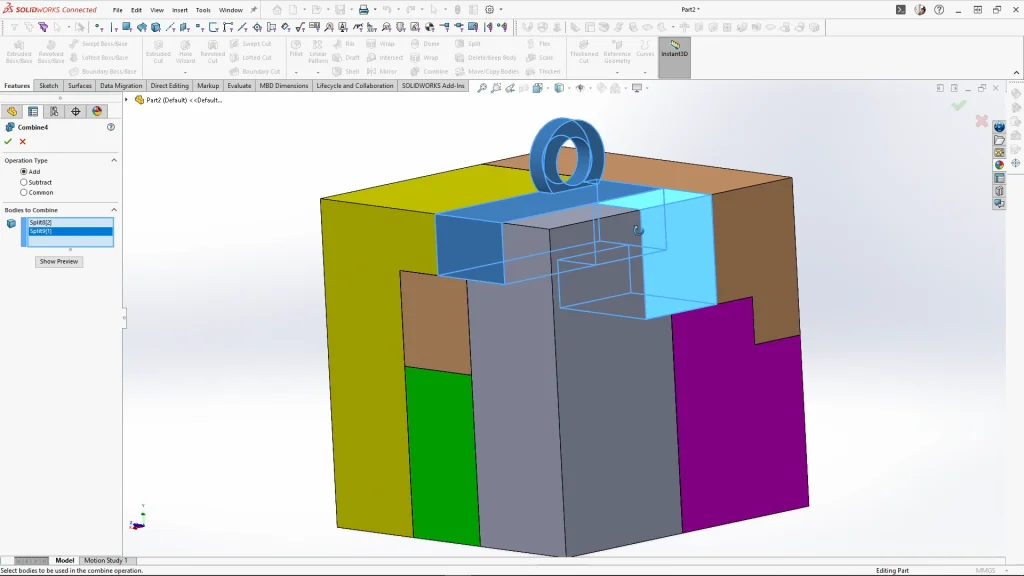
I also used the Direct Editing tab and the Move Face feature to adjust one of the surfaces, and added a small Cut-Extrude to create an interior indent based on the real puzzle piece. As the number of bodies increased, the Isolate tool became especially useful. Isolate allowed me to temporarily hide everything except the bodies I needed to edit, making it much easier to check geometry, apply appearances, or perform Combine operations without visual clutter. It also helped when adjusting faces or creating cut features on specific parts.
Once all puzzle pieces were complete, I renamed the solid bodies and used Save Bodies to generate individual part files and an assembly.

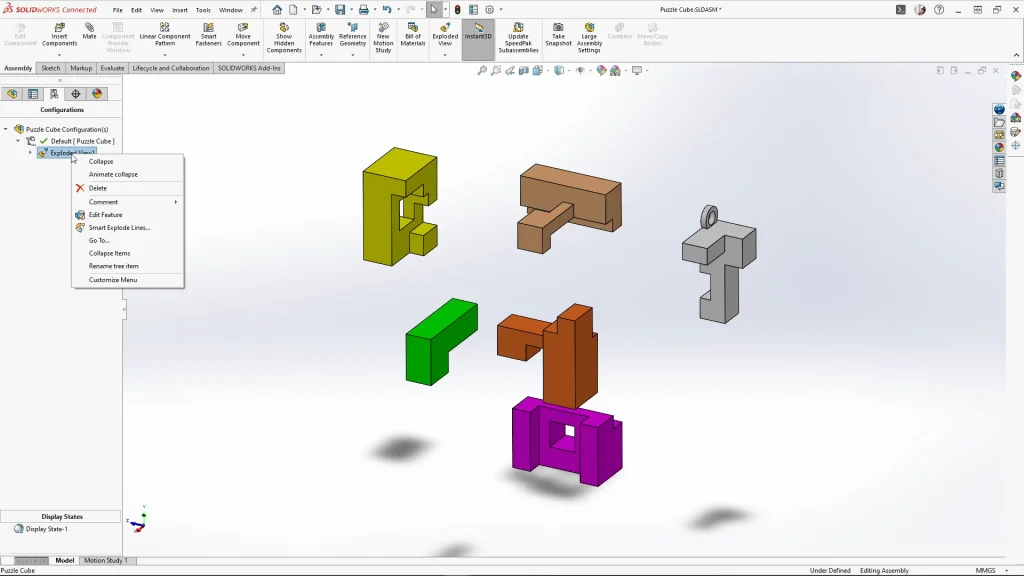
Opening the new assembly from the saved bodies, I created an exploded view by pulling each piece away from the centre of the cube along its natural direction of movement, in the order needed to create the puzzle.
With the exploded view finished, I switched to a Motion Study to animate the sequence. Using the explode steps, SOLIDWORKS automatically generated a smooth explode animation, which I could tweak by adjusting timings and transitions on the timeline. This created a clean pull-apart motion of the entire puzzle cube. The study can then be exported or opened directly in SOLIDWORKS Visualize for a rendered animation.

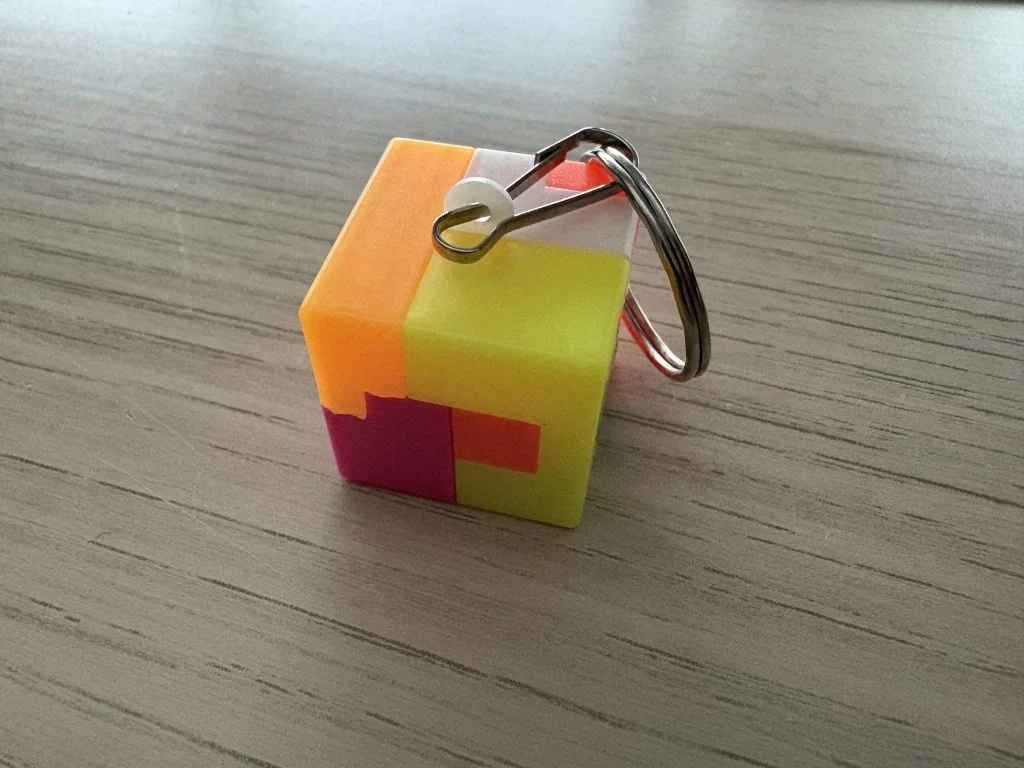
This was a really fun challenge. When you’re learning a software, reverse engineering a physical object into a 3D model can be the best way to test yourself. Feel free to 3D print the model and see how it works in real life. I hope you enjoyed this tutorial.