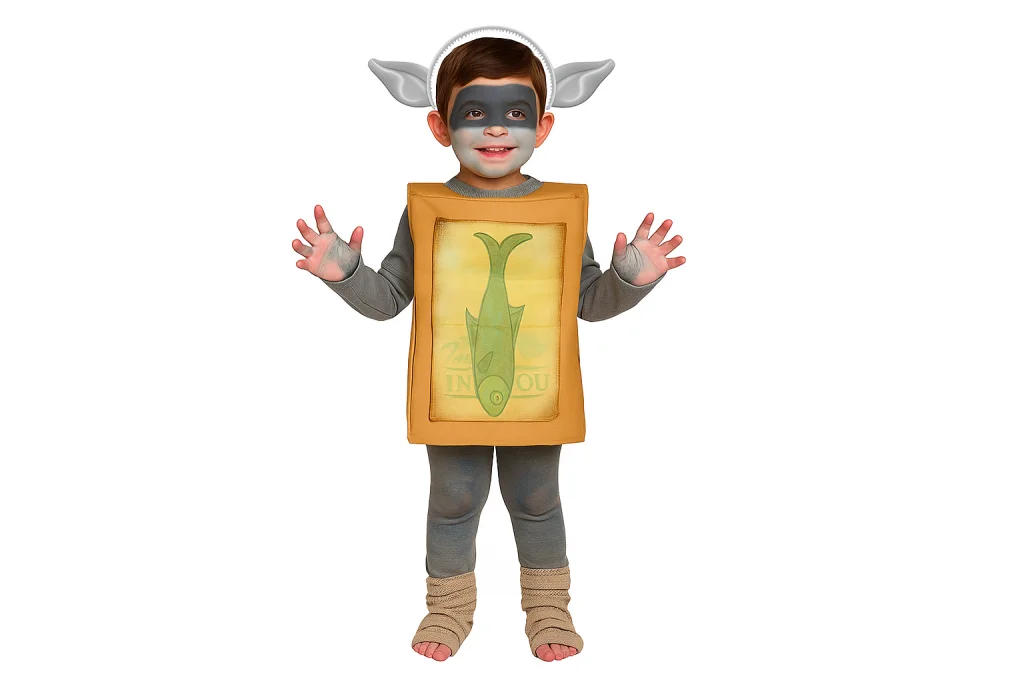

Halloween is the perfect time to get creative, and when my son announced he wanted to dress up as a Box Troll, I knew I had a fun challenge ahead. For those who haven’t seen the film, the little trolls wear cardboard boxes, which was easy enough to sort out. But a troll isn’t a troll without the ears, and that’s where I decided to turn to the 3DEXPERIENCE platform and the xShape app to make it happen.
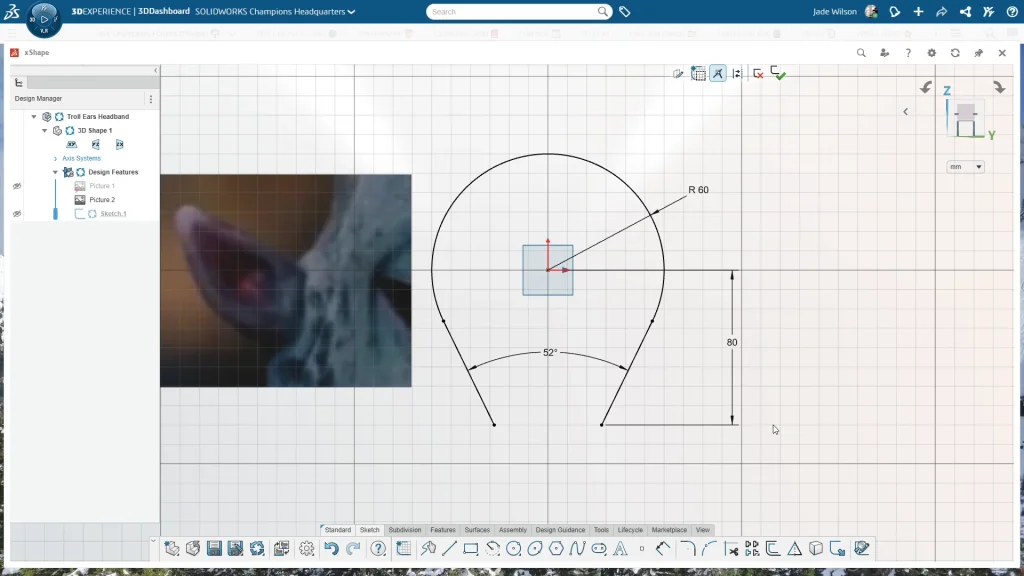
I began by starting a new component in xShape and naming it Troll Ears Headband. From the front plane I inserted a reference image, not to trace exactly but to use as a rough guide for shaping the ear later on. With the image in place I sketched out the headband using a center arc and a couple of tangent lines, making sure to dimension it properly so it would sit comfortably on a child’s head. The arc had a radius of 60mm, the overall height came to 140mm, and the angle between the two lines was 52 degrees. Those sizes worked nicely for my son, but they could easily be adjusted for an adult version. With the sketch finished, I had the headband profile ready to serve as the base for positioning the ear.
For the ear itself I started with a simple cone from the subdivision tab, dropped it into place along the headband edge, and then increased the number of loops both vertically and horizontally. That gave me more control over the shape as I began sculpting. Working from different views, I scaled the cone down from the side to make it thinner, pulled and rotated the tip slightly to bend it into a more natural angle, and created a simple inner crease by dragging edges inward. It’s a bit of trial and error, nudging points and adjusting the mesh until the ear starts to look right, and the nice thing about subdivision modelling is that you can keep tweaking without overcomplicating the design. Once I was happy with the overall look I knitted the surface so it was ready to move forward.

The headband itself came together with an extrude using the thin feature, set to 3.5mm thickness and 10mm distance, extruded midplane. I kept this separate at first so I could apply fillets. A 5mm fillet along the main edge for comfort and a smaller 1mm fillet to soften the outside edges so the band would sit more gently against the ears.

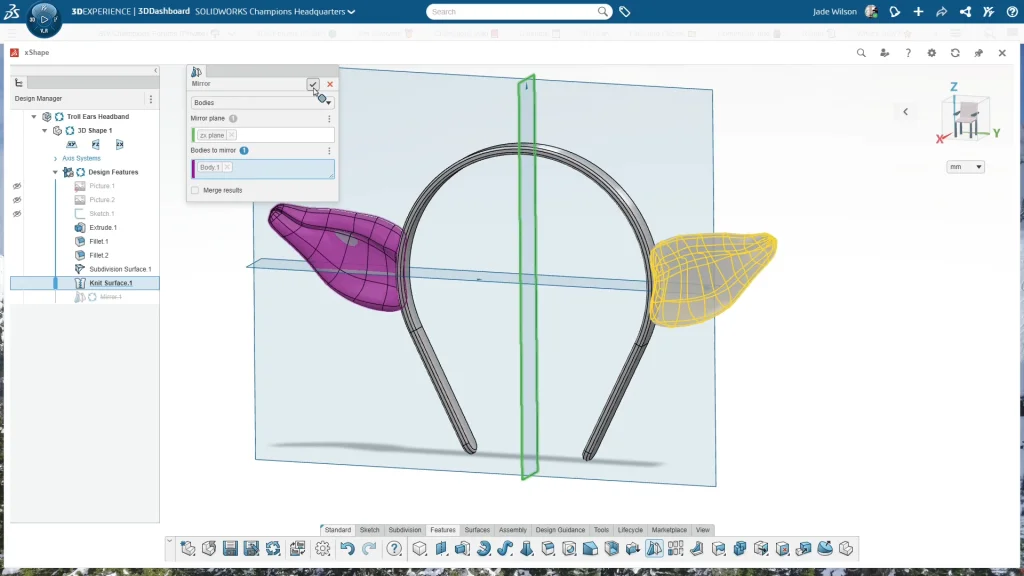
At this point the ear was intersecting with the headband, so I went back into the subdivision surface to pull in a few points and tidy things up. Reordering the features helped here, making it easier to edit the ear with the headband in view. Once the first ear looked good I mirrored it across the ZX plane, unchecked the merge option, and then combined everything into a single part.

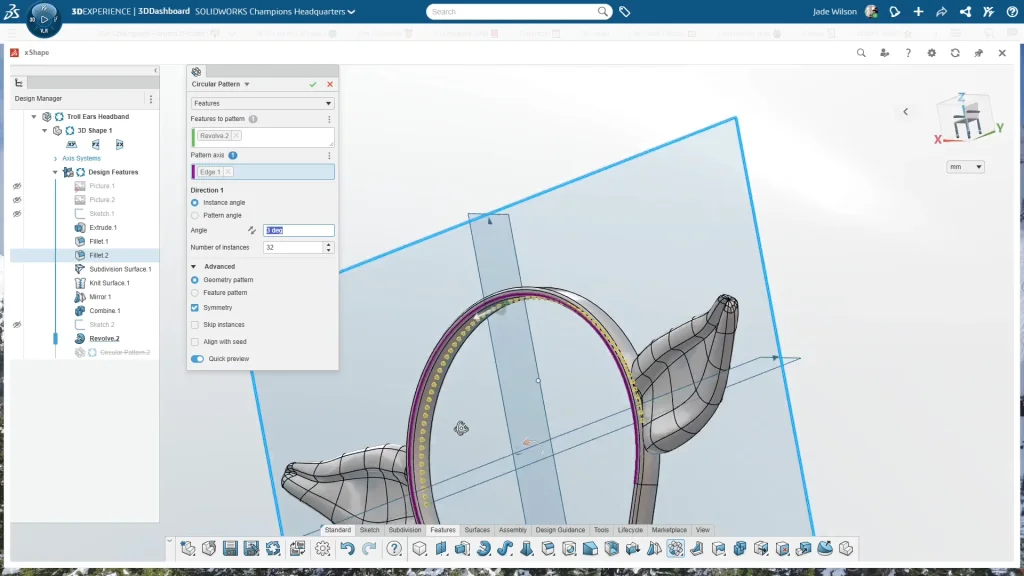
The final design touch was adding headband teeth, those little ridges that help a headband grip the hair and stop it slipping. I sketched a small profile on the front plane, revolved it into a tooth shape, and then patterned it around the band with a circular pattern, 32 instances at 3 degrees apart, with symmetry checked so they were spread evenly. It gave the headband a professional finish and made it far more practical to wear.
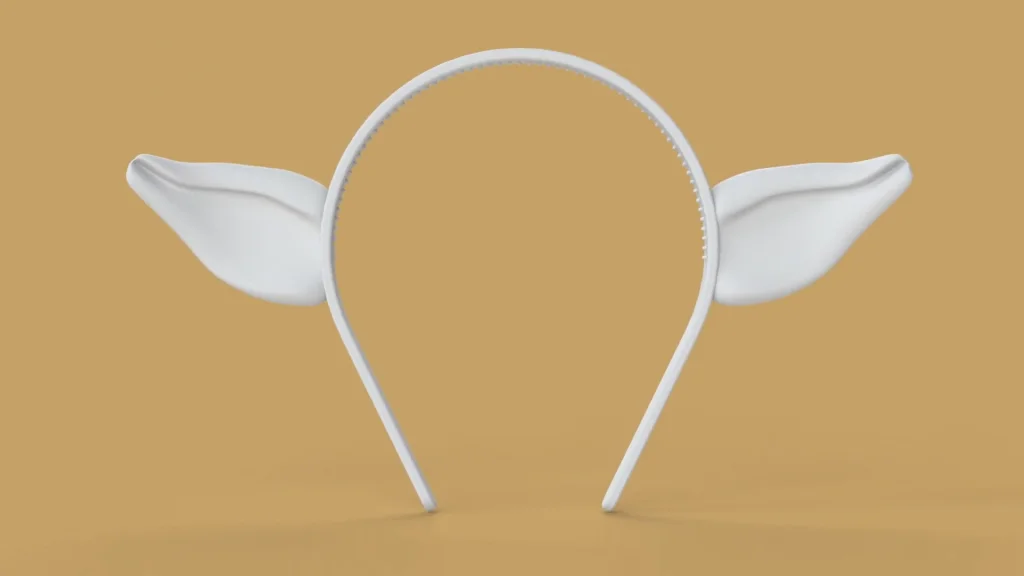
With the design complete, I saved and exported the model as an STL for 3D printing. You can always adjust the resolution depending on the level of detail you want, but for the final version I had the ears printed in MJF Nylon by 3DPrintUK with the help of Kirby Downey. The prints were polished too, which gave them a smooth, finished look and made them ready to wear as part of the costume.
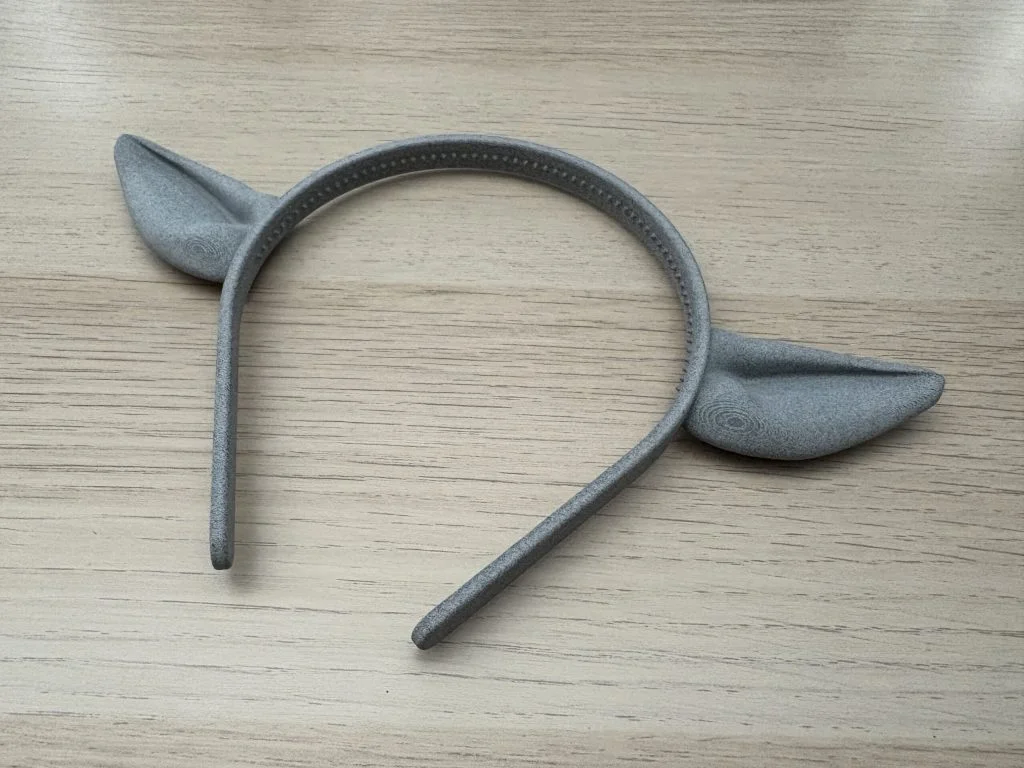
The end result was a lightweight, sturdy troll ear headband that fit perfectly and really brought the costume together. My son was delighted, and I was reminded of how much fun it is to take a simple idea and use tools like xShape to turn it into something real. Below I have an AI generated image to show how the ears will look as part of my sons Halloween costume.