
Starting from the beginning of my tutorial, I like to begin by ensuring my cameras aspect ratio is the size I want, 16 by 9 is the generic screen size, so I usually choose this. For Instagram I tend to choose the 1 by 1 ratio. Then selecting the models tab, I used the plus icon to insert a new model and selected the plane. I used this as a floor part, which acted as the barrier for the falling hearts. You can run a motion study fall without this, but I link to use a plane to apply an appearance to. Selecting snap to floor, I can drag the position of the plane up along the y-axis to bring it above the floor a little otherwise it disappears under the scenes floor. I applied a rough, matte, peachy pink, basic appearance to the floor without reflections.

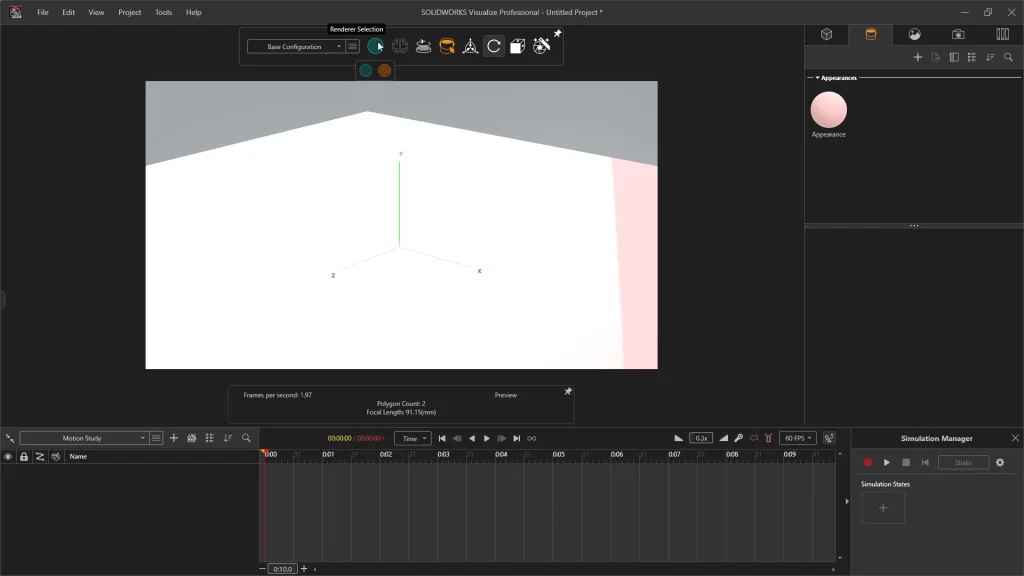
To begin with I had the renderer selection on preview, but to see the appearance in a real view you need to change the view to accurate. This can slow down the software a little when you have a lot going on, so I tend to only use this to get a preview of my appearances or render windows before the final renderings are done. The green selection is preview mode, while orange is accurate.
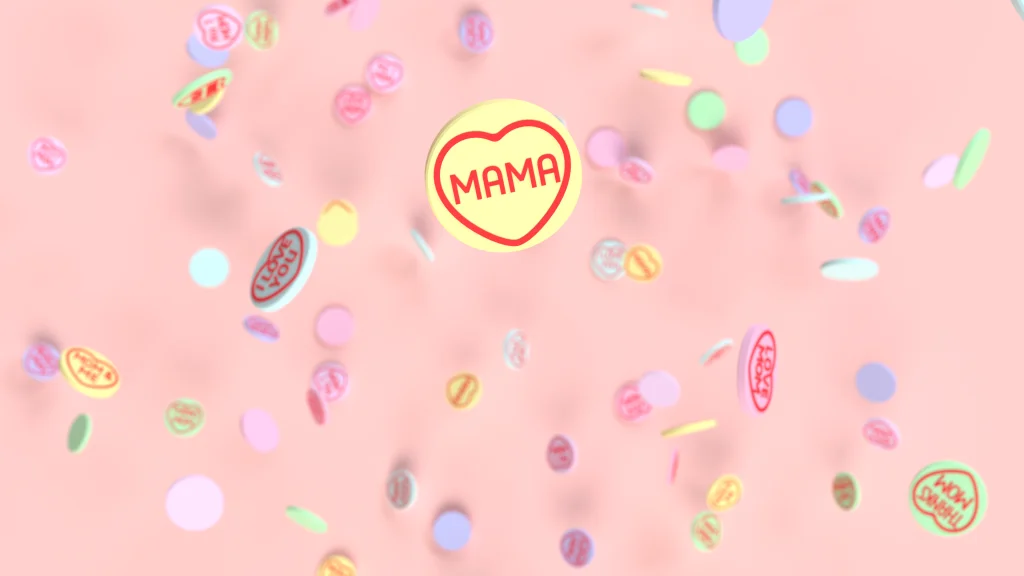
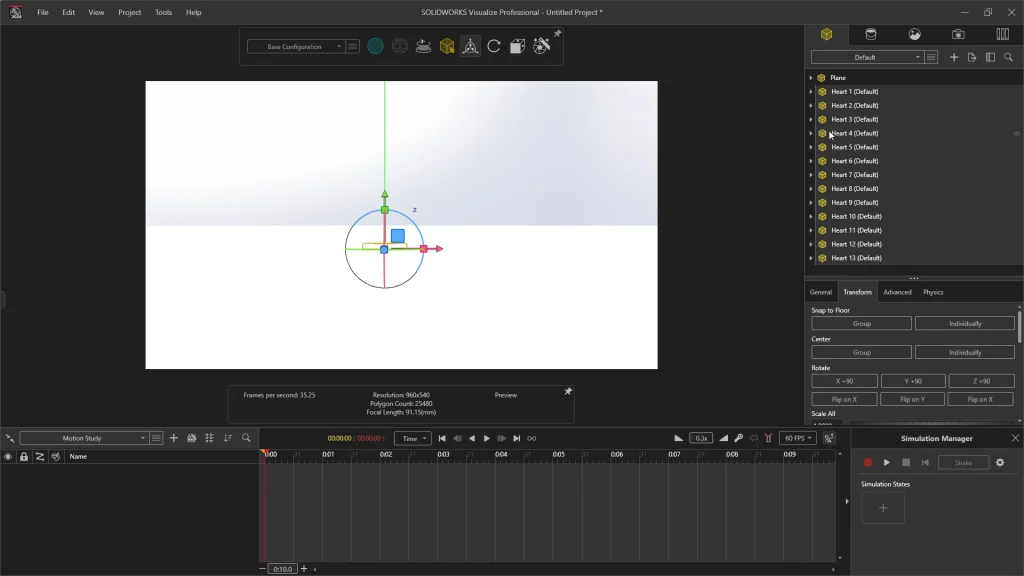
Using the model plus icon again, I used import model to bring in 13 sweet hearts with a different note on each representing Mother’s Day, such as LOVE MOM, MOM HUGS, SUPER MOM etc

When all the hearts open, they came into place all stacked within the same place, to move them I used the object manipulation tool to bring up the transform robot, it makes it really easy to move parts quickly. With them all selected, I dragged them up above the floor plane to a height high enough for a nice fall distance. The higher I go the further the hearts may scatter as they may bounce higher, but this can also be dependent on the gravity settings applied later on. There is an option in Visualize to create random patterns with parts, you are able to create a natural variation to an array of model parts. I demonstrate this feature towards the end of the tutorial.
Next I began to randomly place and duplicate the hearts, nothing was precise in its location; it was all by eye and again intentionally random in its placement. Duplicating groups of hearts, I moved and rotated them creating even more variations in the orientation of the hearts. I wanted them to fall in all different ways, with many being able to fall on top of each other, and with some face down.

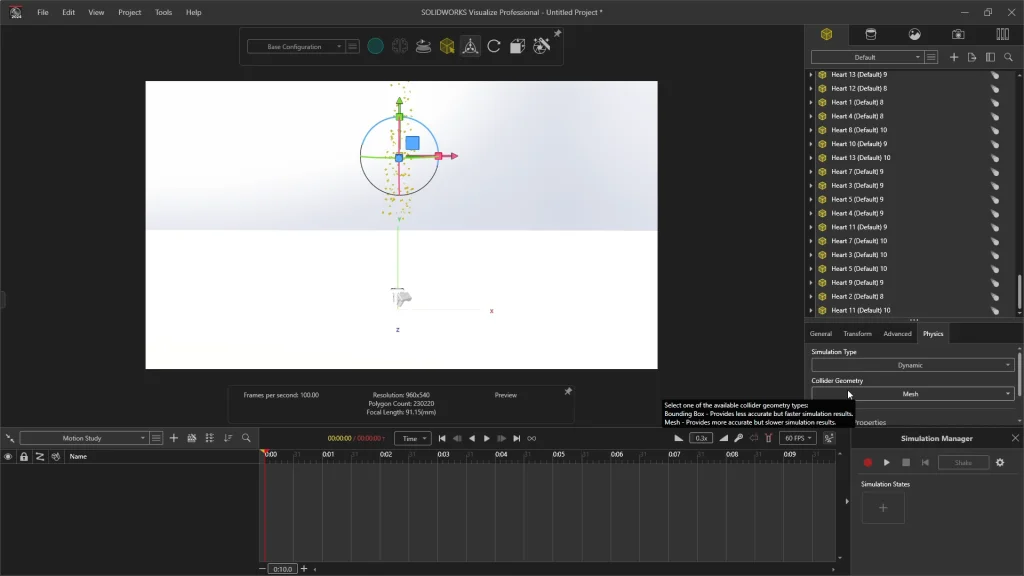
Once I was happy with the placement of my parts, I needed to apply the physics settings to all of the parts. Selecting all of the heart parts only and not the plane, I used the physics tab. Under physics, I’m able to choose a simulation type, this is what I will be applying to the selected parts. There are four options to choose from, for the hearts to fall, I needed to apply Dynamic, that means that they will react to gravity and each other.
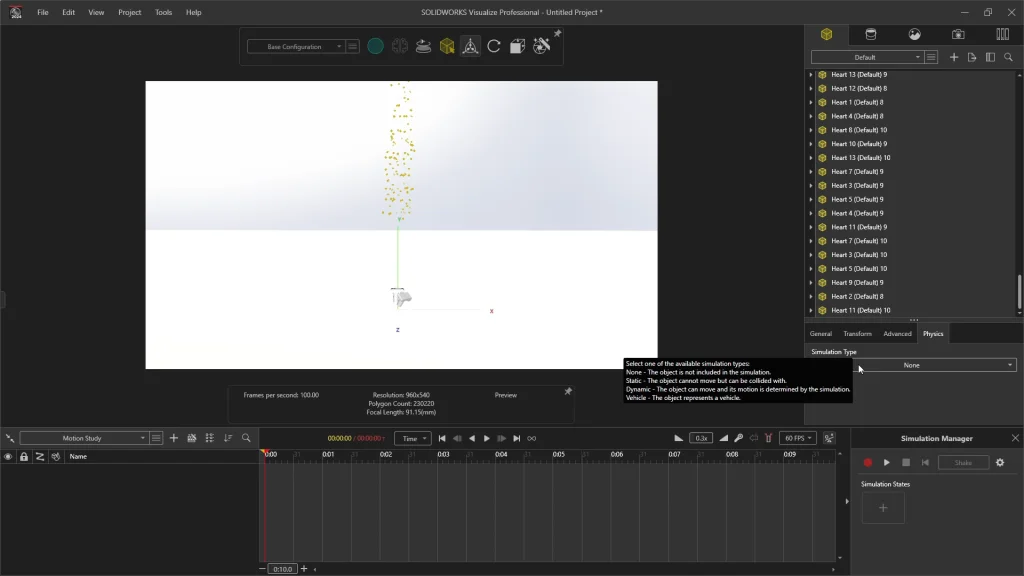
I then needed to select the collider geometry, this is all about contact accuracy. You can either use boundary box or mesh, for this I chose the mesh option, even though it can slow down my simulation results, I wanted it to be precise in how the hearts interact to each other. For the Plane part, I needed to apply physics too, I used the Static option so that it remains fixed in place, but the heart parts in the simulation can collide with it. For the collider geometry, I could keep this on bounding box as it is a flat, basic shape, so this will keep the simulation simpler.
For this simulation, I didn’t change any of the Physical properties of the simulation to keep the tutorial simple, but you are able to play around with the friction, elasticity and mass.
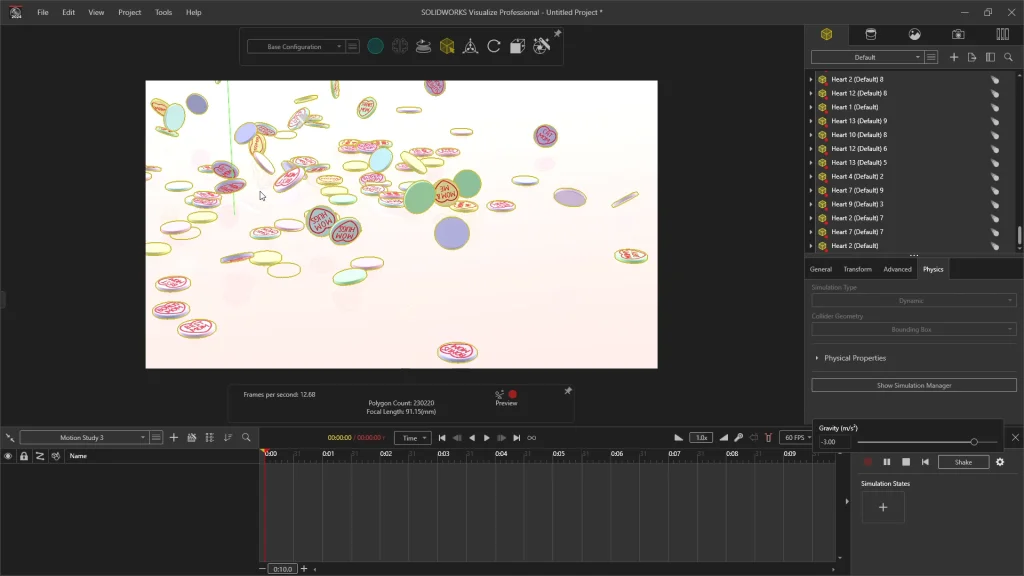
The next step to look at is the gravity settings for the simulation. The earths gravity is 9.807 meters per second squared (m/s2), but I use a much lower level of gravity, to slow down the fall speed and allow myself the ability to create more render frames from the animation. I could then record the simulation, once all of the hearts drop and stop moving, I can stop the recording and the animation keyframes will be created. I’m then able to select play and watch the animation play out. At this point I could see a nice random scatter of parts, but I also ensured that I could see all the different mother’s day themed quotes. I also like to double check the finished animation from different views to ensure I’m happy with the finished physical fall, to ensure I have a choice of views for my camera animations but also so that I can check for any issues in the simulation. You can get over-stacked parts, duplicates or parts that have fallen into the floor, its not really an issue for me when I have so many parts as I can just delete any issue parts that are visible to me. When creating projects like this, I usually run several motion studies with different physicals settings before I am happy with the final result.
Moving onto the camera tab, I duplicate my current camera and create a keyframe on one using the K key on my keyboard. The keyframes will form part of the animation and allow me to create a camera animation as the hearts are falling. Once my camera animation keys are in place, I can render the animation, I prefer to render with high quality settings and turn off the denoiser to keep my renderings more detailed and have more frames for editing. You can see the final result in the tutorial.
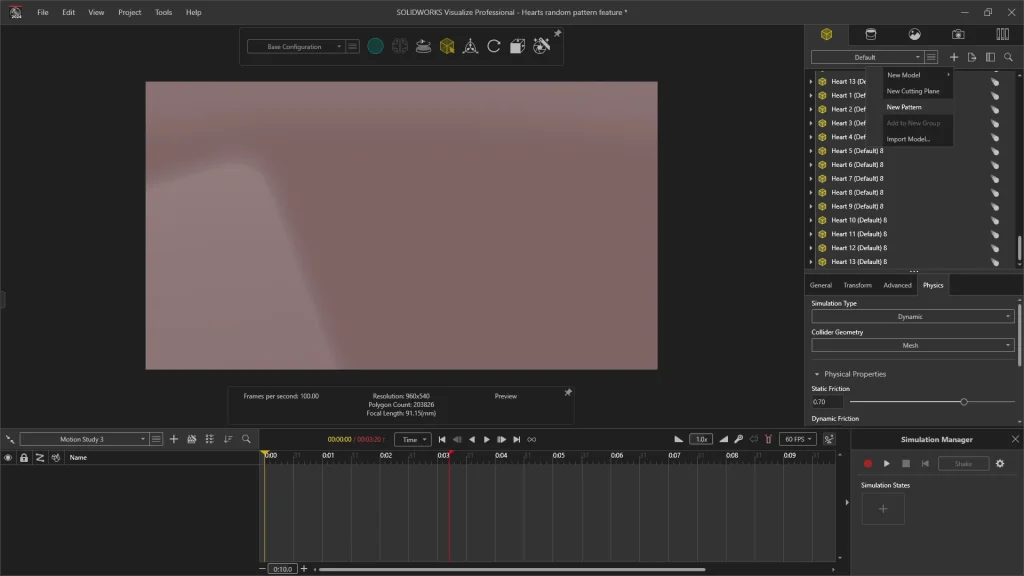
Starting another Visualize project, I demonstrated the pattern feature. Bringing in the 13 hearts again, I duplicated them 7 times to have over 100 hearts. Then applied physics to the parts again using dynamic for the simulation type and mesh for the collider geometry. Selecting all of the heart parts, I used the model plus icon and selected New Pattern.
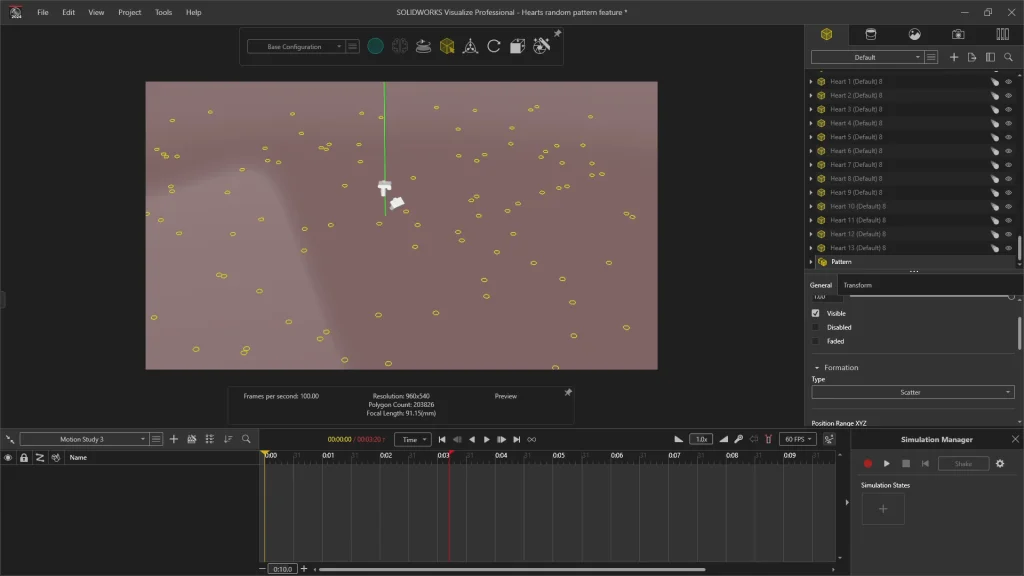
Under the Formation section of the General tab you will find the pattern controls. Here I could choose between various pattern types, for this project I chose Scatter to create a random pattern. The position and rotation ranges are used to tell Visualize which dimensions I want the model to be randomized within. You are also able to select the random button to switch between different formations.
From here I could double checking the gravity settings and select record. This created an equally random fall in a much quicker way, as I had less of a set up to do, no manual placements. However, it is something I had to play around with until I was happy with the final animation.