While studying Design at the University, I really wanted to push the boundaries of ceramics, and use the technologies available to me. I was always interested in the use of plaster mold making and slip casting as a means to create a ceramic piece, it can be so precise but also allows you to mass produce a design. One issue I had with this was how long it took to create the model for creating a plaster mold, it would take a long time to create, and the model could break during the molding process. The designs I wanted to create were also pretty much impossible to do by other traditional methods, so I started to think about the use of CAM. So for my bachelors degree project I wanted to try and use laser cut Perspex as the model material for a mold. I used SOLIDWORKS as my sketchbook during this project to really experiment with different vase profiles and would either attach or remove bubbles from traditional vessel shapes to create my bubble and creator ceramic collection.
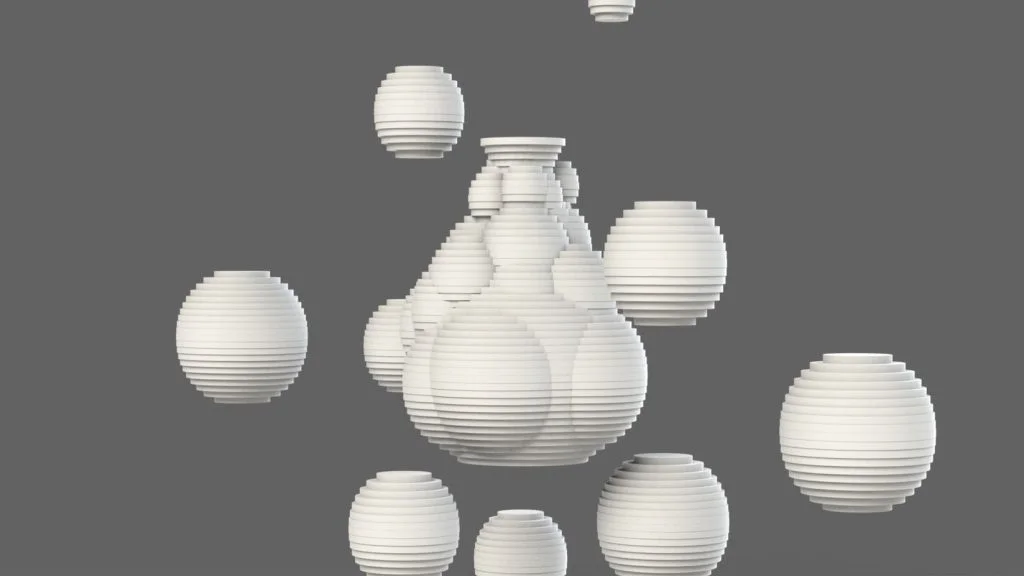
You will need to download the files here to create the vase yourself. The vase is made up of a traditional vase shape that has been revolved in 5mm layered steps, then there is a set of 6 different sized bubbles which have varied amounts of 5mm layers based on there size. During the tutorial I will show you how to create an assembly of all of the parts. As I mention in the tutorial, the placement of the bubbles is random, so you can be quite playful in this tutorial and create your own vase. I placed 35 bubbles to create my final vase design, but you can add more or even less to your vase, once a selection of bubbles have been added, the assembly can be saved as a Part file.
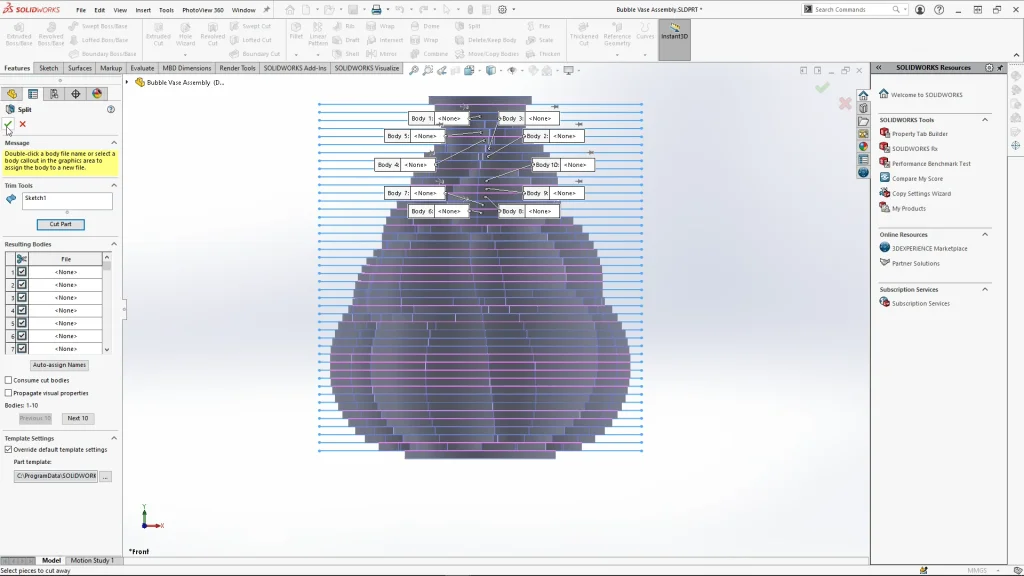
When the part file is opened, all of the part files will come in as separate bodies, making it a multi body part. From here, I could use the combine tool with operation type on add, and select all the solid bodies to combine them into one. To prepare the model for laser cutting, I needed the outline of each layer. This would take a long time to do individually selecting the edges, and would not be possible to do before combining all the bubbles to the vase. To do this quickly and send out all of the DXF files in one go I used the split tool. The sketch was created quickly using the linear sketch pattern, spacing split lines 5mm away from each other. Then when the vase is split with the sketch, 45 solid bodies are created.
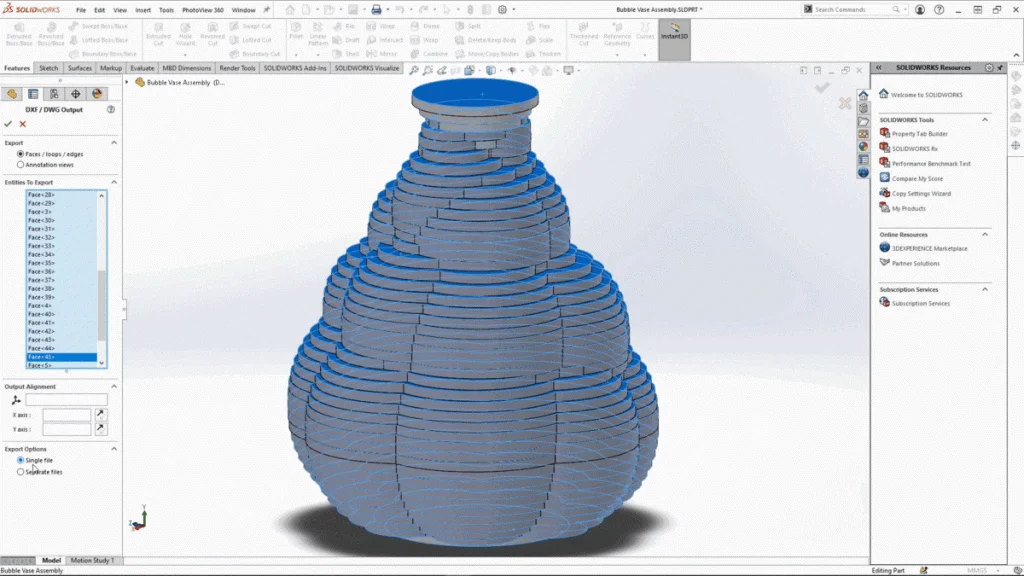
To create multiple DXFs in one go I used save as, then changed the file type to DXF. For the DXF selection options I selected a single face of each layer of the vase, and selected separate files for the Export Options, if you select single file you will get a preview where all the layers DXF files are layered on top of each other. This can be messy when creating the laser cutting files as I then have to separate all of the sketches, so its best to choose separate files.
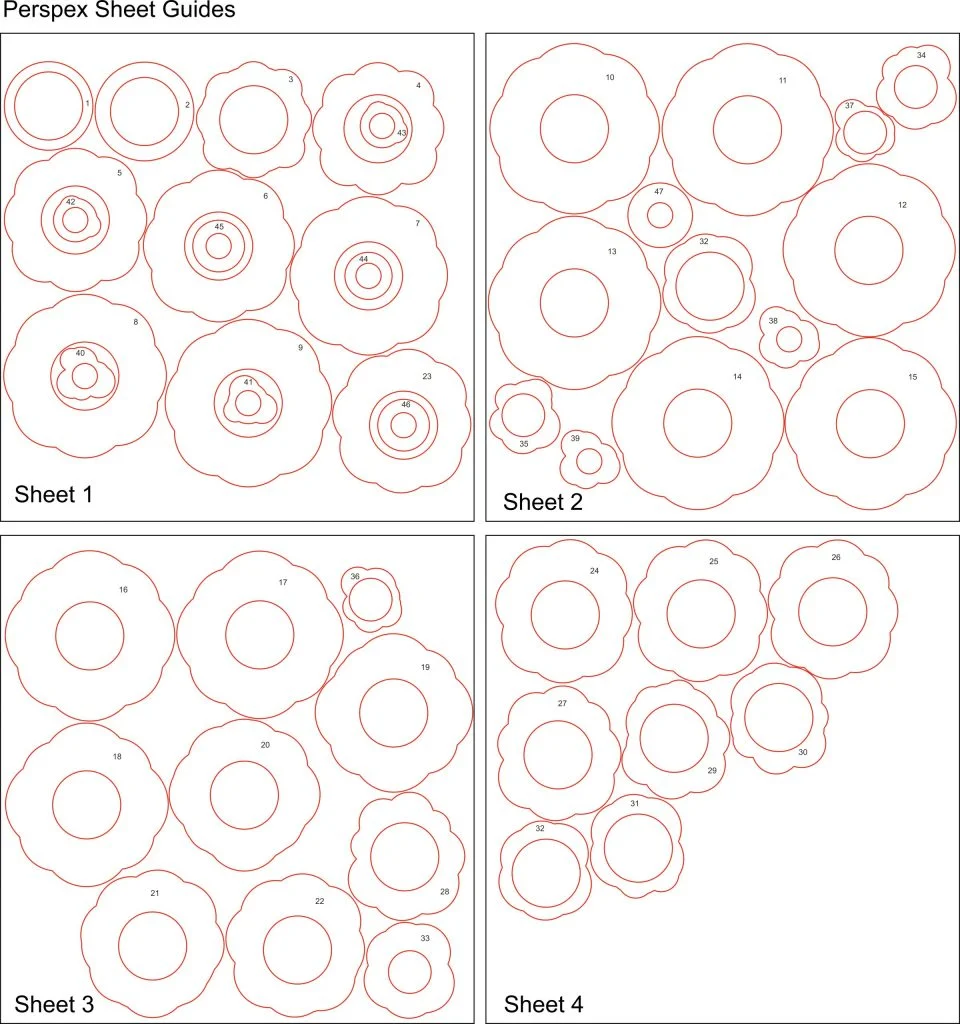
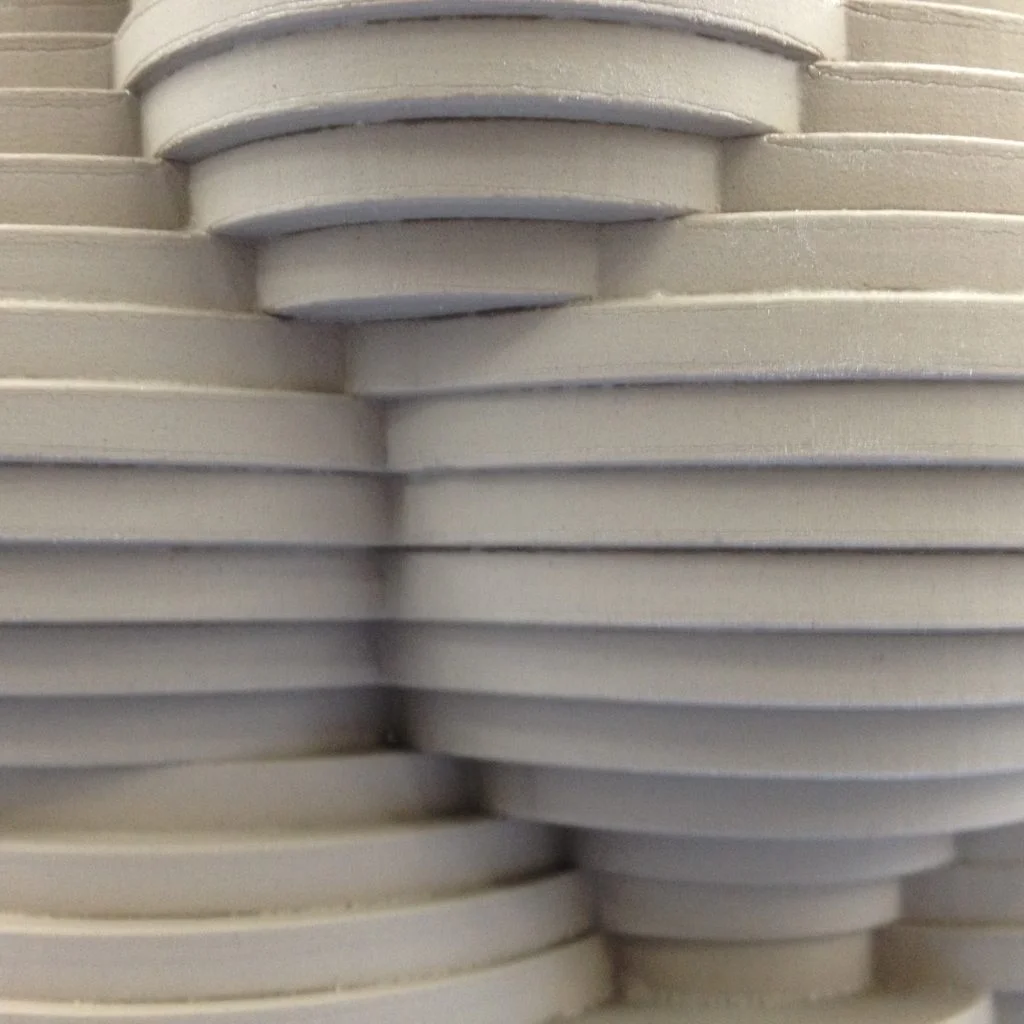
Once I had all of the exported DXF files, I could lay them all out to best fit them onto my Perspex sheets, It took 4x500x500mm sheets to produce the final model. I kept a digital numbered reference sheet of all the layers so I would reassemble the model in the correct order. I didn’t engrave the sheets just to save on time, I simply used a marker pen when the layers were pulled out. You can see below how I also hollowed out parts of the model to keep room for other layers to fit into the middle to make the best use of the sheets. I had to ensure that I didn’t make the layers too thin, as the heat expelled when creating a plaster mold could crack the Perspex. Another part of the preparation of the model involved scraping away the tiny melted edge left by the laser cutter before gluing the layers together. If these were left, they would create undercut surfaces within the mold and could cause the model to either get stuck in the mold or create less defined edges in the final clay castings of the mold. The final Perspex model could now be molded in plaster.
The mold was then ready for slip casting into clay, fired in the kiln and under-glazed to give it color!
Slip casting close up
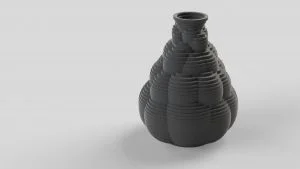
Finished ceramic bubble vase