

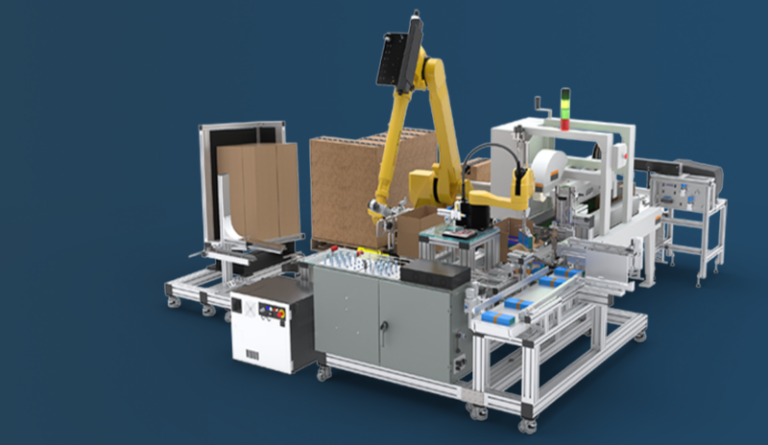
Top 5 Reasons Why Engineers Should Learn Simulation...
Discover why adding simulation to your product development process helps engineers catch design flaws early,...
July 23, 2026
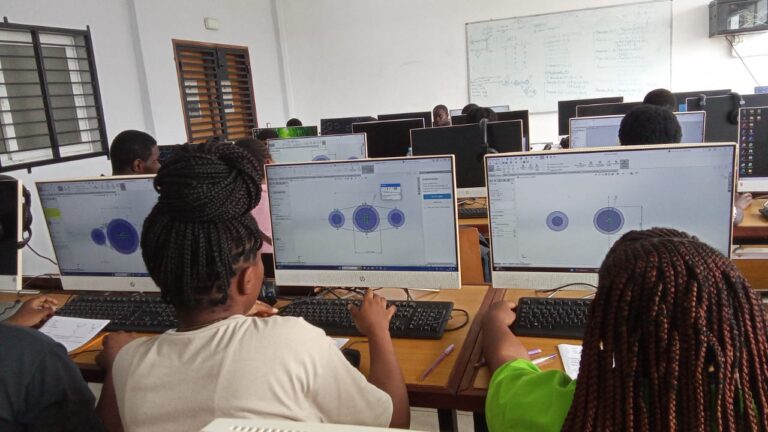
JFN-HUI First Official Dassault Systèmes Certification Center in...
Learners, students, professionals and businesses in Africa can now validate their skills in an approved...
July 22, 2026
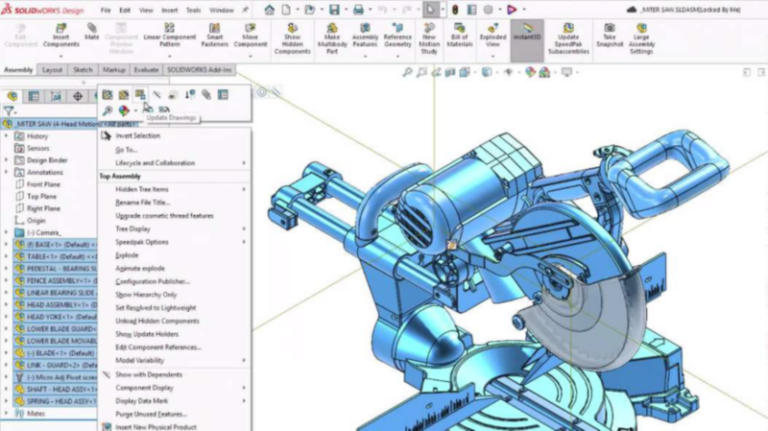
What’s New in SOLIDWORKS 2026x FD03 – Design...
Automatically apply fasteners, edit parts in LDR mode, improve assembly performance with AI enhancements and...
July 22, 2026
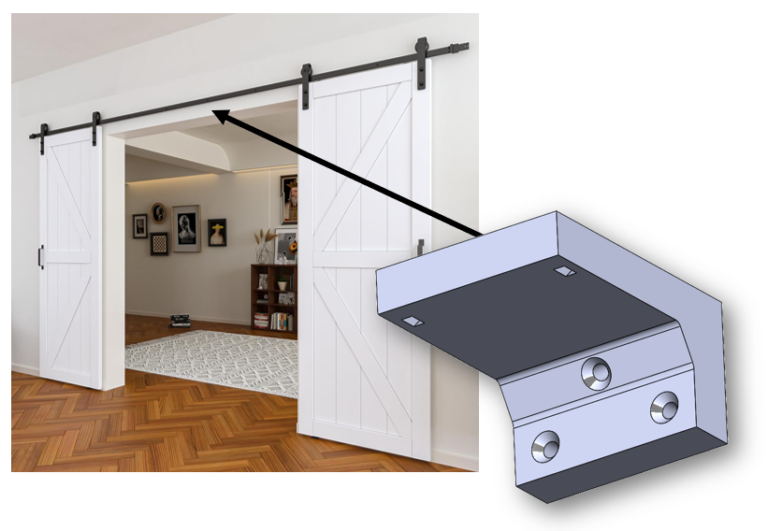
Designing Practical 3D Prints in SOLIDWORKS
This blog shows some of my favorite design for 3D Printing tips — presented through...
July 20, 2026
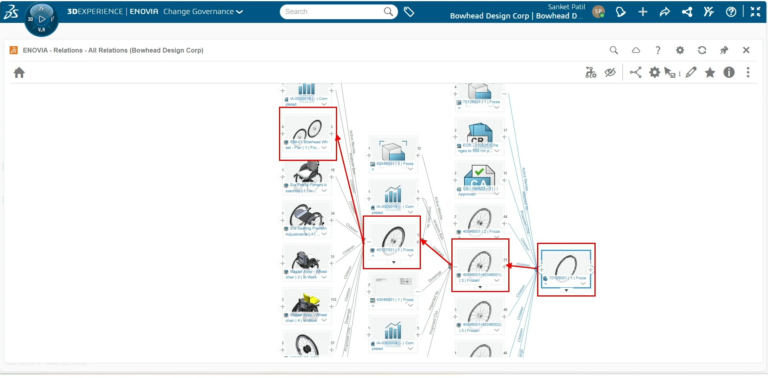
Elevate Your Change Collaboration Experience with the 3DEXPERIENCE...
This is a practical guide for engineers looking to eliminate siloed data and version control...
July 17, 2026
SOLIDWORKS 2027 Preview Is Live!
Get early access to SOLIDWORKS 2027 today! Try out upcoming features, test on your models,...
July 15, 2026
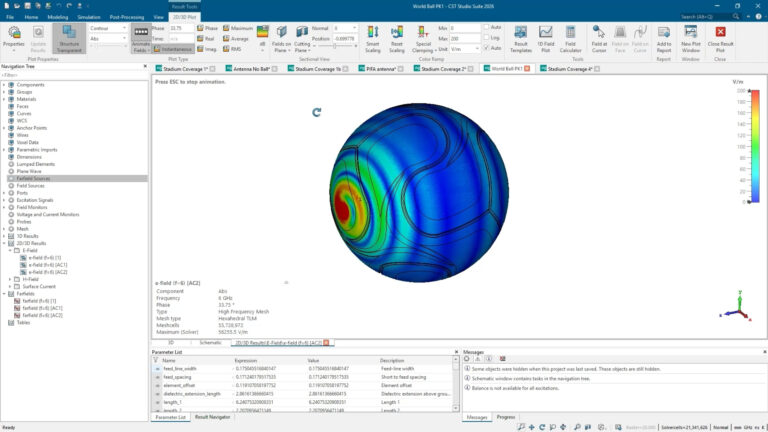
How SOLIDWORKS Electromagnetic Simulation Tracks Footballs
How does electromagnetics affect The Beautiful Game? Virtual prototyping and electromagnetic simulation can optimize your...
July 14, 2026
How to Build a Data-Centric Manufacturing Operation
Learn how to move away from scattered data towards a resilient, data-centric operation to cut...
July 13, 2026
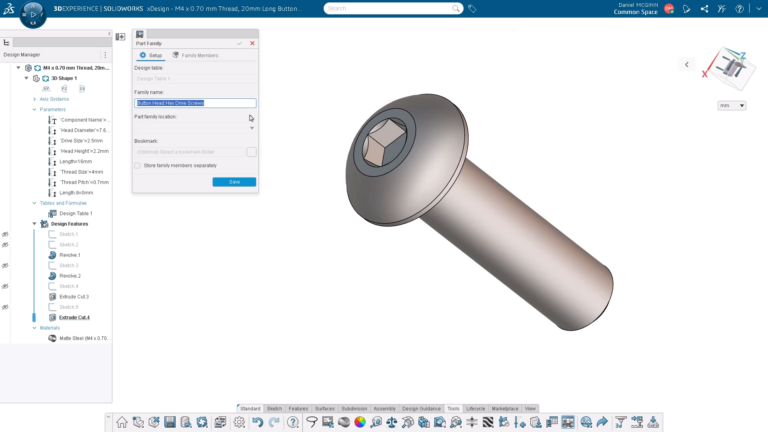
What’s New in SOLIDWORKS xDesign R2026x FD03: How...
In SOLIDWORKS xDesign R2026x FD03 you can now create and manage part families from a...
July 10, 2026