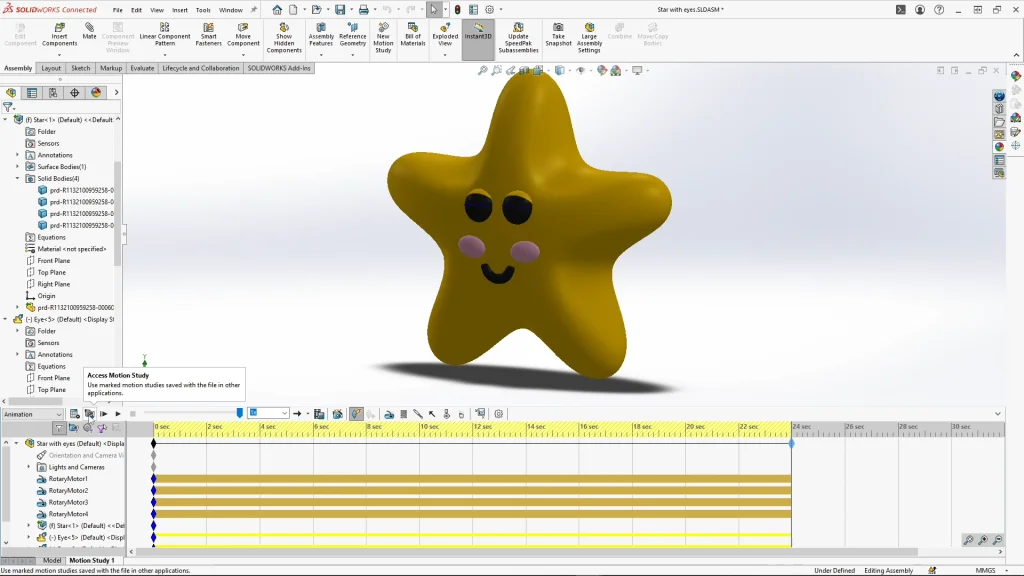
Moving into part 2 of this tutorial, it’s time to animate the star! Before you do this, if you’re using the SOLIDWORKS Connected version, the SOLIDWORKS Visualize add-in is not available just yet, so to retain the motion study information, check the icon seen below, this will open my assembly in Visualize and the motion study will come in as animation keyframes.
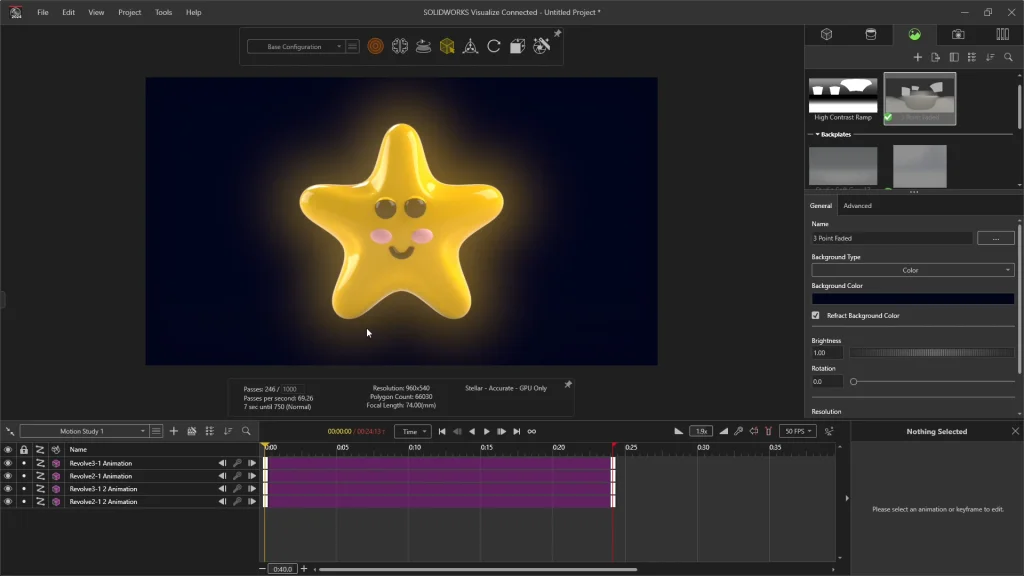
Before I continue, you will see me switch between the two render view modes throughout, using preview mode to watch my star moving smoothly without waiting for render passes, or using the accurate mode to view the appearances, background, and filters as they will look fully rendered.
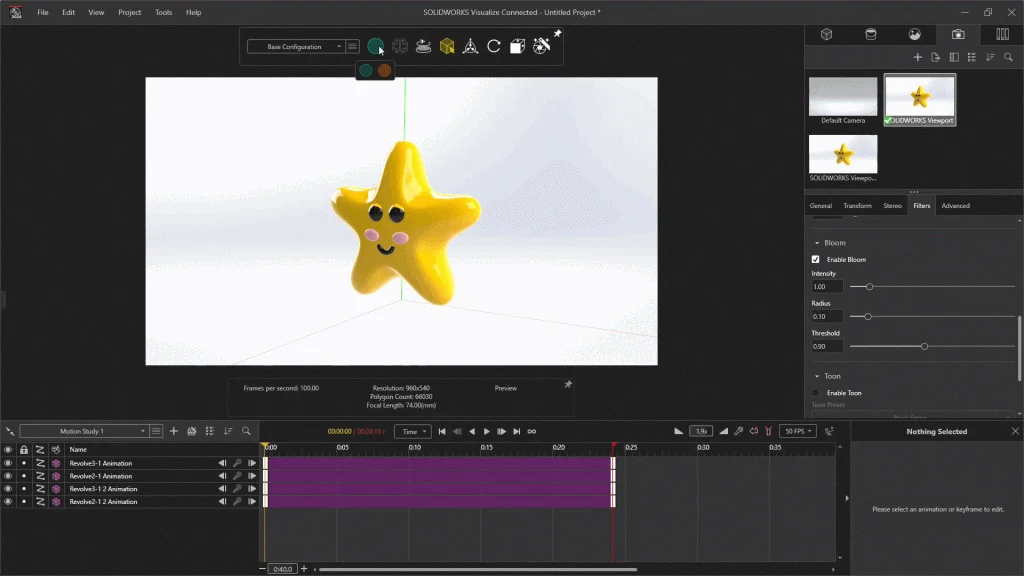
Selecting the camera tab, I duplicated my camera viewport, which is useful to do if you’re working on an animation. One is used as the animation camera, and the duplicate is to change the view of the camera to see model details without worrying about moving your animation cameras. Selecting the filters tab, I enabled the bloom filter, this creates a subtle glow around the bright areas of an image or model. In this case it will apply to the star. You can see a glow that surrounds the star and reflects into to the background.
To animate the star, I can go to the models’ tab, but before I add an animation key to the model, I dragged the animation end bar to around 29 seconds, which would be the length of my full animation. Then highlighting the four animation bars responsible for the blinking eyes of the star, I dragged them slowly to begin at around 2.5 seconds, as the star will be off camera before this point. I switched on the auto keyframing icon so that any movements I make to the star become a new animation keyframe.
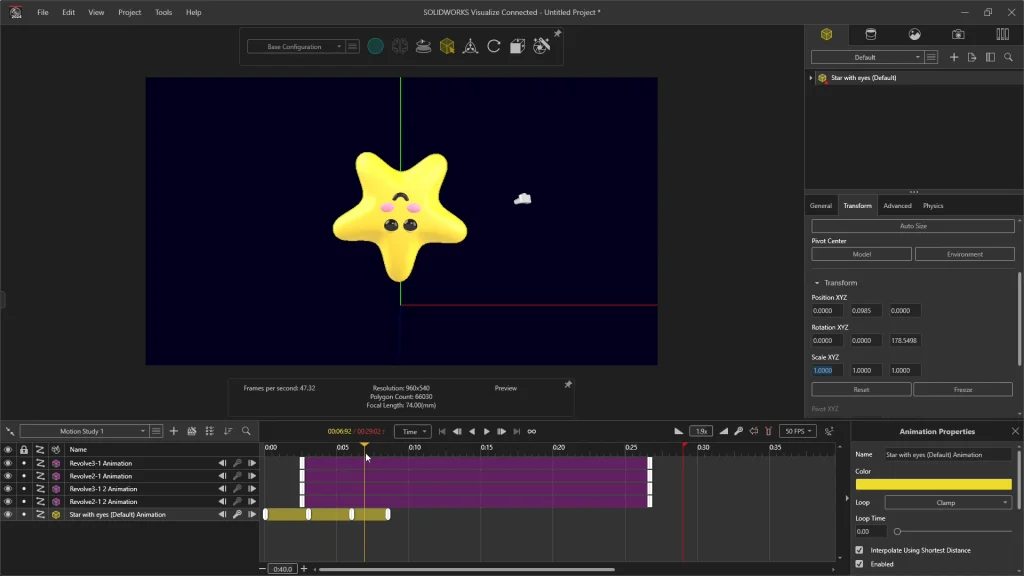
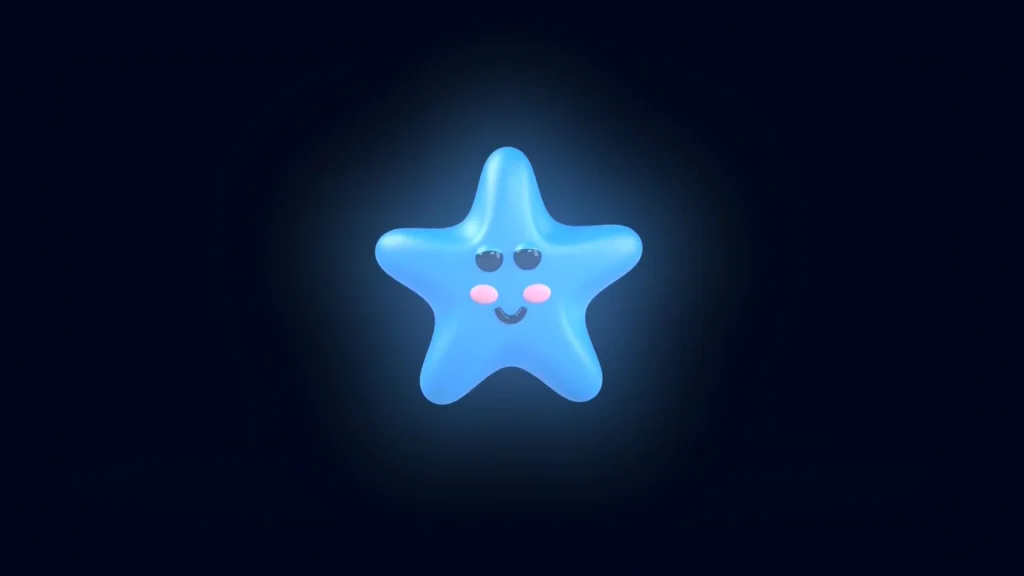
For the first keyframe, I selected the whole model under my models’ tab and pressed ‘K” on my keyboard, this is the shortcut for adding keyframes to an animation. You will need to watch the tutorial to see all of the animation keys I created, including how I rotated the star on a different axis. I also demonstrate how to input exact timepoint for keyframes. You will see that the star begins off screen and then comes into center view, rotates 360 degrees, and goes off screen to the right, before coming back. It’s at this point that I planned the color change. The star then rotates again, returns to the center, and goes back off screen to its starting position. This allows me to create a looped video.
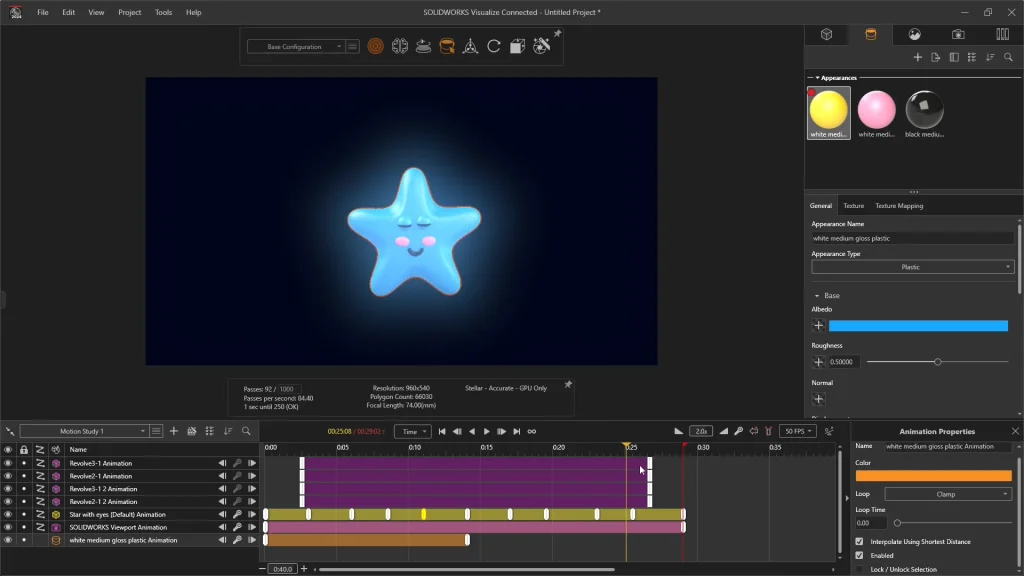
To create the color change, I clicked onto the appearances tab and added a keyframe to the yellow plastic appearance from the start point of the animation. From here the star will be yellow, I needed to turn on auto keyframing, so that at 14 seconds when the star goes off screen to the right a new keyframe will be created when I change the yellow to a blue. From 0 to 14 seconds, the yellow appearance changed gradually to the blue, but I didn’t want this, so to fix this, you can select the first animation key for the appearance and under the transition drop downs, for the transition ‘out’, selecting hold will ensure the key holds the settings throughout, until the next keyframe.

You can view the final animation at the end of my tutorial, the end result has been edited to have music behind and also loops back around to have the yellow star come back in. The possibilities for this are endless, there could be multiple stars within the animation, moving in different directions and be different colors, just experiment and see what you can create.
