
Special thanks to: Intel® and SOLIDWORKS for their great maker tools and commitment to pushing the creator ecosystem forward.
This project empowers anyone to build their own arcade cabinet from plywood, commodity hardware, and open-source software. The all-in parts budget can be under $500 depending on how many features you want. A talented team can complete this in a day. A motivated learner might need a month. The goal is an introduction to CAD, CNC, electronics, operating systems, game programming, art, music, cloud services and entrepreneurship through the creation of a quality product.
The base cabinet is intended to work out of the box by following the steps detailed in this article. Once built, the creator(s) can then approach public venues in their local community (e.g. cafes, laundromats, restaurants etc) and offer to place the cabinet in their venue in exchange for 50% of the revenue. This is a 100-year old business model that governs pay phones, jukeboxes, pinball, vending machines, etc. where the operator buys and maintains the unit and the venue provides space and customers.
Motivated makers looking for additional challenges can extend the platform in any of a number of ways detailed below including changing the game, the cabinet art, alternate controllers, and more.
Quick history of arcade cabinets
The first video arcade cabinets were installed in Andy Capp’s bar in Sunnyvale. The first game was Space War and it was too complicated and not successful. The second was Pong, which was so wildly successful the quarters overflowed the coffee can that was inside to catch the quarters in the first machine.
These early arcade cabinets had a lot of specialty aspects, but two are important for our discussion:
- Displays at the time were huge Cathode Ray Tube (CRT) monitors that had large depths. This meant the arcade cabinets needed to be large enough to accommodate.
- The games were triggered by coins dropping past a switch, and then later dollar bill acceptors that simulated coin drops. In both cases, the arcades were holding cash unattended in public places for indeterminate periods of time. As a result they needed to be built to withstand heavy abuse and tampering.
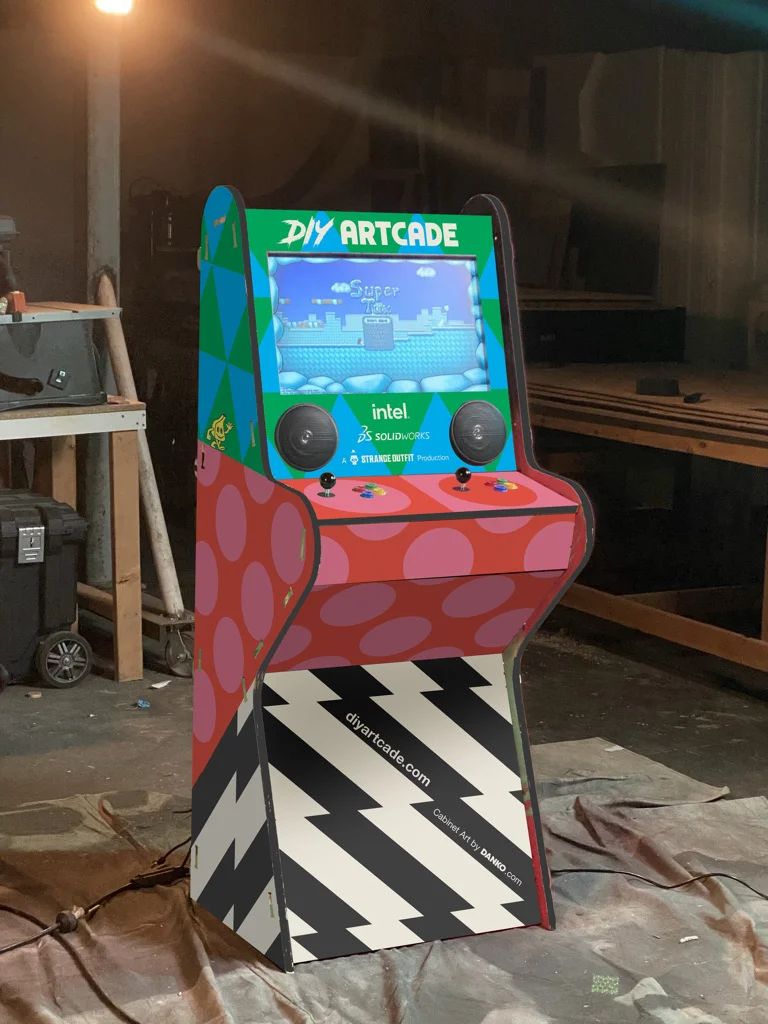
Modern innovations including flat panels and mobile phone payments enable a re-imagining of the cabinet to simplify the enclosure. When a user wants to play the DIY Artcade, the game presents a QR code that the user can scan and pay from their phone. A successful payment triggers an Amazon AWS EC2 cloud computer to send a message (over the MQTT message bus) to the Artcade indicating it has a credit and can be played.
At Two Bit Circus we love cardboard in our design process. It’s plentiful, sturdy and can be manipulated easily so it makes an excellent solution for quick prototyping. Nirvan Mullick’s video about Caine’s Arcade struck a chord with 11M+ YouTube impressions and counting. It ultimately launched the non-profit Imagination.org whose annual Cardboard Challenge is a global celebration of making with cardboard and thousands of participants. Two Bit Circus Foundation eventually acquired Imagination.org and together with our STEAM Carnival program and have continued to bring these inspired learning programs to schools around the world.
DIY Artcade is the step after cardboard. While Cardboard is great for prototyping it does not stand up to constant use from the general public. After cardboard you need more durable materials like wood, metal and plastic. We focused on a game-related platform because most kids love games. If you start from passion the learning can come as a wonderful side effect of authentic, motivated engagement.
DIY Artcade ships with a two-player fighter based on MUGEN called Ikemen Go. We selected this game because of the broad appeal from gamers and non gamers alike for the classic Street Fighter genre. It supports two players simultaneously which is more social than solo or sequential play. Ikemen Go has ample support for customizing the characters and backgrounds giving students an entry level of control over the experience. It is also an actively supported open source project with a vibrant community of coders to support learners.
The Two Bit Foundation is available to implement the program for schools and districts.
Steps to build DIY Artcade:
Purchase the parts. See this parts list with tabs for both the full featured version and an economy cabinet without a few conveniences.
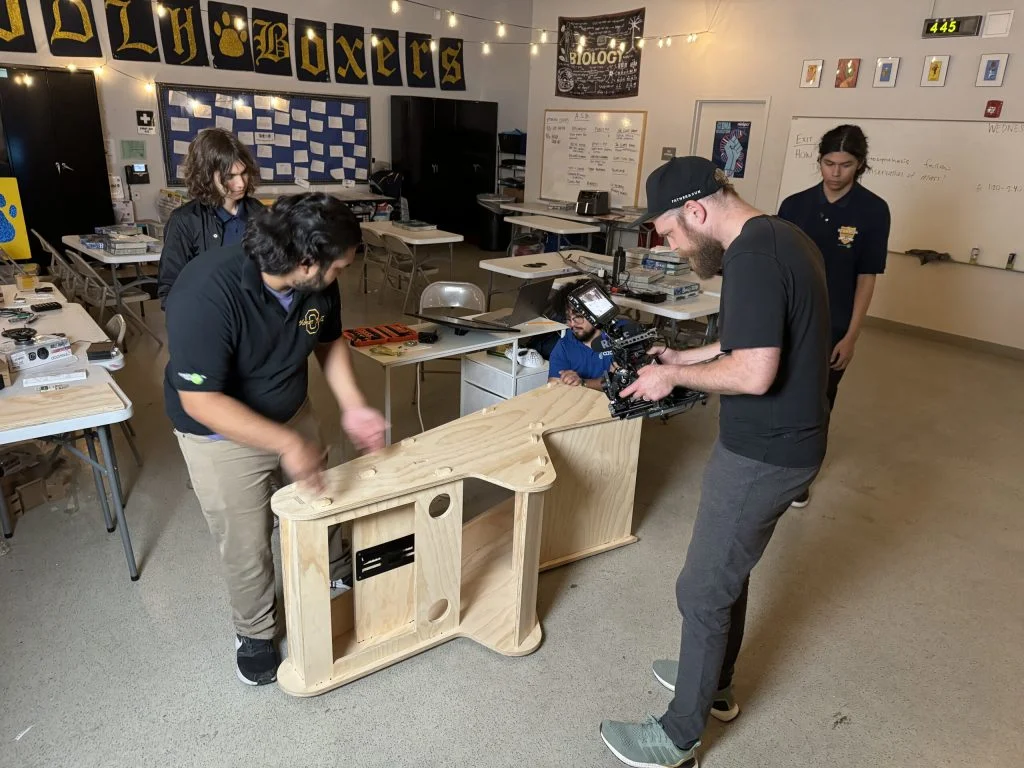
1. Cut the cabinet:
- Select a countertop cabinet of full size from the files on Github
- Consider Solidworks for Makers to make the design your own
- Choose your plywood. 3/4″ birch plywood with black plastic laminate finish or more economical ½” with no finish.
- Cut your chosen cabinet on a 4’x8’ CNC router table.
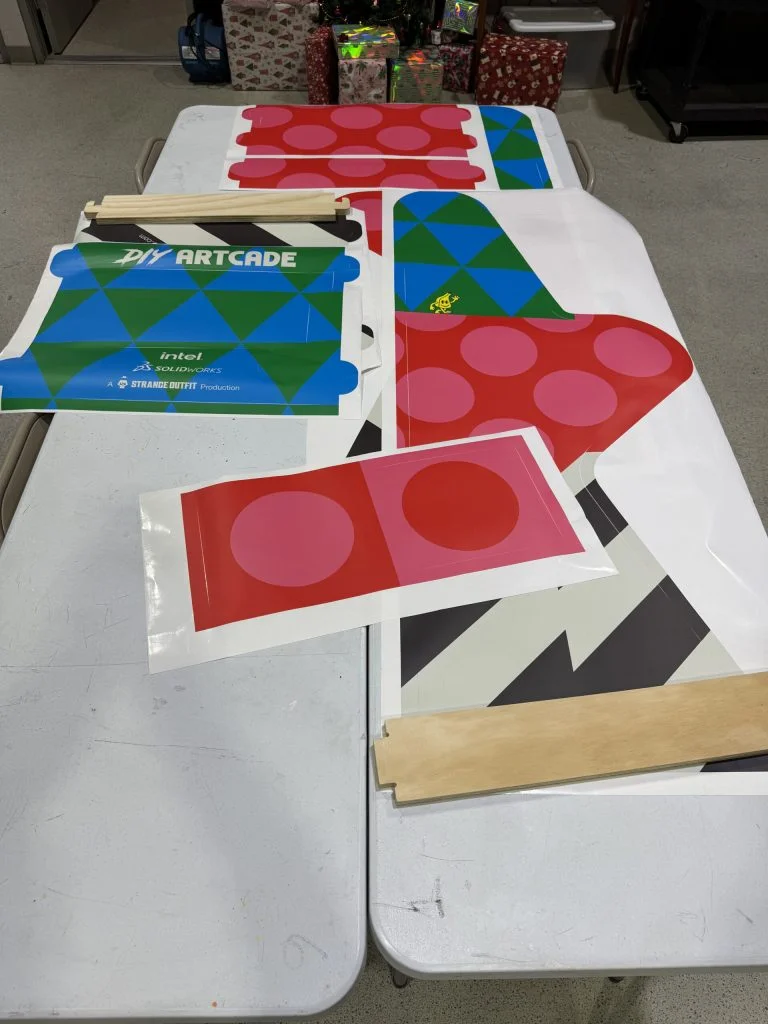
2. Get the Cabinet Vinyl:
- Download the EPS file of the sticker and make any changes using an open source image editor like Gimp.
- Order the sticker from a large format sticker printer like Sticker Cheetah.
- Apply the vinyl to the cabinet faces before assembly
3. Flash the OS image onto the computer
The credentials for the Ubuntu users accounts in the ISO are: Username: strangeoutfit Password: Strang3Outfit! Username: root Password: SuperStrang3Outfit!
4. Use balenaEtcher to flash the image onto a USB drive (min size HERE)
5. Wire up the cabinet with the electronics. IPic wiring diagram here https://focusattack.com/sanwa-jlf-tp-8yt-joystick-precursor-to-jlx-tp-8yt/
6. Setup online services including Stripe and Amazon AWS. Start here.
7. Test!
8. Install in a venue
- Find a location in your town that could fit your Artcade cabinet.
- Figure out who the manager is and ask to speak with them
- Offer to place your cabinet in their venue and split the revenue 50/50.
Future Projects and Ways to Extend
There are a variety of ways to extend the existing design. Change the game and its controllers, make the cabinet sticker your own, change the attract mode, or make your own game from scratch. Here are a few ideas:
- Turn it into a driving cabinet!
- Replace the two joysticks with a steering wheel and pedals.
- Use something like these
- Modify the CAD design in Solidworks
- Modify one of the great open source driving games. Here’s a video of the top five. Including:
- Speed Dreams: http://www.speed-dreams.org/
- TORCS: https://sourceforge.net/projects/torcs/
- VDrift: https://vdrift.net/
- Trigger Rally: https://sourceforge.net/projects/trig…
- Super TuxKart: https://supertuxkart.net/Main_Page
- Build a custom game
- Experiment with other inputs like weighted spinners, games that use only buttons, games that use two joysticks per person etc.
Key Links
- Link to GitHub https://github.com/strangeoutfit/diyartcade
- Link to Parts list Google Sheet
- Link to Vinyl graphics
- Venues interested in hosting a DIY Artcade submit this form
- Schools interested in the program should please email info@strangeoutfit.com.
Sticker Vendors
- Sticker Cheetah
- goldimageprinting.com
- gameongrafix.com
- 6mm White vinyl
Thank you!
- Creative Project Managers: Ben Taylor, Amber Justmann
- Operating System Guru: Manuel Martinez
- Creative Product Manager: Zach Fish
- Initial Cabinet CAD Design & parts list: Mark Klebach
- Intel® Consumer Industries Team: Morgan Andersen and Joshua Cork
- Solidworks Maker Program: Matt Clegg
- ASUS: Santiago Reyes
- Dennis Payne, open source guy that made some tweaks
- Videography: Timon Birkhofer
- 1st Cabinet Build, Paint & Sizzle Video: Brandon Oldenburg, Ricky Crum
- 2nd Cabinet Build: Michael Fontiains, Basil Katz at Cinnabar
- Cabinet Art: Jimmy Danko
- Cabinet Vinyl Printing: Matt at Sticker Cheetah
- 1st Cabinet School Program: Robert Pambello, Christian Quinteros, and Students at Animo Green Dot
- 1st Public Venue: Popeye Vasquez at Dave & Busters Hollywood & Highland