
Let’s face it at some point or another most young aspiring engineers or designers have thought how cool it would be to make their own go kart, off road buggy or just ride on kart type of thing… well now as a grown adult with a small addiction to buying other peoples junk online, I’m going to attempt to make that young kids dream a reality. I set about the start of this project in my usual fashion, spending a few hours on google and forums looking for advice and inspiration before ignoring the majority and heading for some online auction sites to buy some of the components that I ultimately could have designed and manufactured but would either A, be more expensive in terms of materials or labor hours and B, be outside the capabilities of the equipment I had available easily.
The first of these components which I’d look to buy in was a rear axle, while I’d love to have a decent sized lathe in my workshop to turn my own, I don’t have either the space or time to make the investment worth it.
Now the good thing about a lot of people wanting to make such a kart is that a nearly equal amount of people give up before they finish it… luckily for me that meant the internet is a treasure trove of affordable parts on the second hand market which other people who’ve given up on a project look to offload!
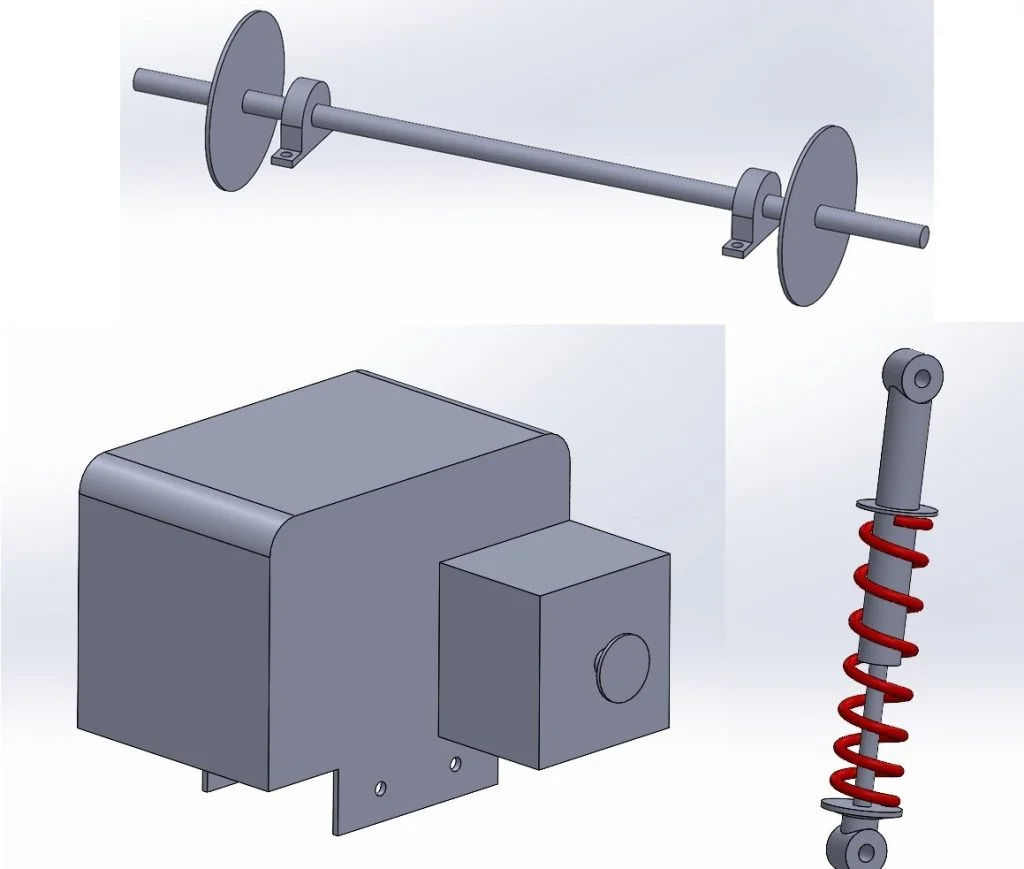
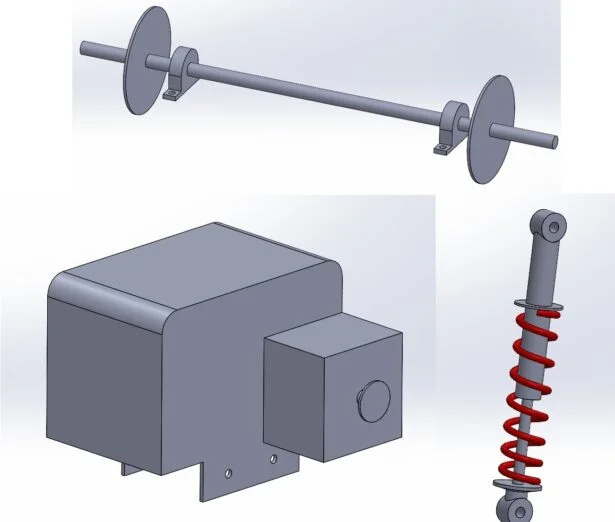
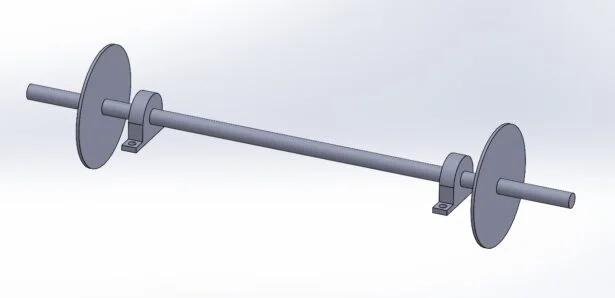
I managed to source and collect a small rear axle with brake system and sprocket locally with ease, once I had this in my possession it was time to model it up so it could be used easily within my assembly models. I jumped into SOLIDWORKS for Makers and made a close copy of the key dimensions of the axle assembly, I didn’t need every detail captured just sufficient to allow me to design other parts from its key locations.
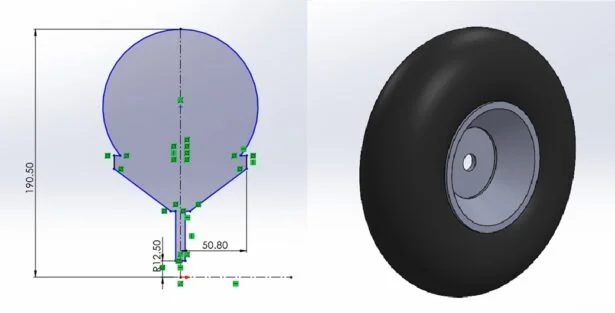
So now I had an axle and a CAD model of it which I could start to design from, however, I needed to find a few more components to really allow me to get this project moving. I went back to the trusty internet and found the next logical component I’d need.. some wheels. As with the axle, I got lucky with someone else getting rid of parts and bagged 4x 13” OD wheels that would mount directly onto the hubs on the axle. Again, I just needed a rough model to use in my full assembly to check ground clearance etc. SOLIDWORKS for Makers made easy work of this and within a few minutes I had a model detailed enough to work with. I added some color to certain faces just to help distinguish the tire from the rim.
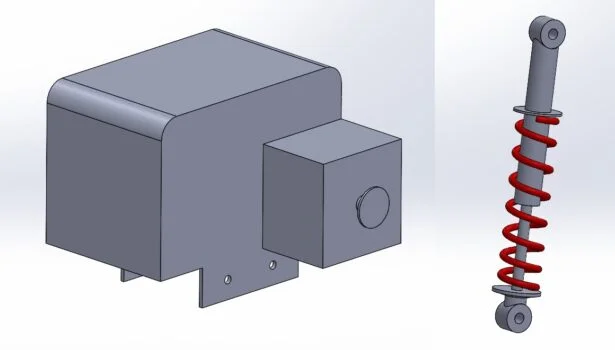
I had a few more bits that I’d ultimately need to source as bought in components, a seat, some way of making the kart move and some way of steering it. I was least worried about the seat and most worried about how to make it move… the mechanical engineer in me wanted to use an engine but the designer in me thought an electric motor may be easier to incorporate. In the end I followed what I know best and went down the mechanical engine route, my brain still tells me that electrics are witchcraft… I found an 89hp 2 stroke motor for sale and ended up collecting it the next day, again I made a simple CAD model showing the key mounting points and power output sprocket which would need to be aligned with the sprocket on the axle assembly. The seat was an easy choice, I managed to find something attached to one of my nephews old sit on pedal along trikes which would work. The same person who I bought the rear axle off had some front axle stubs which I snapped up at the same time, again, for these parts all I needed was a rough CAD model with the crucial connection points in the correct locations to work away from.
All the models I’ve made for this portion of the project all used simple entry level features and tools within SOLIDWORKS for Makers, in the next part we’ll get into some deeper design work around the rear axle assembly including the engine and axle mounts and some bracket features to allow me to mount some suspension components. Check out the video below to see the work on the project so far!