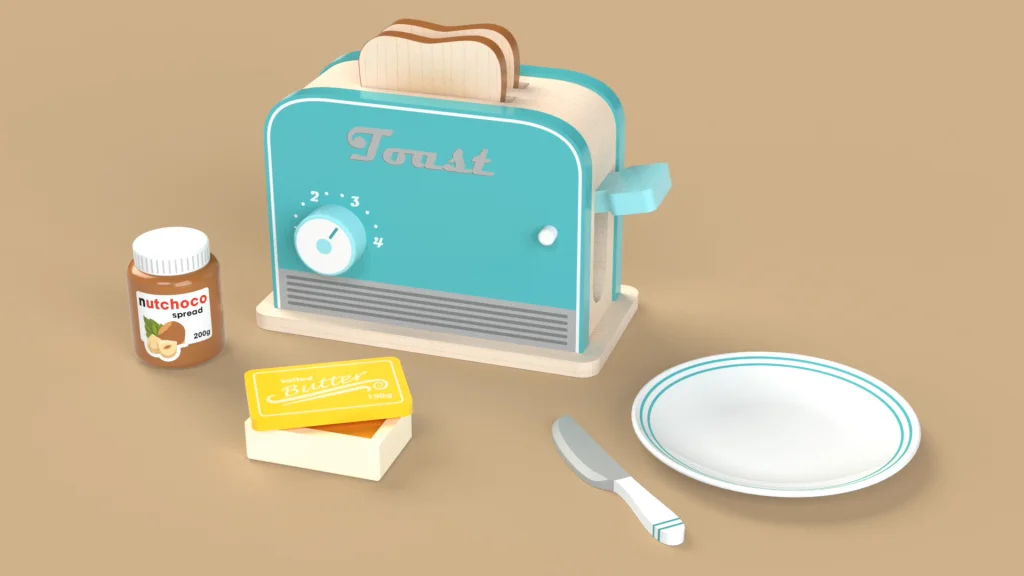
To begin, I have the part assembled toaster, it is just missing the mechanism parts. You can download the files for the assembly here. When I open the initial assembly, all of the parts are fixed, apart from the toaster dial, this was mated into place and will be rotated within the motion study. In the assembly, I demonstrate how to add and mate the toaster’s button, lever, a pin and a pawl part, the mates applied are important as the parts will need to move with constraint in the motion study. Once mated, I could add the toast part, I used the insert components pin to drop in two pieces of toast within the width of the toaster, sitting against the toaster lever, and ensuring it’s center to the toaster holes. When I create designs within SOLIDWORKS I like to add some accessories to add playability to the toy; plus it helps my renderings to really pop! This isn’t necessary for the motion study, so feel free to skip this part of the tutorial.

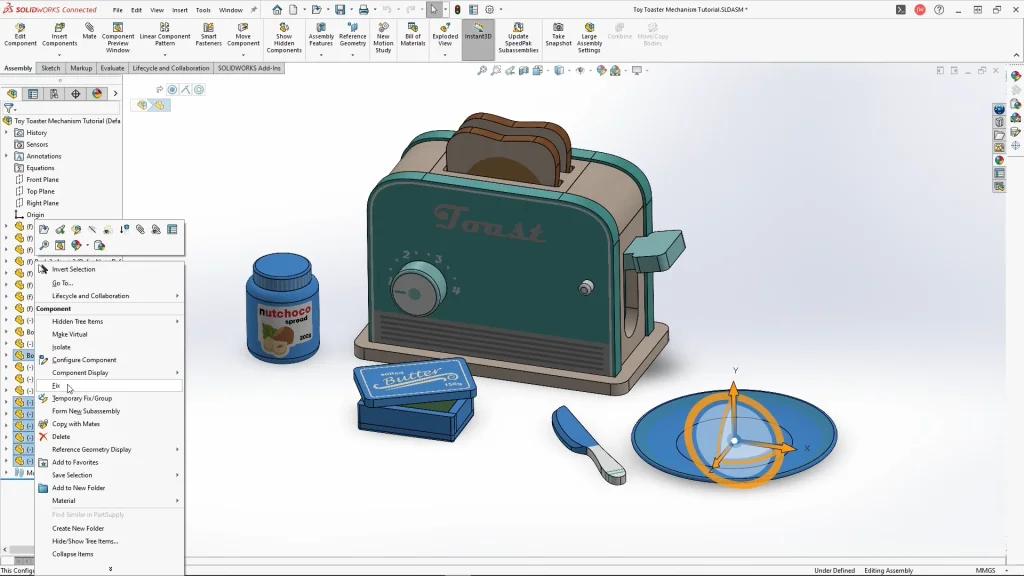
Before I began the motion study, I highlighted the toaster pin part and the toaster accessories from the assemblies parts list and fixed them, ensuring I didn’t select the toaster button, pawl mechanism or toast parts. This is the best thing to do with any parts that won’t be moving in the assembly, otherwise they will fall through the floor or cause the study to calculate slower.
Before I begin, I experimented with many different settings to figure out how to make this mechanism work within the motion study. I’m not a trained engineer, I actually studied 3D design and ceramics at University, but through working in SOLDIWORKS for 10 plus years I’ve learned a few things through the trusted tried and tested method. When creating motion studies, you learn as you go, you can tweak settings and see the effects the changes make and edit again. The default settings for motion study elements are a good baseline to start with but you may find that the results aren’t what you’re after, especially with more complex mechanisms and models.
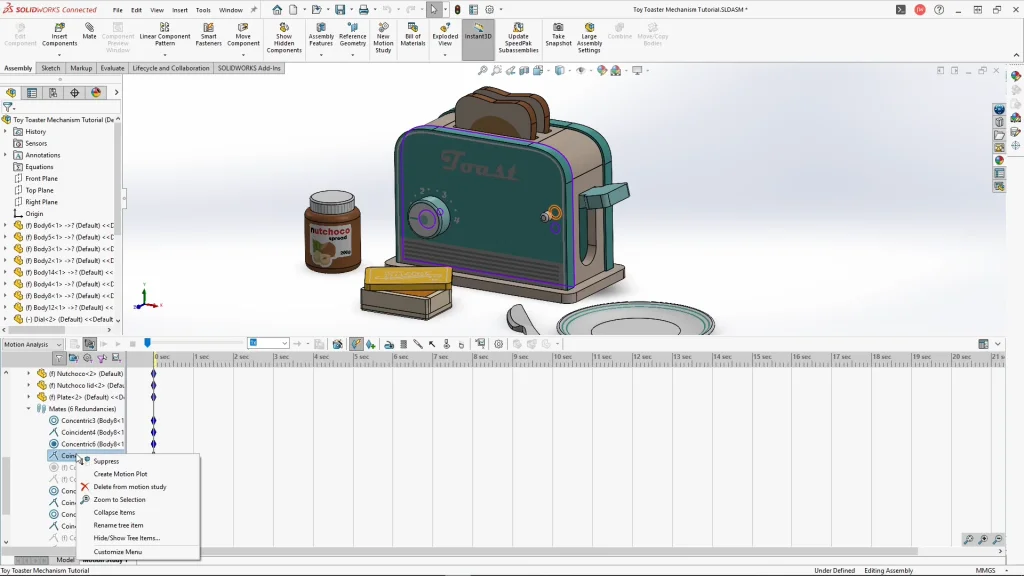
Selecting the motion study tab, I changed the study type to motion study. The first thing I like to check before I begin adding any study elements are the mates currently in place, as these can sometimes interfere with the study. There was a coincident mate keeping the button fixed against the inner face of the toaster, so right-clicking this, I could suppress it. All the greyed-out mates are already suppressed, fixed component mates are automatically suppressed.
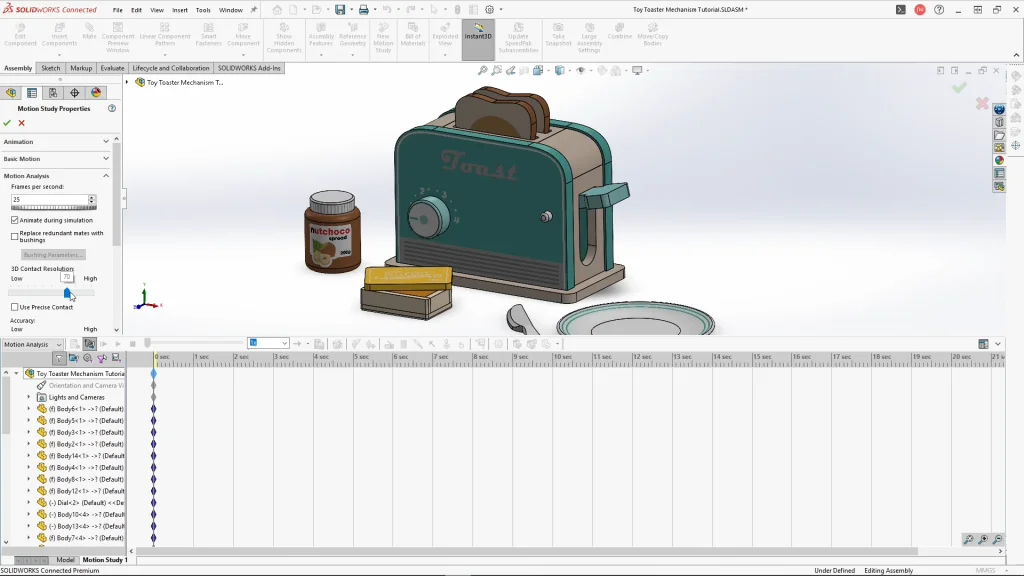
Under the settings icon, I can increase the 3D contact resolution of the motion study which will make the contacts more precise. This can help if you have any parts moving through each other, even though you have contacts applied to the study. For this study I also applied gravity, selecting the Y axis for the direction. I dragged the time bar to 6 seconds, this will be the length of the animation, I tend to keep these short for calculation times and for rendering, as I can always edit the final video to play slower. One of the most important motion study elements is the contacts, without this parts would not interact with each other. Selecting contacts, I used control A to highlight everything, fixed parts will remain fixed, but I need those selected to interact with all of the moving components. I changed the default material of the contacts to Aluminum Dry, to increase the stiffness and damping values between parts.
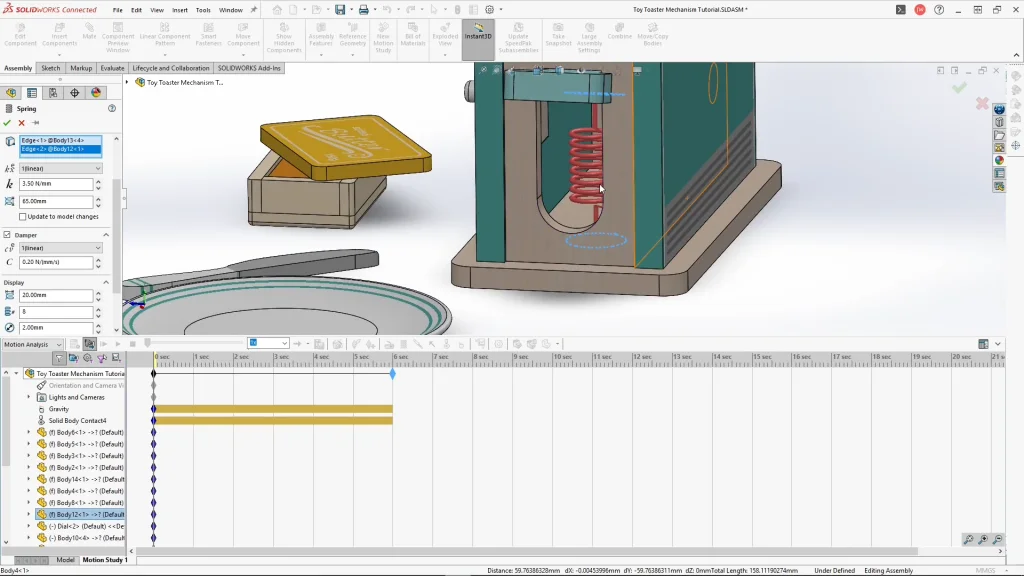
Now to add the springs, I used a linear spring placed under the toaster lever and attached to the base of the toaster in pre-cut blind holes. A preview of the spring will appear like below. For the spring settings, I’m input a value for the springs constant. The springs free height will automatically input the exact current distance between the two spring parameters. However, I’m amended this to 65mm, and I left the update to model changes box unchecked. I added a damper to the spring which helps to dissipate the energy of the spring to stop it being too ‘springy or bouncy’. For the spring display, you can ignore this, but I like to see an accurate visual of the spring size. So I added some values for the coil diameter, number of coils and wire diameter. A second spring was added to the pawl part with different settings, this spring creates a quick release mechanism. When the button is pressed it move the pawl out of the way of the lever, which allows it to pop up.
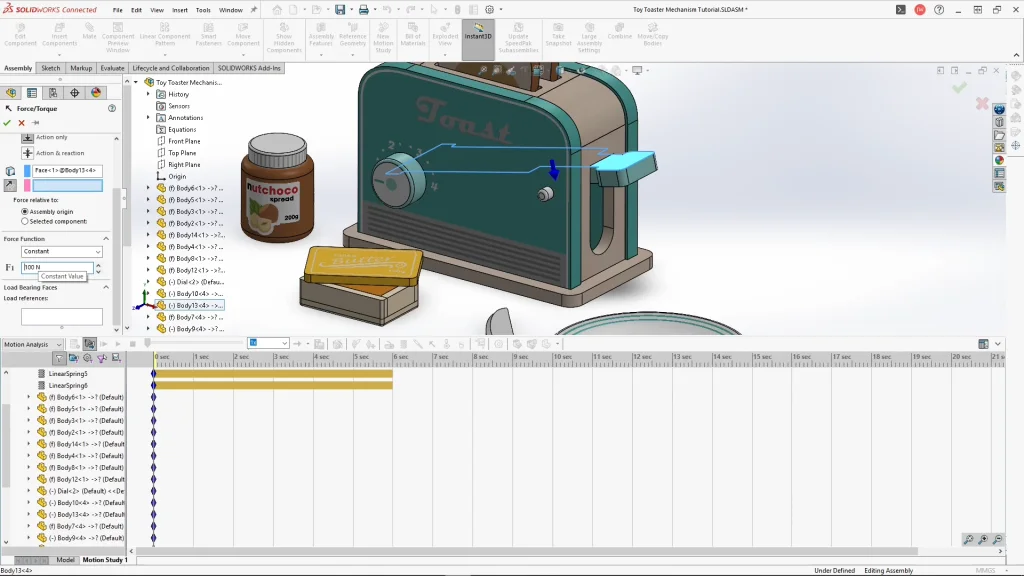
The next element is force, selecting the top face of the lever and flipping the direction of the force to go down, I input a constant value and applied it. For a second force element, I applied a constant force to the toaster button. I ran the analysis at the testing stages and found that the toast bounced around quite a lot. To improve this, I applied a linear damper between the lever’s top face and bottom face from the slice of toast, again this helps to reduce the energy between parts and stops the toast from bouncing too much when it is in contact with the lever.
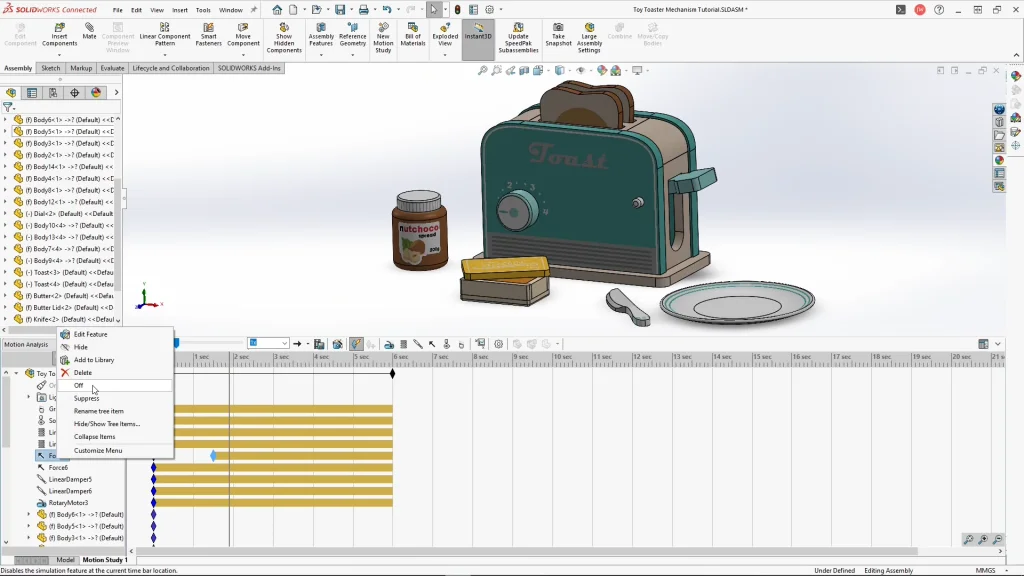
Finally, I applied a rotary motor to the dial, rotating clockwise, I’m changed the motion drop down to distance. Under distance I input 125 degrees, which would turn the dial to point to the number 3 on the toaster. You are able to change the start time of the motor, which will remain on zero, then you can input the duration, and apply the motor. With all my motion elements applied, I needed to edit the force animation keys. For this I needed to decide when the force will begin and how long the force will be on. For the force on the lever, I could drag the start animation key to begin the force at 1.5 seconds, you are able to see the time if you hover over the animation key. Then if I drag the time bar to its end time of 1.9 seconds, I can right click the force and select off, this means that the constant force will apply for 0.4 seconds. I repeated this process for the toaster’s button to release the lever after a few seconds.
At this point I can select calculate, as the calculation plays out, you’ll see as the lever pushes down, the pawl mechanism is pushed inwards, once the lever passes it, the spring behind pushes the pawl back out to hold the lever down. When the toaster button is pressed, it pushes against the pawl and releases the lever. The spring under the lever forces it back up, popping the toast up. If I’m happy with the result, I can render the animation with SOLIDWORKS Visualize.