
To get myself into the festive mood, I decided to model some treats for Santa, and in the process, demonstrate some uses for the thread, intersect and sweep features. The decal used on the milk bottle is available to download here. The festive plate seen in the rendering below can be found in a previous tutorial which you can follow here. Rendering your models with extra parts can increase the realism or add more for the viewer to look at, this is something I keep in mind when I create my renderings.

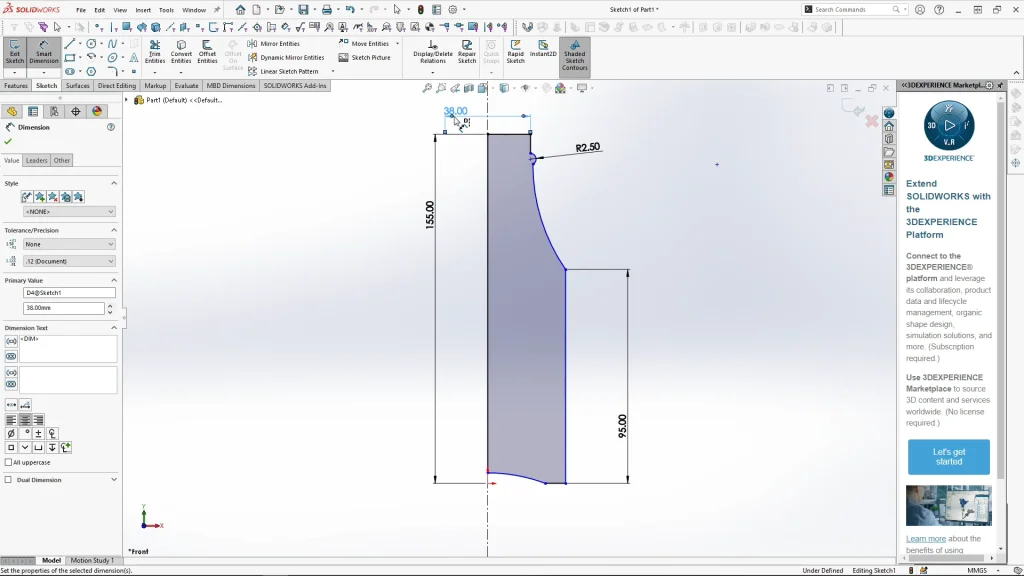
When sketching out the profile for my bottle revolve feature, I used a centerline with infinite length, this is very useful for revolve sketches, especially when it comes to adding dimensions. I can use the centerline to select edges on my profile; followed by the centerline, and moving to the opposite side of the centerline, I can type in an overall diameter dimension of the bottle. Then when it comes to revolving the profile, my centerline is automatically picked up as the axis of revolution. The shell feature was used on the top face of the revolve to hollow out the bottle before I added the thread feature.
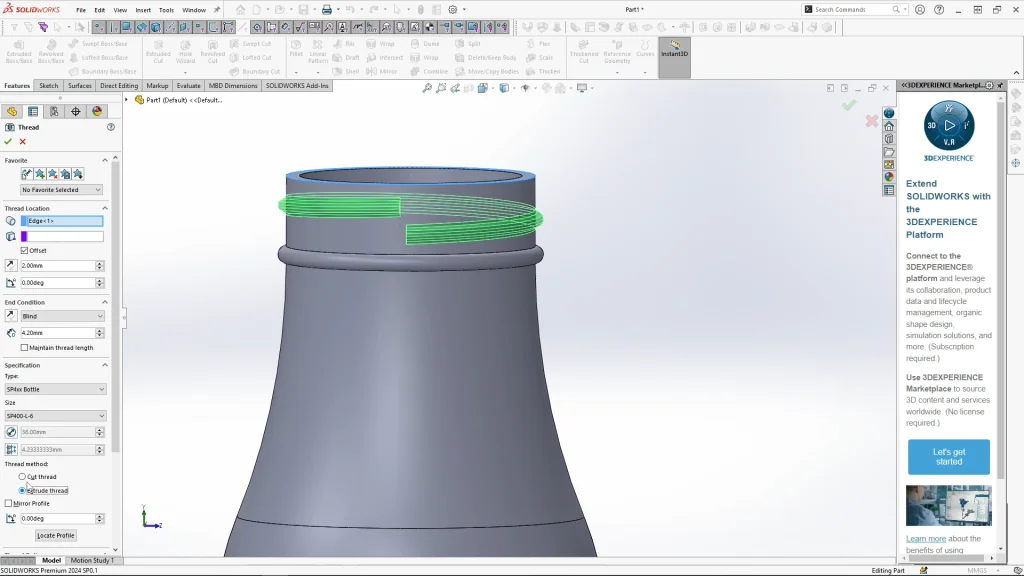
To add the screw top feature to the bottle, I used the thread feature found under the hole wizard drop down menu. For this feature I need to select the bottles cylindrical top edge and offset the thread to start 2mm bellow the rim. I chose the thread type and size from the drop down menus, and changed the thread method extrude thread, the preview changes from purple to green to show you that the feature is an extrude. I then used an asymmetric fillet at the end edges of the thread to slowly taper the end faces onto the bottle.
To create the milk part of the bottle, I used the intersect tool. Before I select the feature, I need to add a new plane through the bottle, this needs to be below the top face or rim of the bottle to work. With my new plane selected, I can select the intersect tool, and change the options to ‘create internal regions’ so that the bottle remains whole and an inner body is created within the bottle up to the plane cut off point. Selecting intersect, I am given a preview with a choice to merge the result, consume surfaces or exclude bodies. I do not need to use any of them, so I then apply the feature and create the milk body.
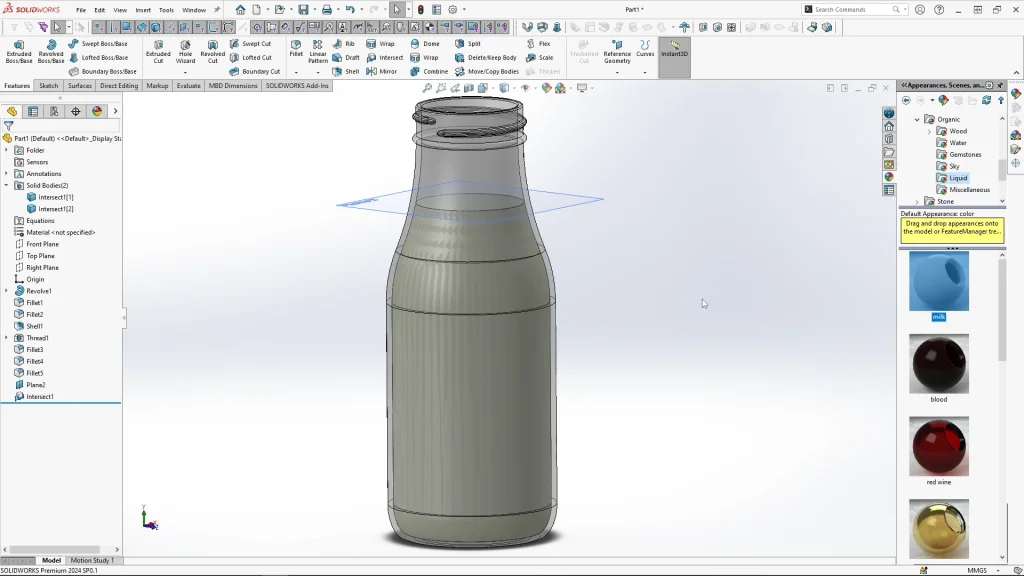
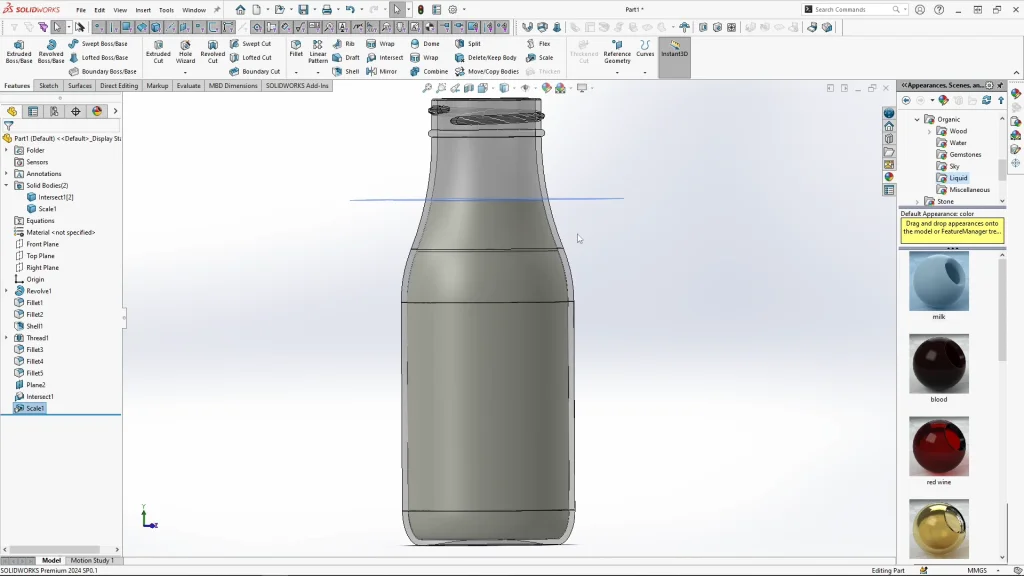
You can see in the above image the weird contact effect between the bottle and milk parts, to remove this, especially for rendering purposes, I scaled down the inner body centroid to 0.995. You can see below the issue disappears, I can see a gap between the bodies close up, but it’s not visible in my renderings.
The final step for the milk bottle part was to add the ‘Milk for Santa’ decal, selecting the main cylindrical face and edit decal, I browse for the decal PNG file and open it. I used the mask image option ‘use decal image alpha channel’ to remove the background. Under mapping options, I kept the type on cylindrical, but changed the mapping reference to my current view. Then I resized it with aspect ratio unchecked to fit onto the front, and moved the decal up the bottle so that it maps onto the other selected face.

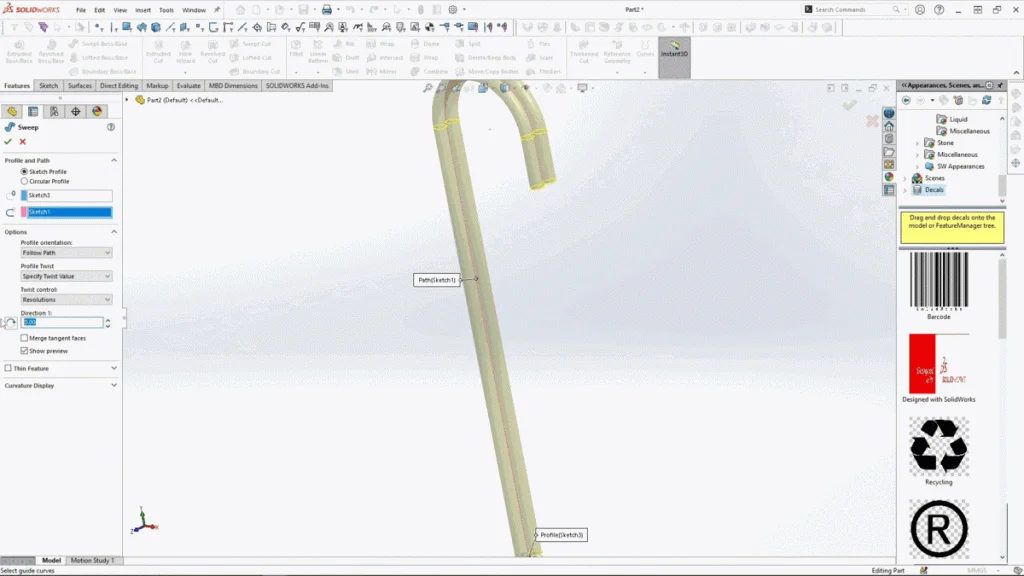
Moving onto the twisted candy cane part, this was a very simple design using only a few features. It was created using 4 sketched circles and a candy cane shaped path sketch for a sweep feature. Because the circles in the sketch overlap, and I want to be able to apply appearances to the individual twists, I needed to sweep two circles at a time, so two of the circles were marked ‘for construction’. Selecting the swept boss feature, the feature picked out the circles for my sweep profile, and for my path I selected my candy cane sketch. When my preview appeared, I had two pipe shapes, to add a twist I could select options and under the profile twist drop down, select specify twist value. For this design, I changed the twist control to revolutions, and the quantity to 6, I could see the changes in my preview.
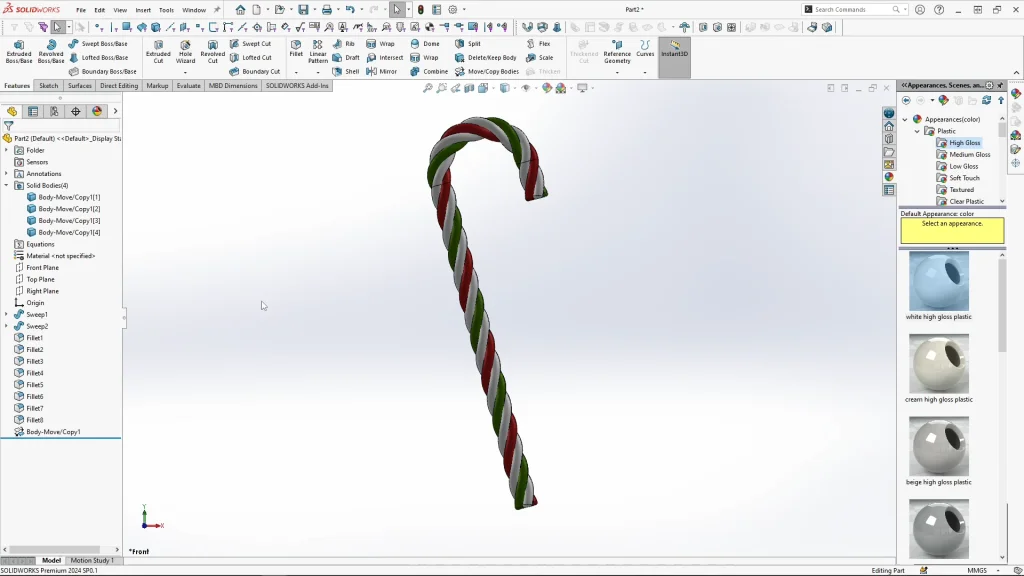
Once applied, I repeated the process with the other two sketched circles, unchecking merge result to keep each twist separate. That way I could apply fillets to the ends faces of each twisted sweep body, and also apply individual appearances to each creating the striped twisted candy cane. Using move/copy bodies, I rotated my candy cane 15 degrees on the z axis ready to hang inside and onto the lip of the milk bottle.
Within my final assembly, I included the festive plate from a previous tutorial I created, added some cookies, and a straw part. The assembly was exported into SOLIDWORKS Visualize to create a mini animation viewable at the end of the tutorial, it involved altering the intersect plane in increments and updating the Visualize model to render each frame.

