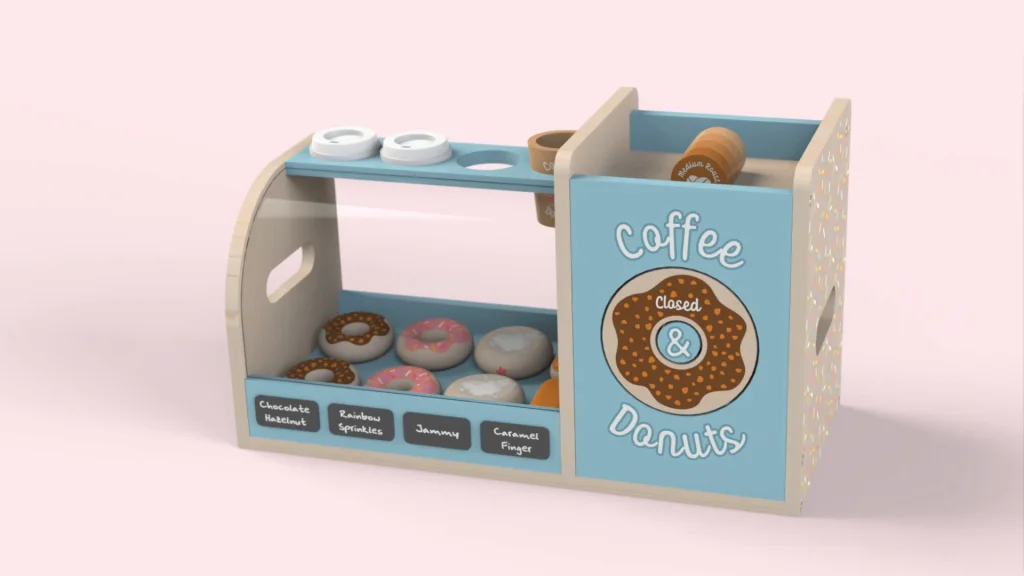

For this SOLIDWORKS tutorial, I wanted to take you through the assembly of a toy I designed in SOLIDWORKS, this includes mating fixed and moving parts and applying smart fasteners to hole wizard features. If you would like to play around with this design, it is available to download here. All part files, including the accessories I created for the toy are in the download. You may notice that some of the toy parts already have dowels added to them, I did this to speed up the assembly for the tutorial, normally I would create subassemblies of parts that have dowels, I prefer this than using smart fasteners within the main assembly especially if I want parts produced by the factories with dowels glued into place.
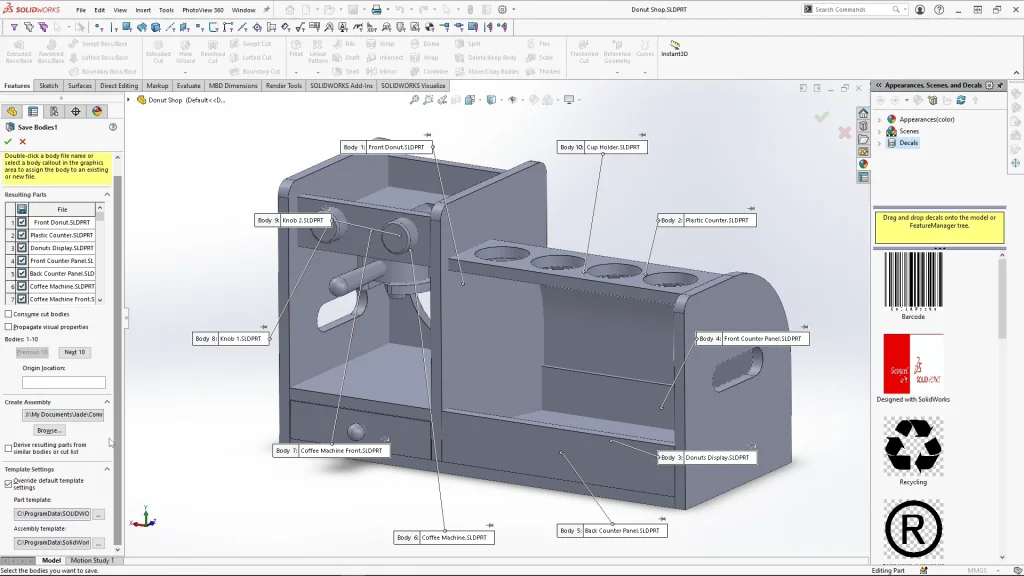
I started my design as a multi-body part, as I often find this the best way to hash out an idea into 3D quickly and play around with it before moving into an assembly. Once I was happy with my design, I exported the solid bodies out to create the assembly. Within the assembly of the toy I could then add any mates to the toy which would imitate play such as moving the coffee filter, opening the drawer, turning knobs, or turning the shop sign to closed. It was at assembly level that I used the hole wizard feature to be able to add fastenings to construct the toy. When using the feature this way, you have to ensure the feature applies to all the toy parts, so propagate feature to parts is checked. When using this feature, your affected parts will highlight blue that the hole wizard applies to. So when you open individual parts of the assembly, you should see the holes applied. For the tutorial, I show you how to assemble all the parts after I have applied hole wizard, I prefer to do this to have a tidy assembly without any features, so I can concentrate on the mates and how the toy is constructed.
For the assembly, I demonstrate the construction in stages, bringing in small groups of parts at a time and mating them into place. I do this in an order in which the toy may be constructed/assembled in real life. It just helps me visualize the toy in a production view and ensure that the toy would be sturdy enough. When mating I like to use quick mates, while in the assembly, press Ctrl and select the entities you wan to mate, SOLIDWORKS will give me a range of mates I can choose from by my selections. The default mate is highlighted in the context toolbar that appears.

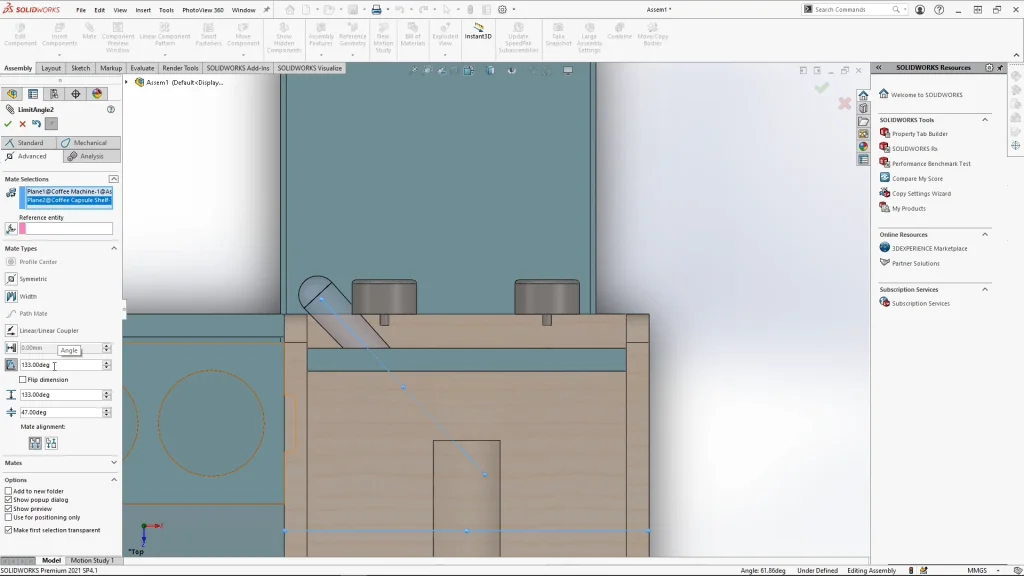
Most of the toy parts have fixed components, however there are some moving parts to the toy, which add some playability to the model. Looking at the coffee machine filter, I wanted to restrict the rotation of the handle so that it couldn’t interfere and hit the panel sides. So, for this I used planes, within the part file I added a plane through the center of the handle, and a plane center to the coffee machine. While inside the assembly, I make them visible for an angle limit mate, you’ll find this option in advanced mates. I input 133 degrees for the maximum position, and 47 degrees for the minimum, I uncheck flip dimension and check the first mate alignment icon. Within the angle limit box, you can test out current positions to view your part at different angles between your minimum and maximum values. Limit mates like this can simulate play of the toy, which can be fun to do but it also serves a purpose, I can test how the toy works, or be used to create animations for potential toy buyers to bring it to life. Re-hide the visible planes.
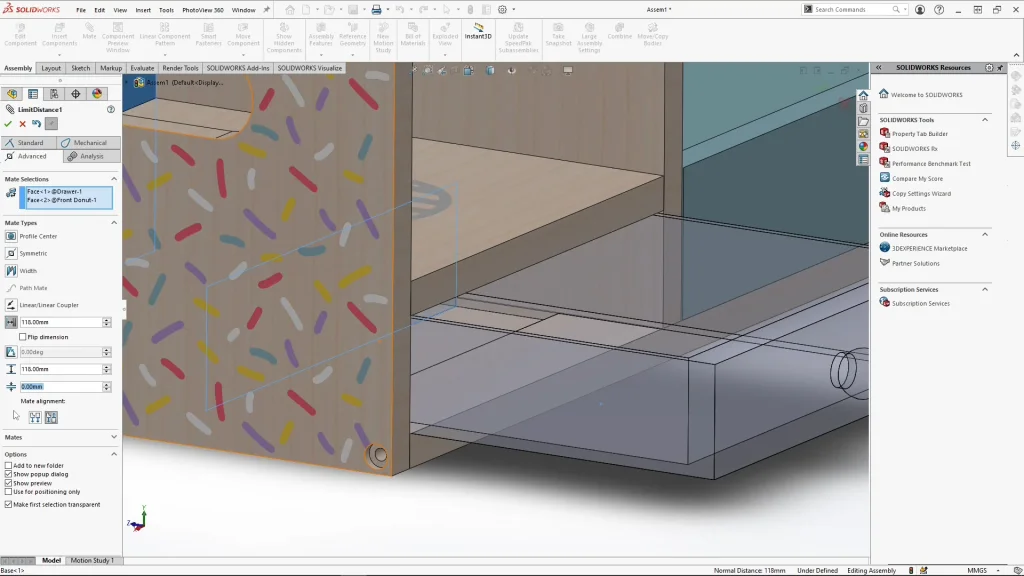
For the drawer I used another advanced mated, the limit distance mate. This is needed to control how much the drawer can pull out and go into the model. The toy is designed to have a stopper for the drawer, but SOLIDWORKS won’t notice this without mate constraints. I added the maximum limit based on the stopper size within the model, you can see the stopper on the drawer hits the inner groove to the maximum it can go to, this guarantees that the drawer cant fall out during play. The minimum limit was zero in this case allowing the drawer to fully close against the back panel face. Once applied you can drag the drawer in and out until it stops.
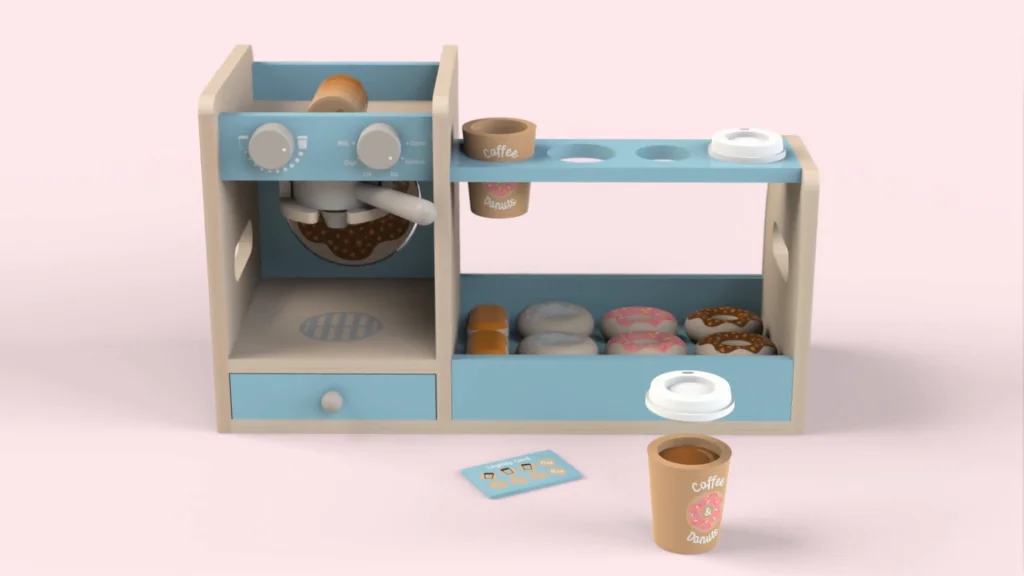
Once to toy is assembled I dropped in all of the accessory parts, you can just skip this step if you prefer, this is just an aesthetics part that I usually need to add to show buyers the fully assembled toy and how everything fits.
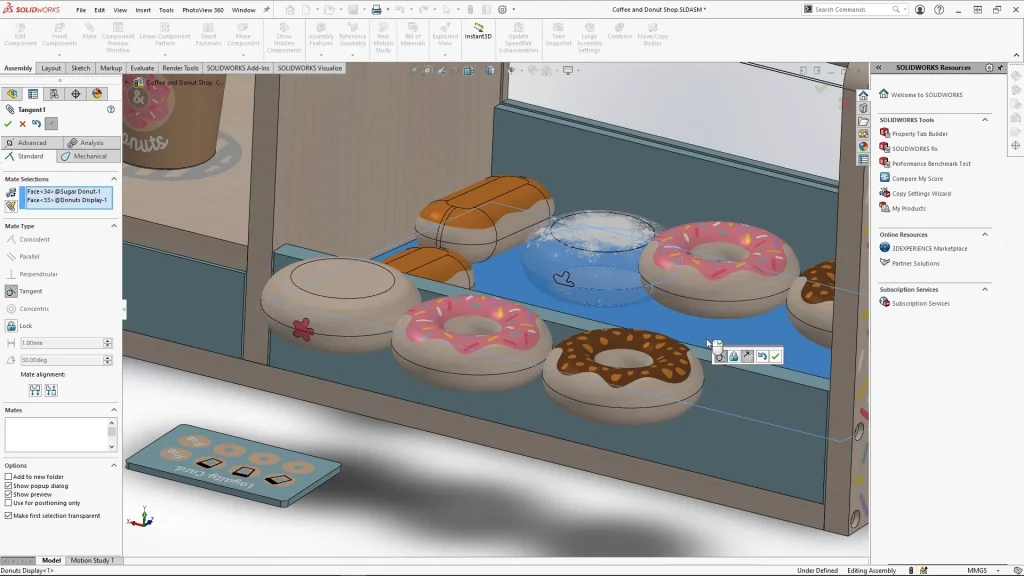
The ring donuts are mated using two tangent mates from the front and back of the base of the donuts onto the donut display panel. The caramel donuts have a flat face and so they are easier to place. The accessories aren’t all fully defined, they are quite free on their placement.
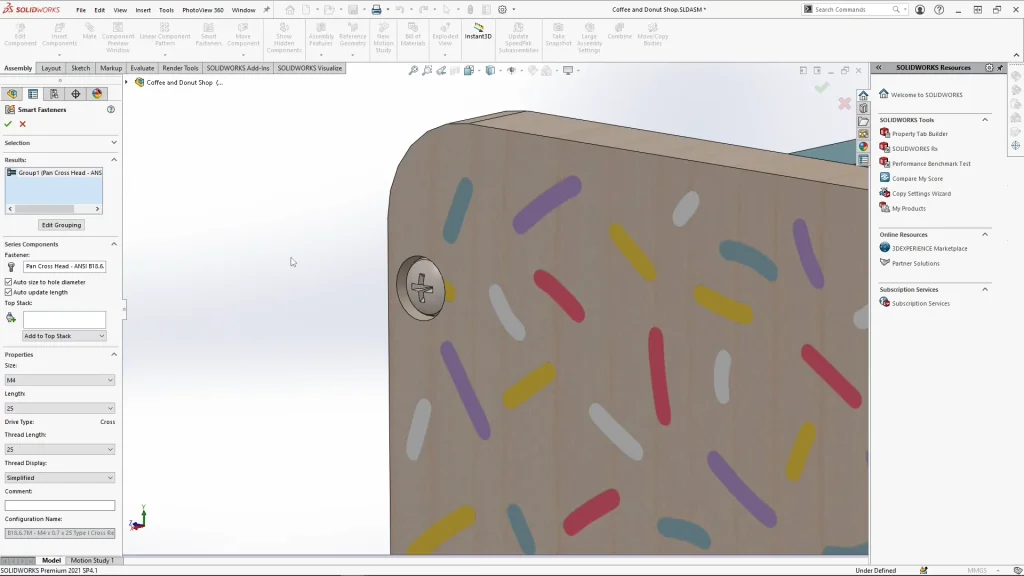
Finally I applied my smart fastenings to fully assemble the toy, I apply them panel by panel, selecting smart fasteners and a hole in the panel, I can check add, pan cross head screws will apply into each hole from the same hole wizard feature. Again as I mentioned above, all of this work was done ahead of this assembly, and the hole wizard tool was used and applied to all parts. You could use the populate all option for the smart fasteners, but I have dowel holes within the model and I don’t want it to add to those too, also if you want to avoid any issues with the design sometimes I find it best to add fasteners in small groups.
The final renderings and animation seen at the end of the tutorial were all created with SOLIDWORKS Visualize.