
I created this tutorial after reading countless sliding nursery rhyme books for my 10-month-old, I can’t help wondering how would I model this in SOLIDWORKS whenever I play with something that has moving parts. So, for this tutorial I did just that, we will be using custom DXF files that I created in a vector software and import them in SOLIDWORKS to extrude book pages. I do not model all the pages in the tutorial, but the remaining pages and the decals applied in the tutorial are available to download here if you would like to follow the tutorial and try it out yourself.

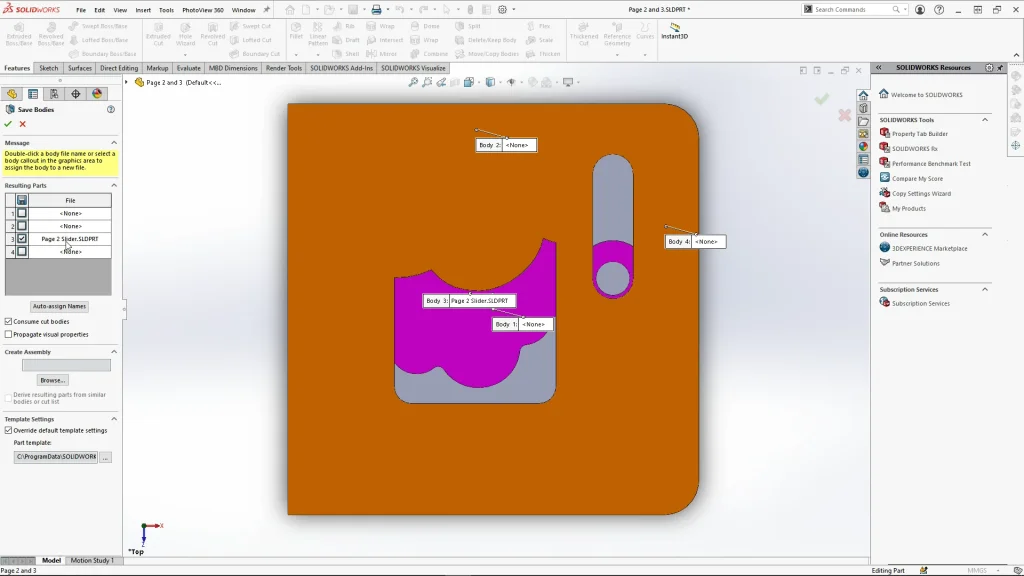
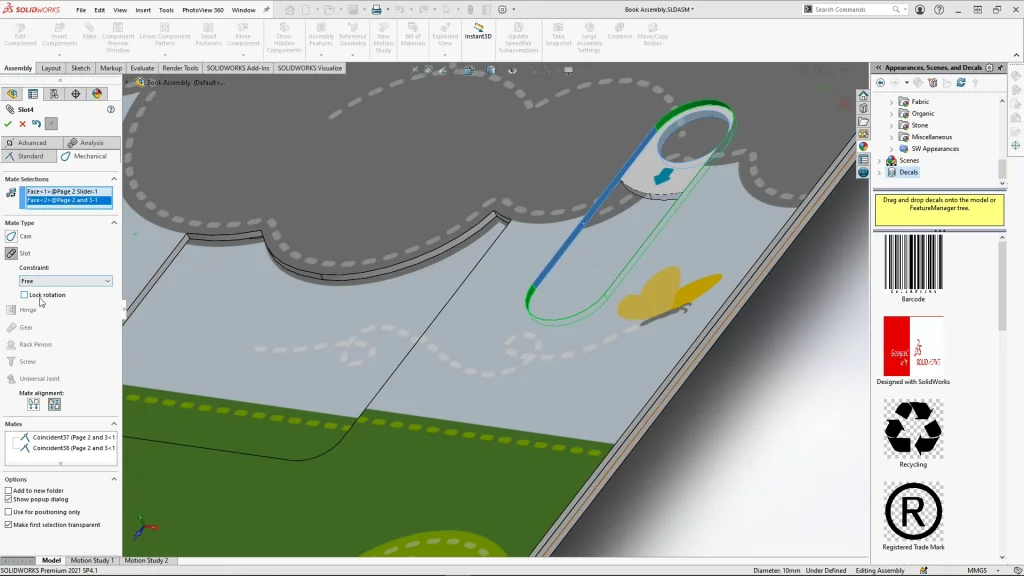
The DXF files were imported into the part layer by layer, the sliding part of the page and each layer were kept as unmerged bodies. The sliding slot is created by copying the sliding part and the moving it as far as it can to be able to sketch out the slot based on the placement of the star and end position of the sliding layers holes. I used move/copy bodies and with constraints selected, I added a mate to the copy of the slider to move it to the maximum height it could slide within the book page. This made it easier to create a slot sketch and cut it out of the page. The slot marks out the maximum boundaries for the sliding element when it is mated with a mechanical slot mate within the assembly.

With the slot in position, I could delete the copy of the slider from the solid bodies list, then after saving the page part, I renamed the slider body as page 2 slider. From here I could right click onto solid bodies, select save bodies and under the selections box click onto the slider body so that it becomes checked within resulting bodies. Before confirming this, I ensure that I have ‘Consume cut bodies’ checkbox checked, so that when I okay the feature, the slider body will open into a new part and will be removed from the page part., thus becoming two separate parts for assembling. Some people may say, why not send them out together as an assembly and make it flexible, well, If I did this I wouldn’t be able to add the decals to them in the part as this data would be lost, so I much prefer to work this way.
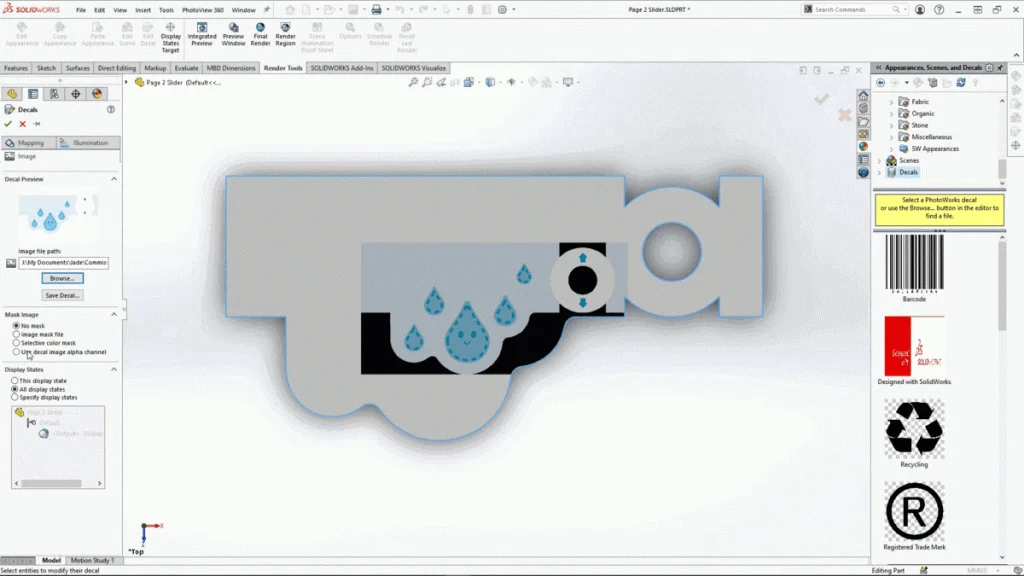
Once I have the page all modelled, I could then save the bodies as 2 new parts, one being the layered page, and the second the sliding part. Once I have the parts saved It is time to add any appearances and decals. The decals are applied using label and projection mapping and parts are resaved ready for assembly. For the sliders decal I used the use decal image alpha channel masking option to remove the black background of my PNG image. When exporting an image for using as decals I do usually opt for the PNG image over JPEG as it is so easy and clean to make in SOLIDWORKS. You will only be able to mask areas that were transparent within your vector software to use this option, otherwise you will need to use selective color or image mask instead. Then under the mapping tab, label mapping was already selected as the best option for this selection, so keeping it on label I could then check the fit width to selection box and the decal enlarged to fit the whole part face.
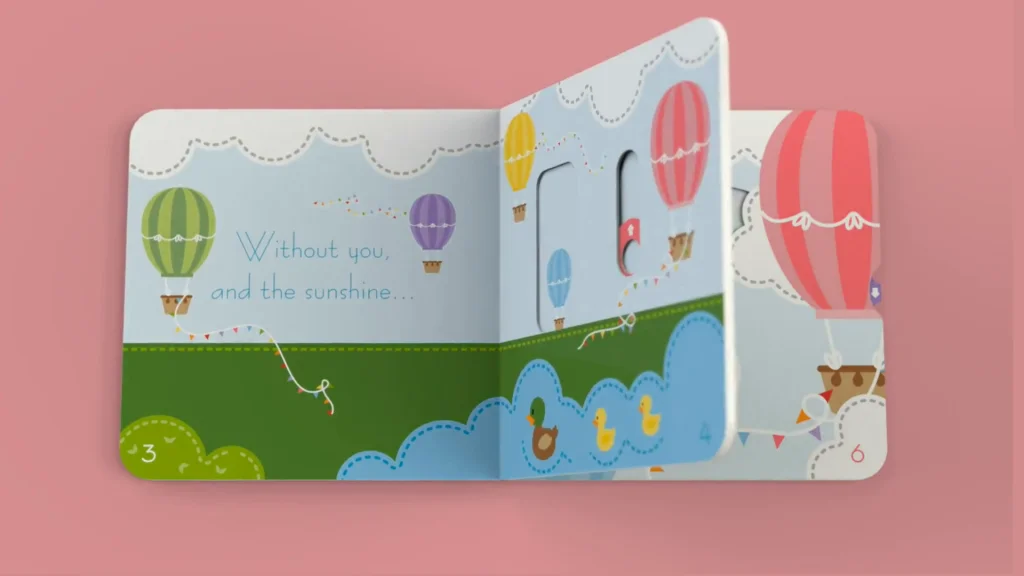
The assembly of the book is a little tricky, I have uploaded the book part assembled so that during the tutorial, you will only need to add the page we create in the tutorial and the books cover page. The other book pages needed to be fixed with coincident mates as pages are moved, these mates also allow you to quickly close all the pages of the book. Coincident mates are used to line up and join book pages together and limit angle mates were added between the page faces to allow a maximum of 180 degrees and a minimum of 0 degrees to open and close pages. I also added slot mates to the sliders for each page. The slot mate, found under mechanical mates was used and constraints were kept on free so that I could play around with the book in real time during the assembly. The last page you will see in the book is a wheel shaped slider and so this was attached with a concentric mate.
If you watch the tutorial to the end, you will find a mini rendered animation created using a motion study animation which was exported from SOLIDWORKS and rendered within SOLIDWORKS VISUALIZE.