
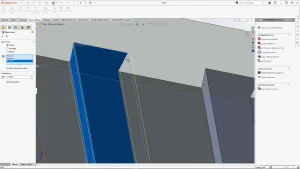
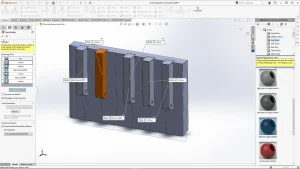
Continuing with your Piano model, you will need to have watched part 1 of this tutorial if you wish to follow on. The next step was to prepare the model by adding print tolerances to make it easier to remove the black keys from the piano. To do this quickly I used the direct editing tab, move face, and offset, using this I could add a 0.3mm offset into the space for the black keys. Depending on your own 3D printer or print material you may need a slightly larger smaller offset, so check this beforehand. The offset was applied to all five key spaces. One thing to note is that I applied a tolerance to the black key extruded sketch profile when I space the edge of it 0.3mm off the white piano keys base, so this would also need amending based on your print tolerances.
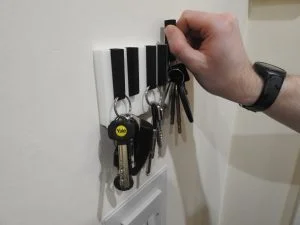
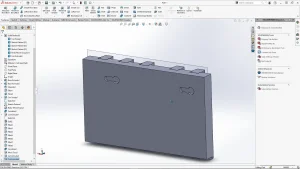
The next thing I needed to do was to add some keyhole slots on the back of the piano for hanging. For this I went with horizontal keyholes slots by placing them this way I am removing the risk of it coming off the wall every time keys are slid out of the piano base. This part of the tutorial is again open for some tweaking dependent on your screw sizes you may need to enlarge the holes, but be aware of cutting too far into the piano base part. When mounting my 3D printed piano keys holder onto the wall, I had to ensure that the screws were very close to the wall so that when I slotted the print onto them and slid it along the slot recess it would lock it into place.
The last thing to do is to use save bodies to take the multiple solid bodies and save them as separate new part files. Before I do this, I like to rename the parts, for this model I selected the piano base and a single black key as they are duplicates, and save them as new parts. Once you do this, the selected solid bodies open as part documents, these can then be saved as STL files ready for 3D printing them!
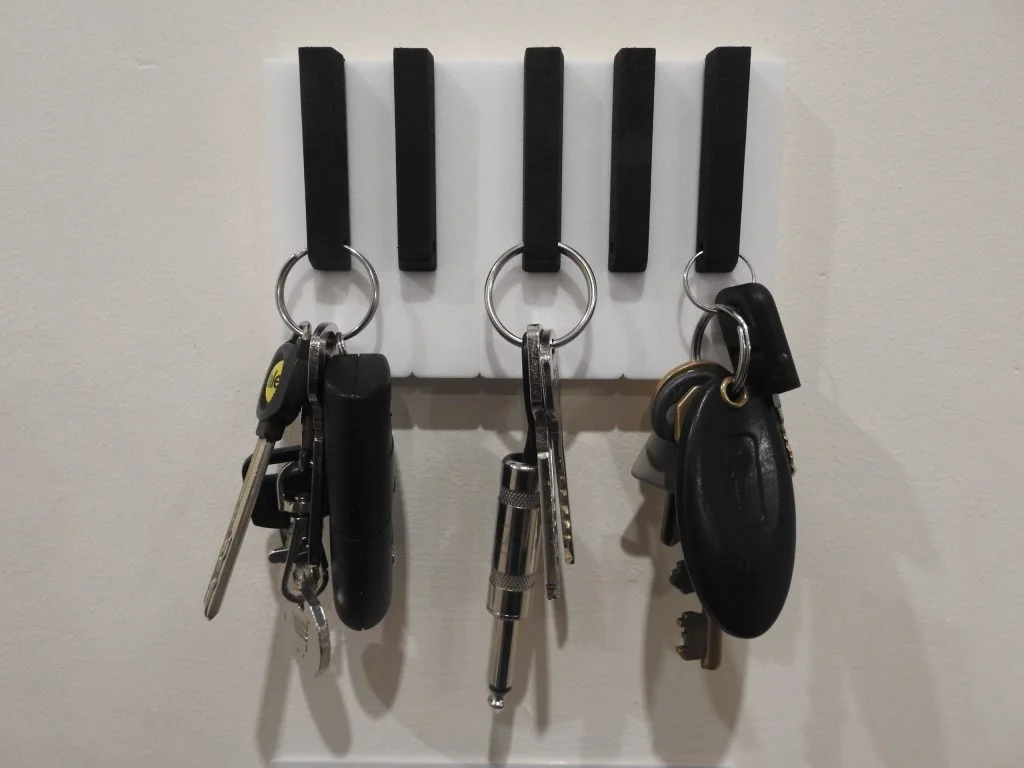
One thing I mentioned in the tutorial are the possibilities for personalization of the keys, for example printing the black keys in different colors for different sets of keys, or embossing names onto the front of the black keys, you could also extend the piano if you have more than five sets of keys.