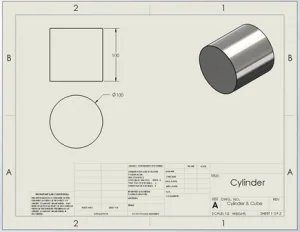
In SOLIDWORKS drawings we can have multiple sheets referencing different parts or assemblies as needed. Periodically, we may need to delete a sheet and/ or model views as part of the development process.
When we remove a sheet from a multi-sheet drawing, why does the part or assembly still show up in the file references, and in PDM?
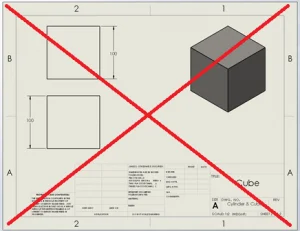

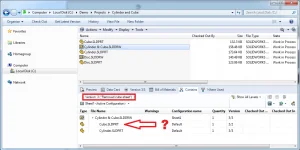
Even though the drawing views have been deleted, we may find that the part or assembly remains in the View Palette! Remember, ‘View Palette’ views are just like regular model views, however the ‘View Palette’ views do not show in the drawing sheet until they are inserted as drawing views!
To remove the reference:
- Open the drawing or drawing template that contains the unwanted file reference.
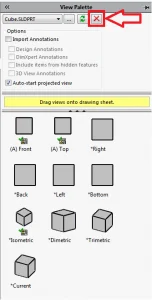
- Expand the View Palette.
- Find and select the the part or assembly that is the unwanted file reference in the drop-down menu.
- Click on the ‘Clear All’ button (the red ‘X’).
- Save the drawing file, and check into PDM.
This behavior can occur for several reasons:
- Using ‘Make Drawing from Part/Assembly’ command (from a part or assembly document) will populate the part or assembly in the view palette.
- Setting Tools > Options > System Options > Drawings > ‘Automatically populate View Palette with views’ enabled. (This system option is enabled by default.)
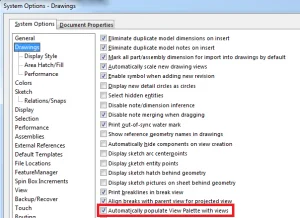
- You do not insert a drawing view of the model from which you used the ‘Make Drawing from Part/Assembly’ command.
In these cases, SOLIDWORKS automatically creates drawing views of the model inside of the ‘View Palette’. When SOLIDWORKS creates these ‘View Palette’ views, SOLIDWORKS also creates a file reference to the model.
Here is an alternative back-door work-around technique to remove the unwanted references:
- Use File, Open and highlight the drawing without opening.
- Click “References” from the File, Open window.
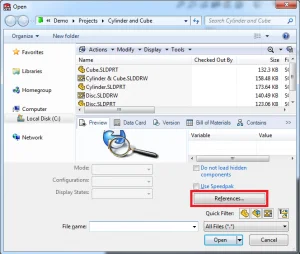
- Double-click the unwanted file reference to replace it with a one you would like to use (in this case we replace Cube with Cylinder again, so they merge into a single reference!)
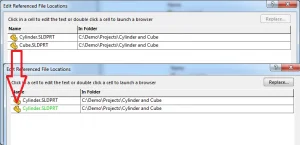
Now there is just one reference- remember this is not finalized until the drawing is opened and resaved.
Note: Since SOLIDWORKS 2014 we can replace a drawing view by right-clicking on a drawing view and selecting ‘Replace Model” or using Tools, Replace model. However, since there are no drawing views created we must use one of the techniques above.
