Threads are important features on many components and need to be displayed in your Engineering drawings so that the parts are manufactured correctly. How are they displayed and what is the best way of displaying them?
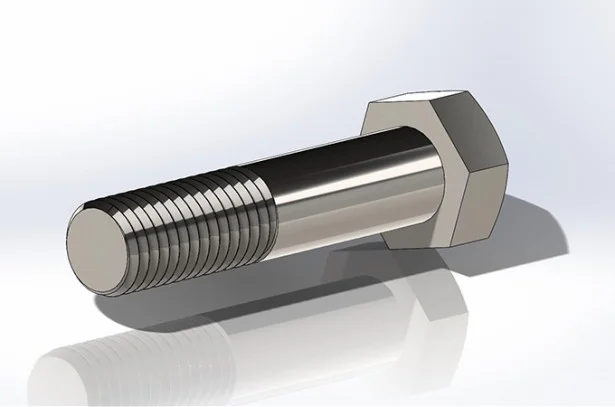
You can model a thread by creating a simple sweep feature which might look something like this:

However, this is time consuming and requires SOLIDWORKS and your computer to work that much harder whenever the file is being accessed. This is where cosmetic threads are advantageous; they show the detail required within a drawing so that the relevant part is manufactured correctly whilst being quick, simple and not impacting your SOLIDWORKS Performance.

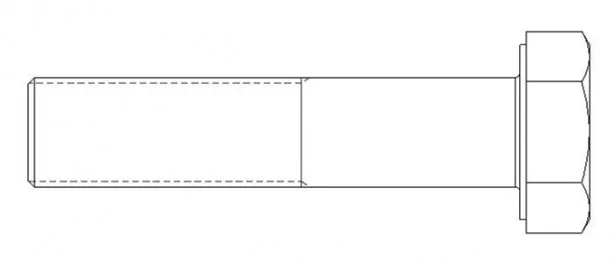
Cosmetic threads are displayed as shown in the above drawing; they can also show all relevant dimensions. So the next step is to look at how we can show these threads in parts, assemblies or drawings.
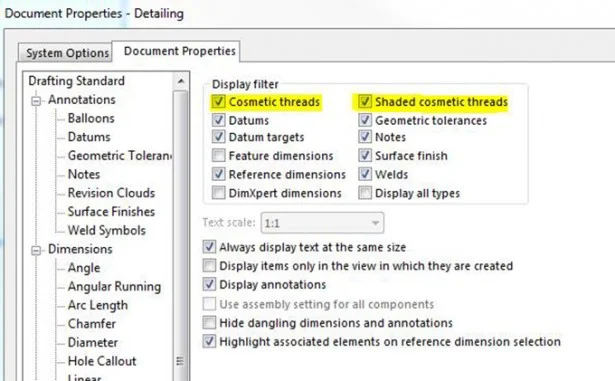
Once a cosmetic thread has been added to the component or assembly using either the “Hole Wizard” or the “Insert annotation” command, it can be displayed by accessing the pull down menu “Tools>Options>Document Properties>Detailing.” They can be shown as either internal (Hole) or external (Cylinder).

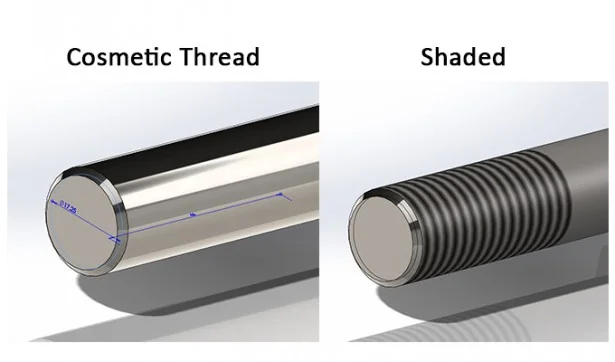
The two options highlighted in the above screenshot are detailed in the images below one for cosmetic threads and one for shaded cosmetic threads and can be selected as required.

The same settings can also be applied in an assembly or a drawing to control how threads are displayed (of course in a drawing view the “Shaded cosmetic thread” will only show in a shaded view). If you would like to set the options as default for all new parts, simply apply the settings to your templates.

