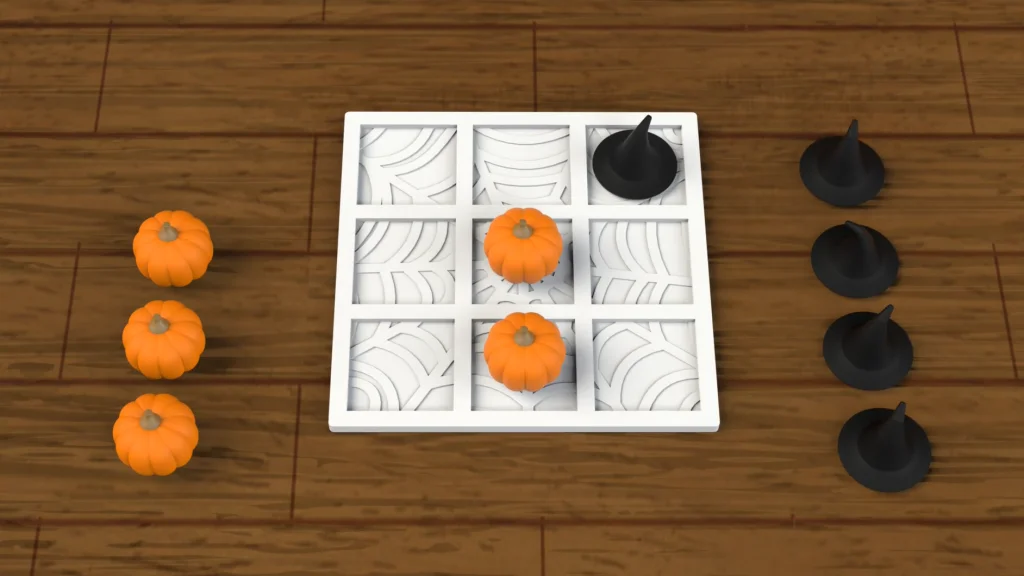
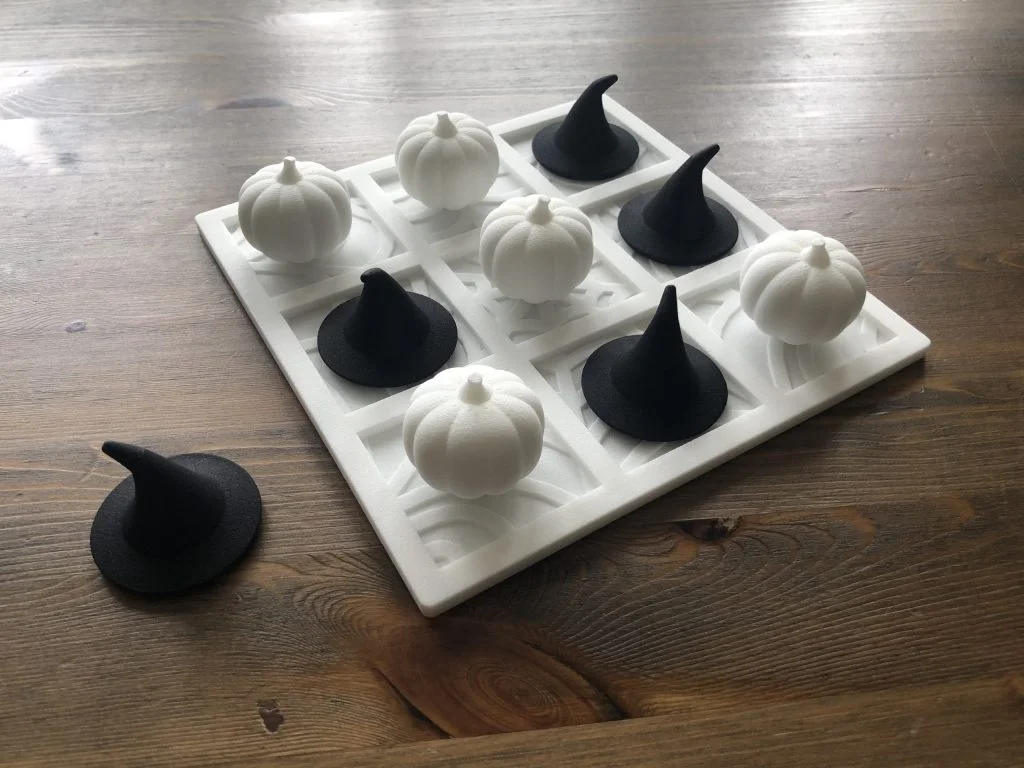
For this tutorial I decided to design a game with a Halloween theme, I also wanted it to be quite small and easy to 3D print, so I came up with this Tic Tac Toe game. xShape was easily the best choice for me to model the pumpkin and witch hat parts because it is quite effortless but also so much fun! For the game base part I modeled it within SOLIDWORKS, you can download it here. I used 3DPrint UK to print my game in PA2200 Polyamide 12 (Nylon 12), you can see the result below.
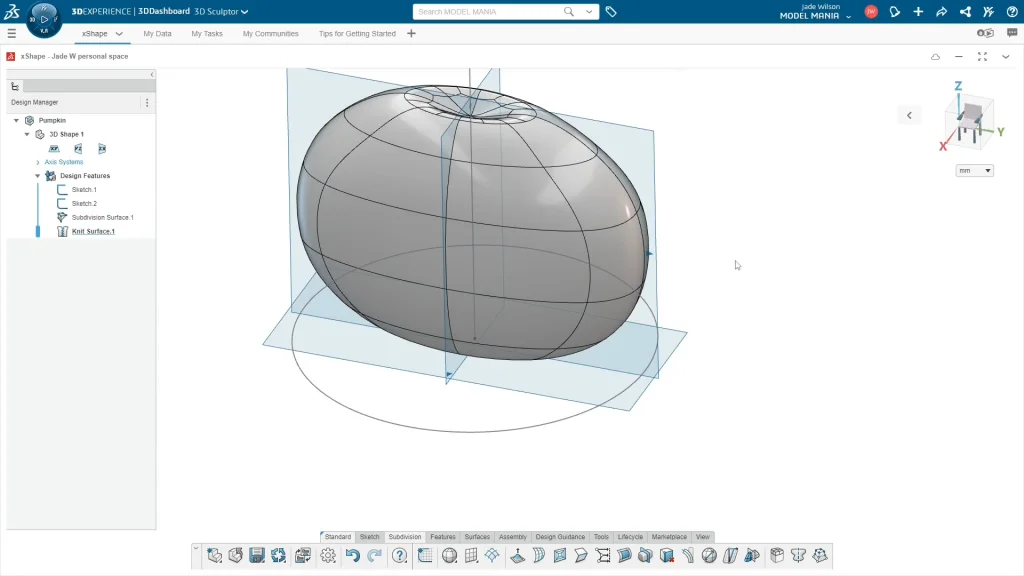
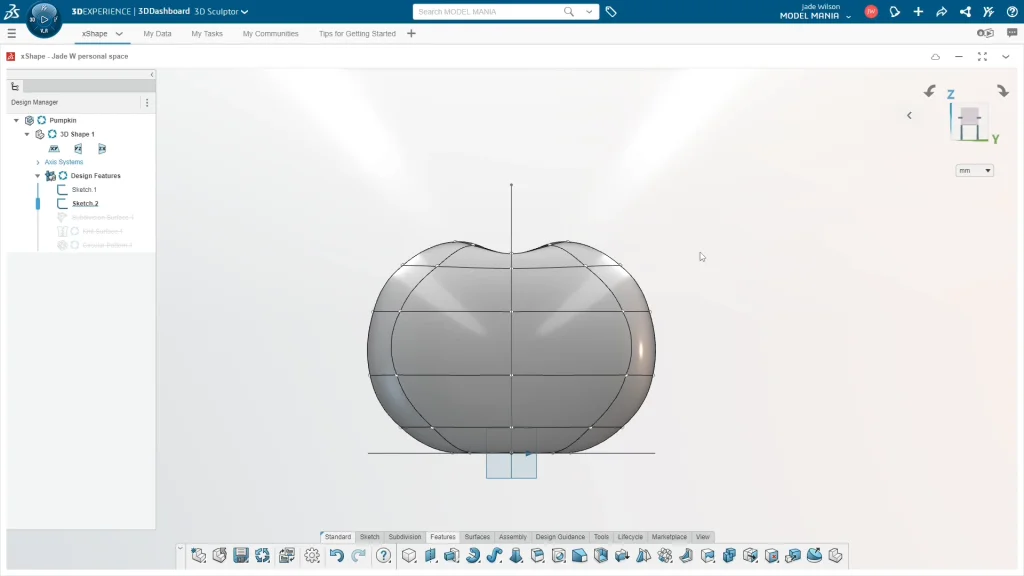
I began with the pumpkin, the first thing I did was to create guide sketches to help me model my parts to specific sizes. Selecting the XY plane I sketched a 32mm circle to determine the pumpkins overall circumference and another sketch onto the YZ plane with a line from the axis up by 30mm. This was for the overall height of the pumpkin, including the stalk. I used the globe subdivision shape, and dropped it onto the center of the axis, unchecking midplane so that the shape sat on top of the XY plane while remaining center to the axis. I decided to model a segment of the pumpkin which I could later circular pattern. Viewing my shape from the front, I shaped the front profile of the pumpkin. One tool I found very useful when modeling my pumpkin was the symmetry tool, turning on the symmetry tool and selecting the YZ plane which was center to my pumpkin front profile. When turned on, I could move points on one side of the shape and the opposite side mirrors automatically.
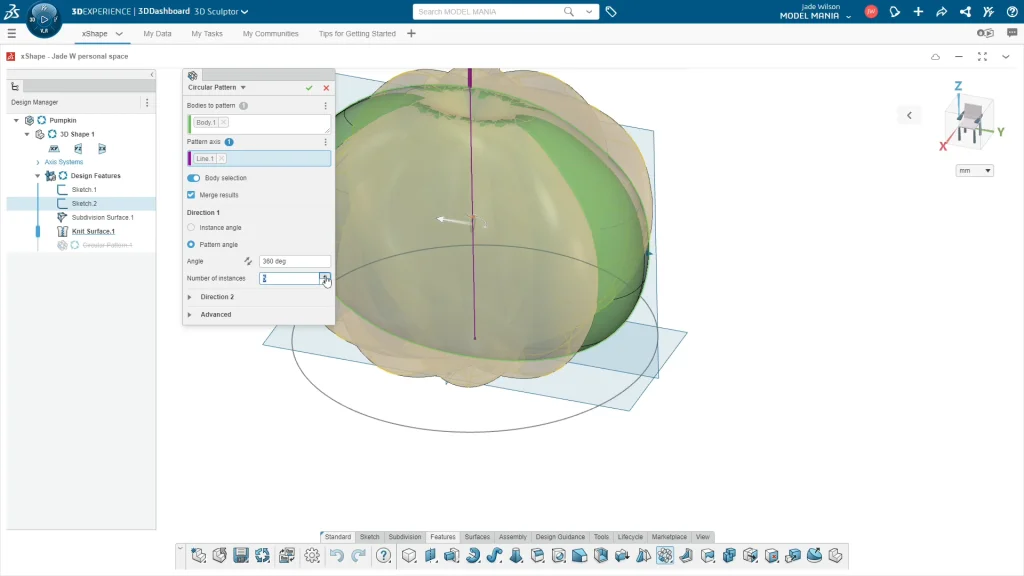
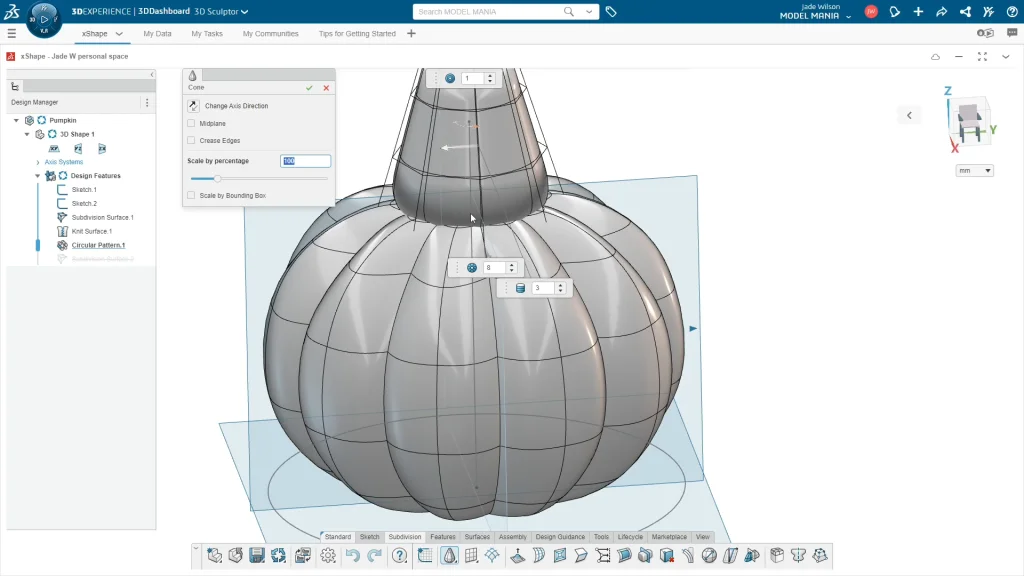
Selecting the features tab, and circular pattern, which you can find in the linear pattern drop down. I changed the feature to ‘body selection’ and selected my shape for the ‘body to pattern’. For the pattern axis, I could use my line guide sketch which I knew is center to my shape. I then changed the direction to ‘pattern angle’ rather than ‘instance angle’ which is better for 360-degree patterns. With my angle on 360, I input 5 for the ‘number of instances’, you can see the preview below. I had ‘merge results’ checked to combine all the patterned bodies into one when I checked the tick.
If you need to, you can always go back into and edit your subdivision surfaces. I did this with my pumpkin profile until I was happy with it. You can really play around in xShape, you are very free in what you can create. I can create shapes that would otherwise take me a lot longer to model in SOLIDWORKS. Once I’m happy with my shape, I can close it to see what it looks like patterned. You may notice in the tutorial, looking at the feature tree that my shape becomes a Knit surface, this is very important for importing into SOLIDWORKS as a solid body.
Moving onto the stalk, I used the cone sub-d shape. The cone shape was perfect for this, as its already tapered, I could be quite free with this shape, it can be pulled all different ways by different points to make the cone more irregular and more representative of a pumpkin stalk. I think its important when using this app that you start with the most appropriate shape to start a design, I wouldn’t start the stalk shape with the ‘box’ sub-d shape for instance, as I would then have to make it round. It can be trial and error sometimes, but once you get used to the shapes it becomes much easier to model things quickly and more efficiently.
Once I’ve finished and closed the shape, I can save my component and use the export options found in the saved dropdown. I used the file on disk option to save it to my computer as a STEP file, by doing this, I can open my component in SOLIDWORKS to use for the animation you’ll see at the end of the tutorial. I can also save it in SOLIDWORKS as an STL file for 3d printing, or you can do this directly in the xShape export options.
Moving on to the Witches Hat part, I started a new component and again created some new sketch guides for this design, on the XY plane, I sketched a circle at 37.5mm from the axis to outline the outer rim diameter of the hat. Then a second guide for the overall height using a 30mm line on the YZ plane. I used the cone for this design too, dropping it center to the axis. I used smart features and the crease feature to the bottom loop, giving the hat a sharper base. If I use the quick crease feature it will ‘crease’ 100% and be sharp, but if needed you can play around with or re-edit the crease amount using the crease feature settings where you can increase or decrease the percentage of the crease.
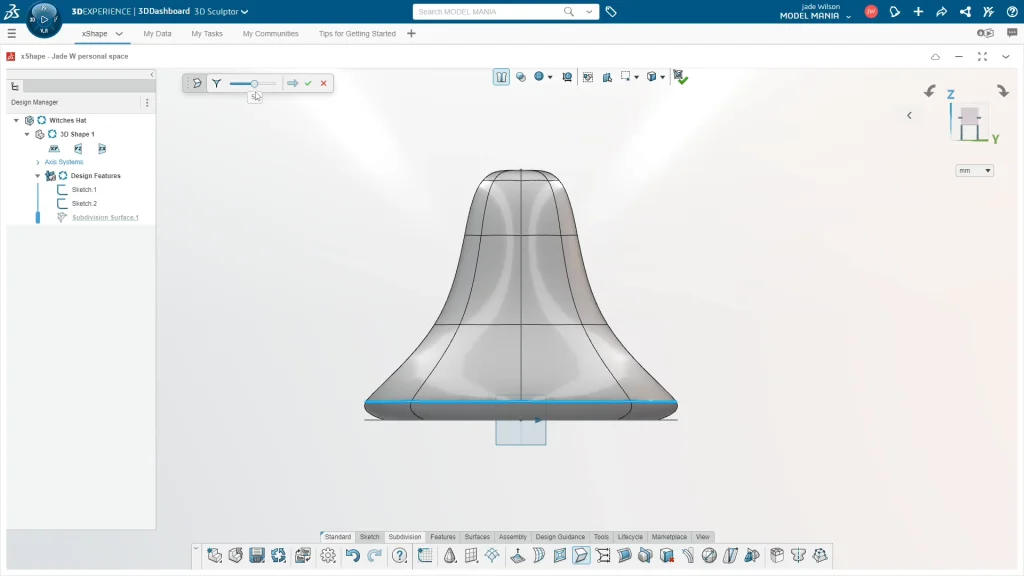
One invaluable feature I always tend to use, is ‘insert loop’, I can select an edge and the instant loop option to insert one loop across the shape. I could then use the extra loop to have more control over the shape of the hat and form the lip of the hat. When modeling the rim of the hat I had to ensure it had some thickness to it, so that it wouldn’t be too thin for 3D printing.
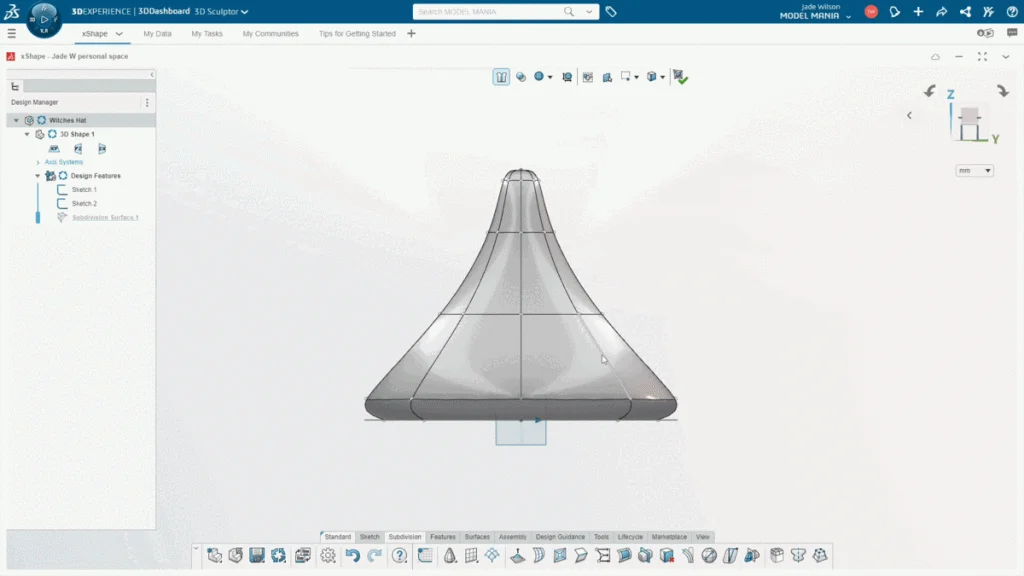
When I select the row of points across the hat, the robot wants to rotate based on the selection, I needed to change this to align with the XYZ axis. That way when I rotate points they go along my axis, this just makes my model easier and cleaner to work with. From here, it was just a case of rotating the other loops to bend the hat further all along and up to the tip of the hat. Again, I can be quite free in my modeling, sometimes its just trial and error seeing how your model will change as you push and pull points, but it is really fun to see your design take shape.
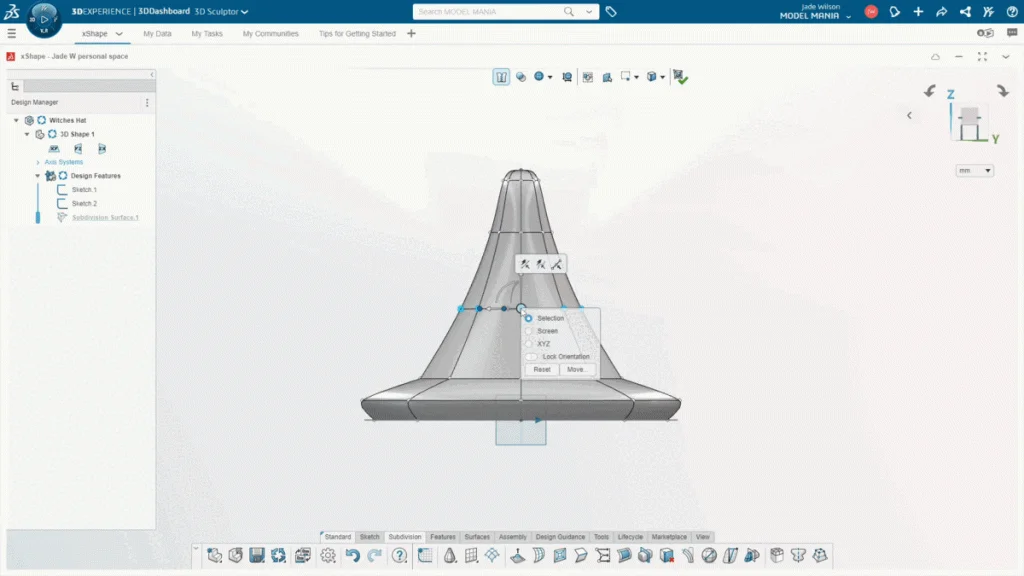
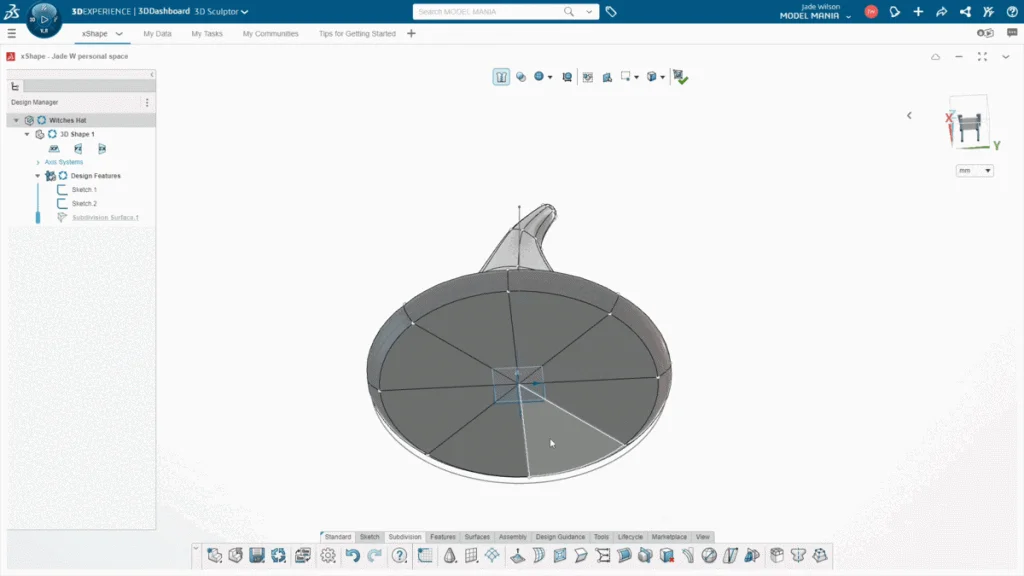
I decided to add a final little detail to my hat, it wasn’t necessary, but I split the bottom faces of the hat to add another loop, so that I could pull the bottom point up and into the hat. I turned on wireframe using view modes, so I could see how far I was from the outer walls of the hat, again ensuring I wasn’t leaving myself with weak 3D print walls. Once my hat is finished, I save again and export it to open within SOLIDWORKS.
I designed the games base part in SOLIDWORKS and used it with my xShape parts to create an exploded view motion study. If you don’t already know this, you can export these studies into visualize for rendering into an animation. You can see my animation at the end of the tutorial.
