

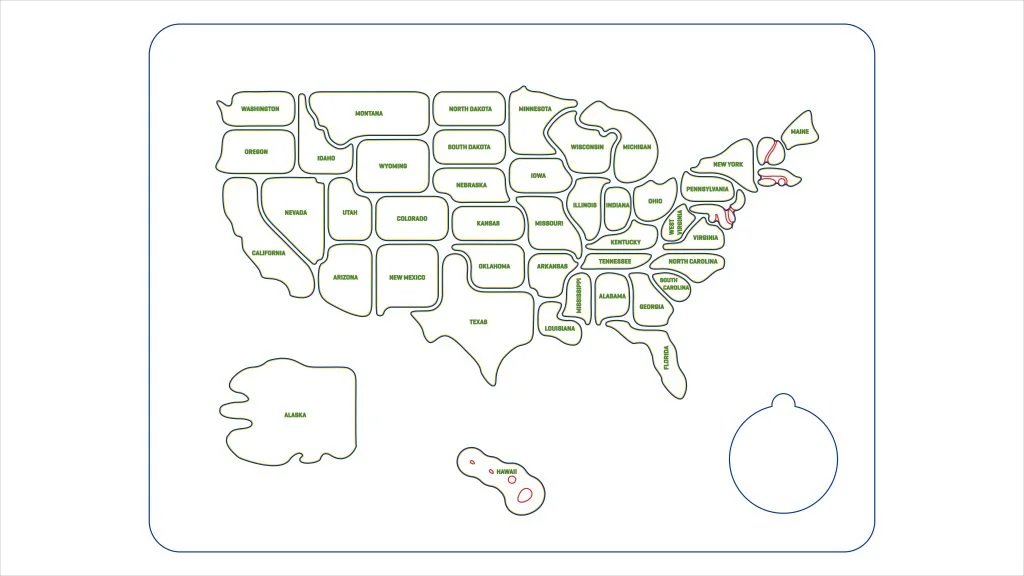
For this tutorial, I wanted to create an education wooden puzzle, so I decided to look at the United States of America. My puzzle was designed and sketched within a vector software, for complex designs like this puzzle I find it easier to design this way and export the sketch entities out as DXF files to import into SOLIDWORKS. You can download the files for this tutorial here, this file includes the DXF files, puzzle decal, the compass part, and the color swatch jpeg which I use to add color picked appearances to the different states of the puzzle.

When I export my DXF files, I export from the center of the document so that when it imports into SOLIDWORKS they will also be center to the axis. By doing this I can layer up the design and know that it will all be in line, this works well for a puzzle design. Sometimes offset sketches in SOLIDWORKS are too complex or can take a while to do, especially when the initial sketch is so detailed and you’re offsetting inwards, so I find that doing them inside of my vector software can be easier. There are 4 separate DXF files that I created for the design. The first is the outer outline cut for the puzzle pieces, the second is for the actual puzzle pieces, thirdly is an engraved cut for the smaller states that would be too small as separate puzzle pieces, and lastly, the fourth is the engraved state names.
When I import a DXF file, an import options box appears, here I can see the file is importing as a 2d sketch and import as reference is checked. I’m keep this checked so that when the DXF sketch comes into the file they will be locked and won’t need fully defining. Once I have the sketch in position, I can use it to create new sketches, to apply features to. In this case I used convert entities. The outer puzzle base sketch of the DXF is there just a guide to ensure the sketches are layering in the correct position so I just mark it for construction.
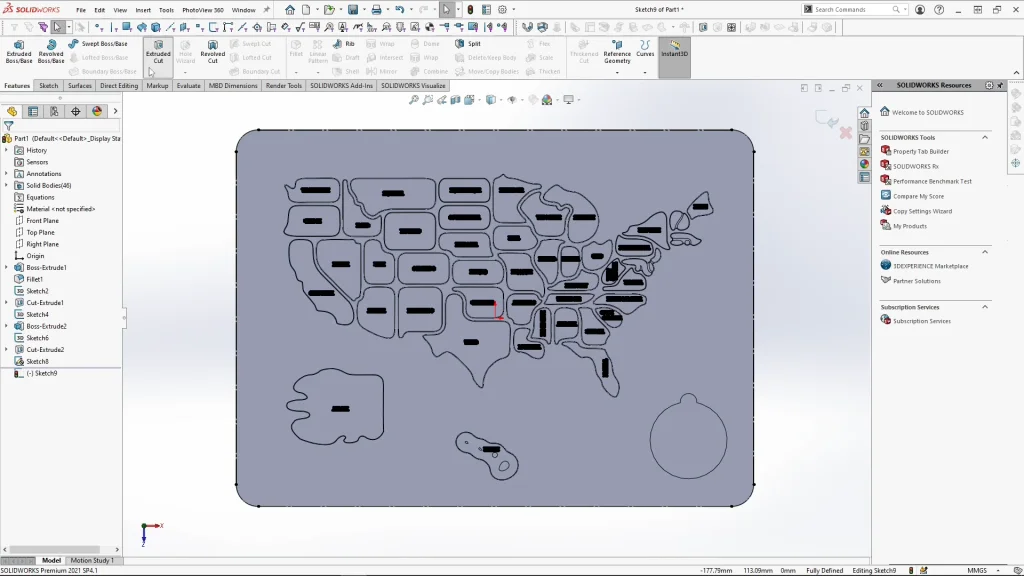
With all of my bodies complete, I could start adding some appearances/color to the states. As I mention in the tutorial, feel free to add your own colors or use my color swatch from the downloaded files. To use the color swatch I opened it up and placed it at the side of the SOLIDWORKS window. Selecting the states, I want to color from the solid bodies list and using edit appearance I can add a color appearance, I can use the color picker tool to select a color from my swatch, and apply it. I repeated this for all the states. You can scroll through the solid bodies list to find the states you want, or you could speed this up by renaming bodies to the states, but its not necessary.
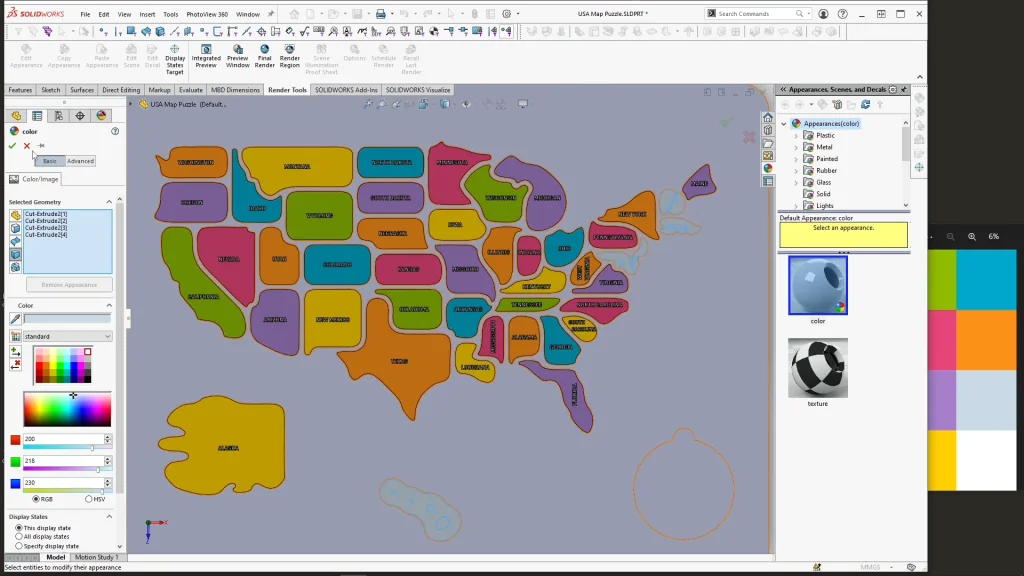
Once the multi-body part is finished, I could use saved bodies. It was useful to create this design as a multi-body part, as all of the puzzle pieces are different and would be difficult to place if they were created as separate parts and then assembled individually. When saving bodies, if you have applied appearances at solid body level, you should use the ‘check the propagate visual properties’ box to keep the applied appearances to each body and select the save icon. Under the create assembly section, I can select browse and name the split assembly as USA map puzzle assembled and save it. When applied, all the bodies will become saved parts, and an assembly of the part will be created. When I open the assembly, the saved bodies come in as fixed parts.
I can go back into and open individual parts of the assembly such as the puzzle base and apply any decals to the part. Decals are not saved at the ‘save bodies’ level, so this needs to be done once the body is saved as a part, any decals added will be visible from the assembly. The compass part is also an assembly which is made flexible within the puzzle assembly to allow the arrow to spin, this is available within the download too.
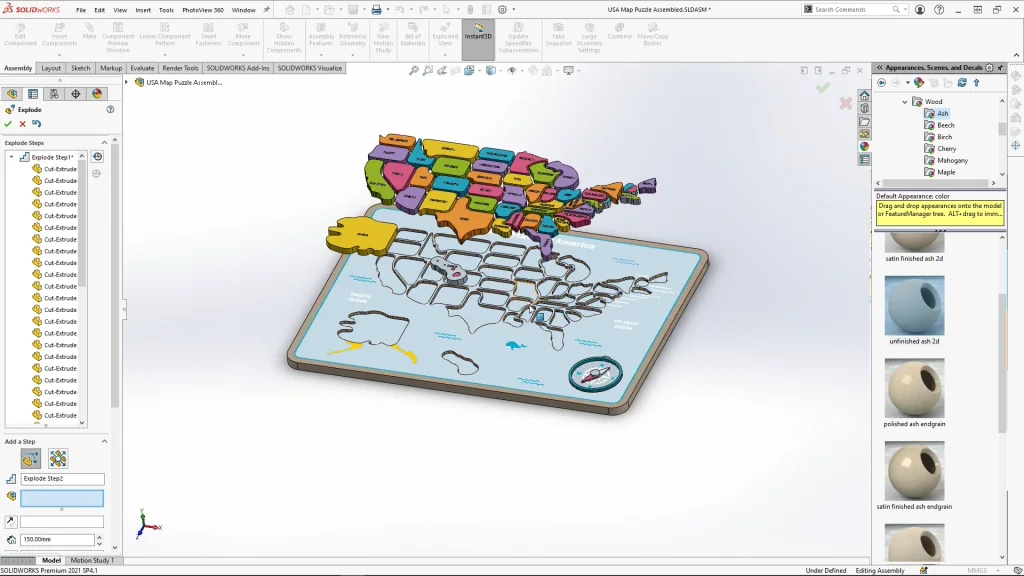
You will see at the end of the tutorial I use the exploded view to lift the puzzle pieces out of the puzzle. I also used the exploded view to create a motion study and an animation for rendering within SOLIDWORKS Visualize.