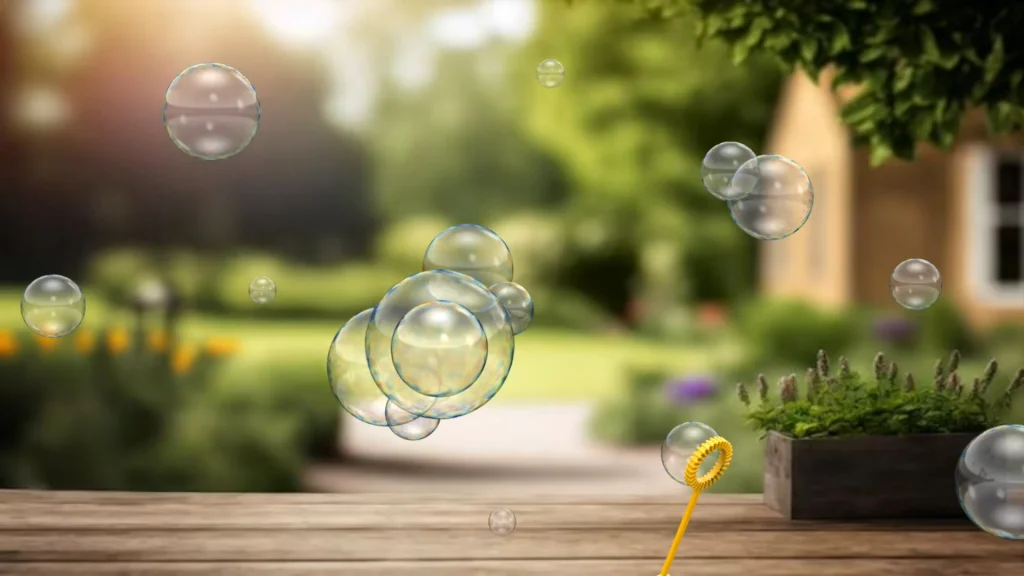
My son has now discovered the beauty of bubbles, and he also likes to watch my mini Visualize animations. So, I wanted to create something fun for him to watch. To follow this tutorial, you will need to download the SOLIDWORKS file here. In this file you should have the model parts and the ready made Visualize project.

When you open up the project, you can see that I have already laid out the bubble parts, under the models tab you can see a list of all the parts within the project. I initially designed several sized bubbles, but you can scale up or down the bubbles within Visualize, which I also did to achieve the variation of bubbles.
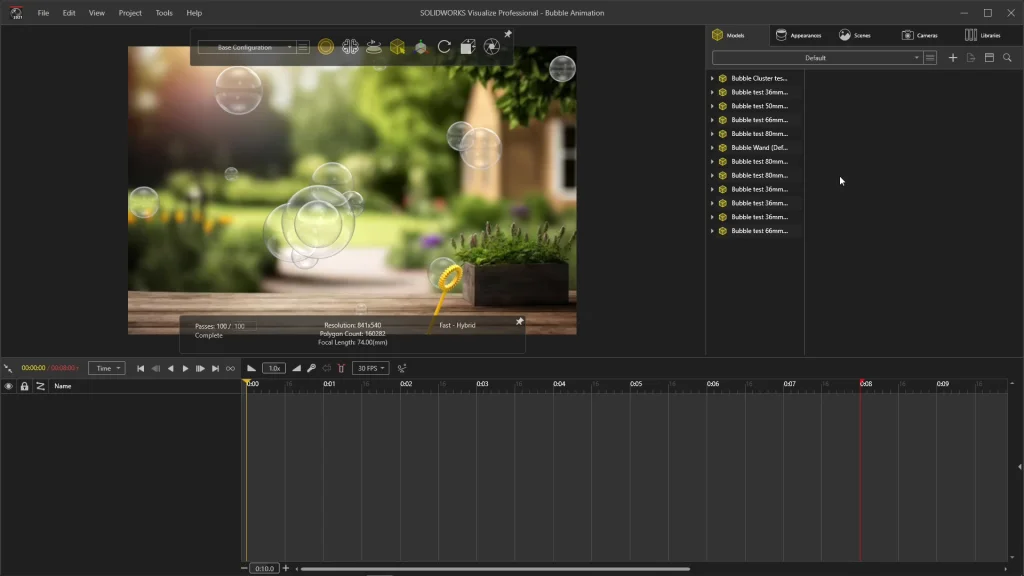
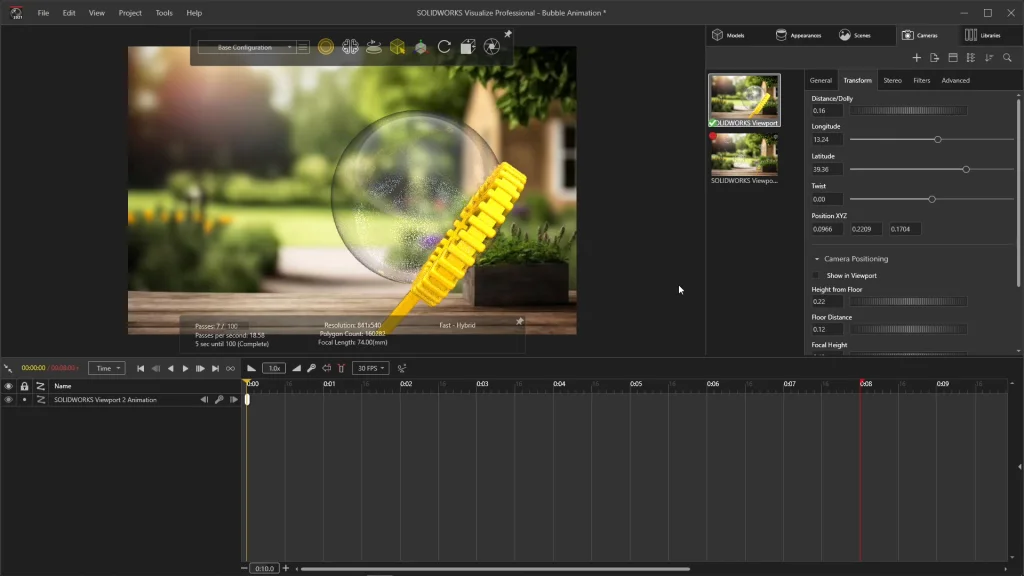
Under the cameras tab, you’ll see I have two viewports, for this, I just duplicated the first camera. Viewports are basically your camera views for your rendering. My first viewport is used to position a bubble into the bubble wand, and the second is the viewport used to create the animation. To add a keyframe to the viewport, simply right click on this viewport and add a keyframe. It should appear in the animation bar below the render window. If I double-click onto my first viewport it becomes visible and a green tick will appear on the tile showing me which camera is active. While in this viewport, I can drag to view my models in all different ways without impacting the animation camera. Under the scenes tab, I added my own background image for the backplate image, this is a fixed image, so you have to have the right view angle for your model or design as it isn’t a 3D environment that can be moved. Ensure that the fill background is checked if you add an image of your own.
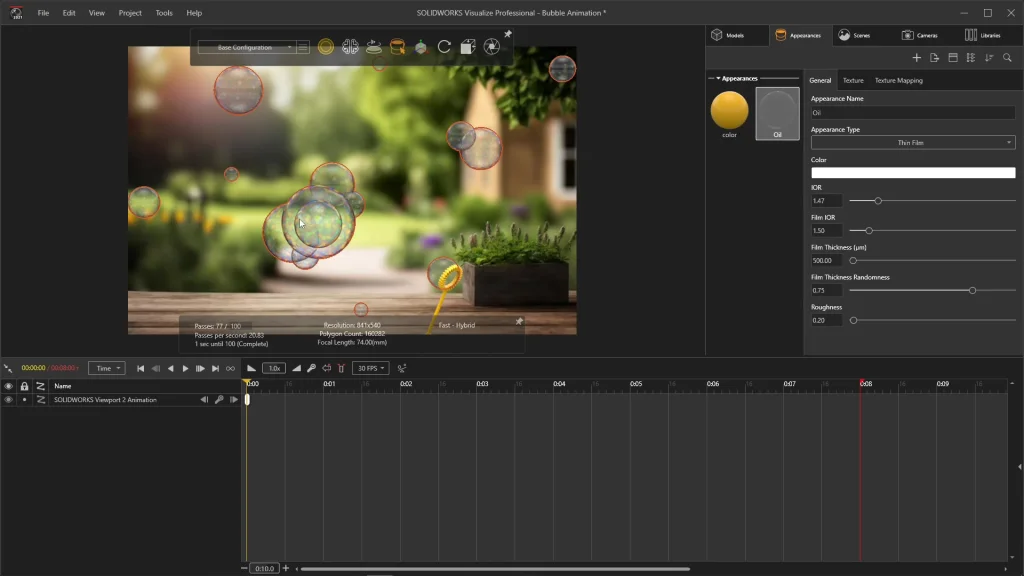
Looking at appearances, when you initially open the project, you’ll find that the current appearance says oil, as I previously attached it. I changed the appearance type to plastic for the tutorial, so I could show you how I applied oil in the first place and what I did to give the rainbow bubble effect. You will find all your appearances within the libraries tab, under liquids you can find oil, you can simply drag and drop it onto one of the bubble parts to apply it and it will appear under your appearances list. Going back to the appearances tab, I can replace the other appearance by right clicking the new oil appearance, using edit and copy appearance. Then right selecting the old oil appearance and edit, assign appearance, and then delete it. From here, I can edit the oil appearance by tweaking the index of refraction, the films index of refraction, the film thickness randomness, (which just enlarges the pattern map of the oil appearance) and finally I remove any roughness to the appearance, which gives me a realistic bubble appearance, and that rainbow-like film.
For the rest of the tutorial, you will see how I add keyframes to the bubble parts, and how I animate them at different time points. When moving the bubble parts, you don’t have to be too precise, you can be quite free. I would be careful if you have never animated within Visualize before so you don’t over complicate the animation by adding too many keyframes or movements at one time. You can also animate one bubble at a time to simplify your project. When animating, keep in mind that the bubbles should move quite freely, but calmly up and off camera or out of the render window. Once I have my keyframes, I test out the movement of the bubbles using the time bar, just dragging it back and forth over the keyframes to see how the animation is coming together. I could use the play/pause options, but using the time bar can just be a little quicker to do, especially if you don’t need movements to be so precise. If you want to amend a movement, you can use undo, or, you can drag the time bar back to the keyframe you want to edit and move the part again. Remember to test, test, test as you go along, as the animation only becomes more complex as more bubbles are added to the animation.
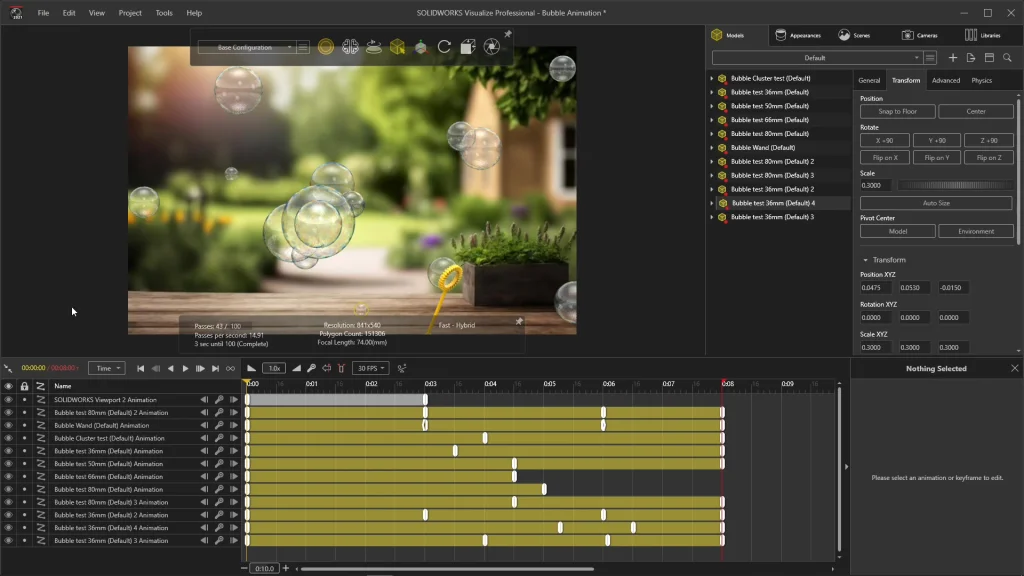
When I have all my keyframes in place, I can test that I’m happy with the movements of the bubbles, and that all the bubbles have floated off screen. I can then render! To render an animation, you want the animation render tab and create movie should be checked. I like to use 40 for the frames per second, this ensures a very smooth animation. You can see the final result at the end of the tutorial.
