For this tutorial I used a variety of subdivision shapes including the quad ball, cone, cylinder and torus, or as I like to call the torus a donut. The quad ball is a nice shape to work with as its not fully circular, it is almost square which is quite unique and would be slightly harder to create in SOLIDWORKS. The cone was used for the legs and the ears, this shape was really easy to manipulate into the ears, both the legs and the ears were then mirrored over. As noted in the tutorial, it’s important to knit any mirrored subdivision shapes so that they become solid bodies. You need to have knit bodies to be able to combine bodies into one. You also want bodies to be knit for exporting into SOLIDWORKS.
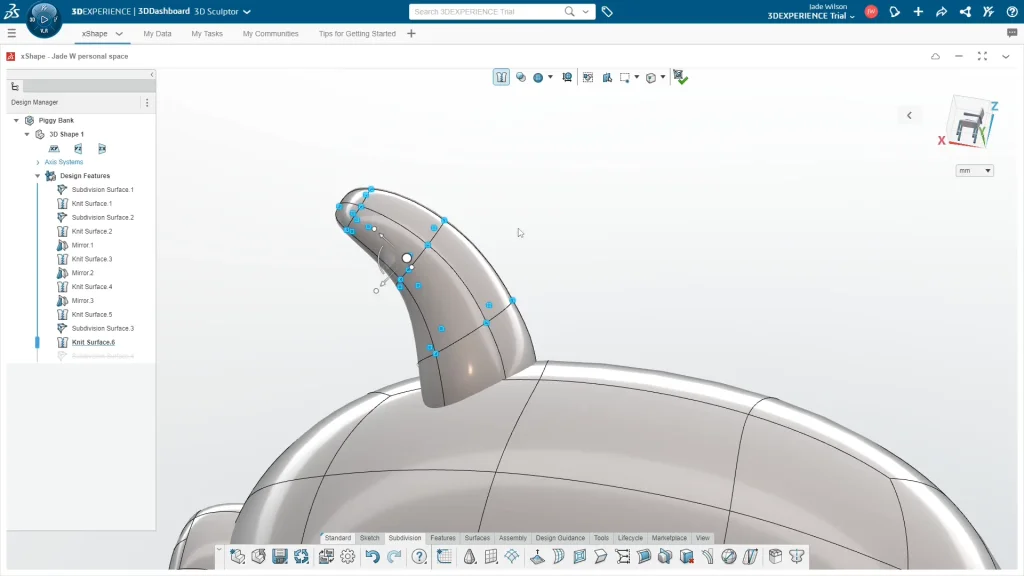
I was able to select individual or select groups of control points along the cone subdivision surface to move points inwards creating the ears indent, and then create a curve in the ear by rotating groups of points along the ear until it was fully flexed. A shape like this would normally take me more time to create in SOLIDWORKS, and I still don’t think I could create something as organic. xShape is very flexible which allows you to really play around with the shapes, I don’t have a lot of experience with the app, but it is very intuitive to use, you almost feel like a sculptor being able to push and pull and even add more control points.
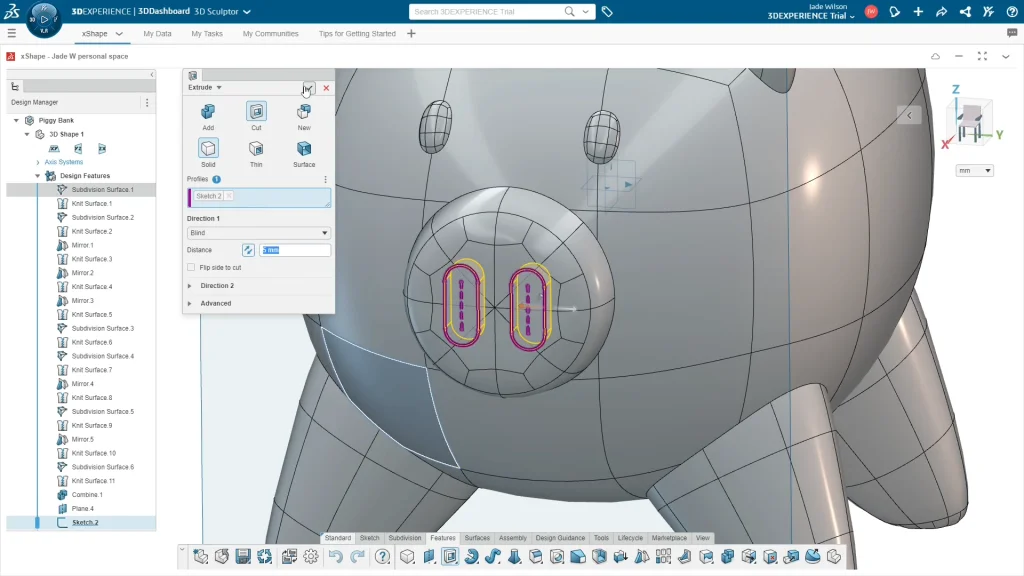
With all of the knitted subdivision shapes all combined into one solid body you are able to edit the model by adding planes off control points, creating sketches for features such as cut extrusions, which I used to create the pig’s nostrils. You can literally do it all in this app, if you want to, just like in SOLIDWORKS you can edit sketch dimensions, fully define and add relations.
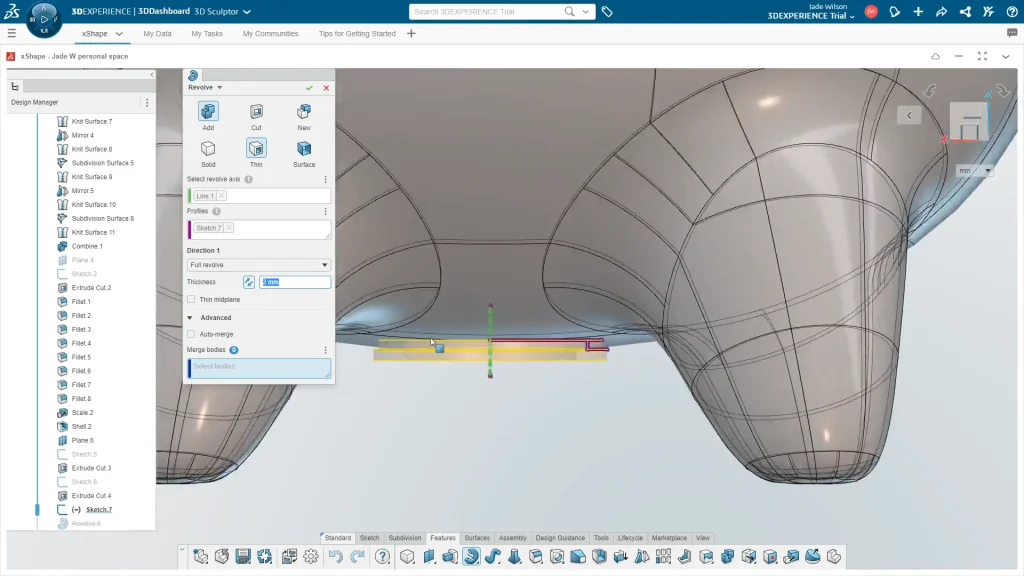
Before shelling the pig, I added a cut extrude slot for coins, and a hole for a bung to push into. If you aren’t familiar with a bung, it is a rubber or cork insert that can be removed to allow coins to drop out of the piggy bank, some piggy banks are fully sealed and can be opened with a hammer, but the one I grew up with had a black rubber bung. I created the bung using a linear sketch and was revolved using thin feature, unmerged to create a separate body.
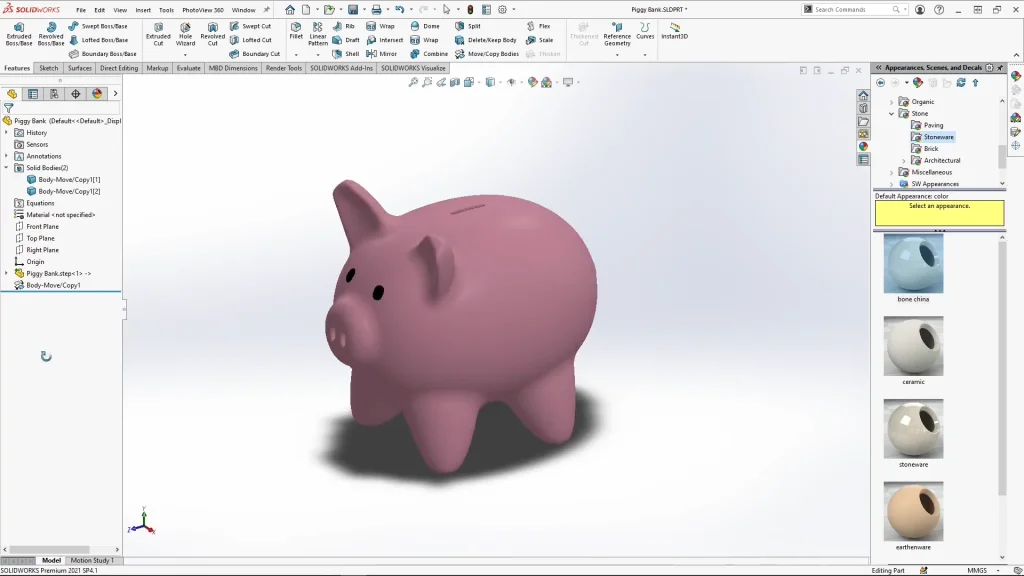
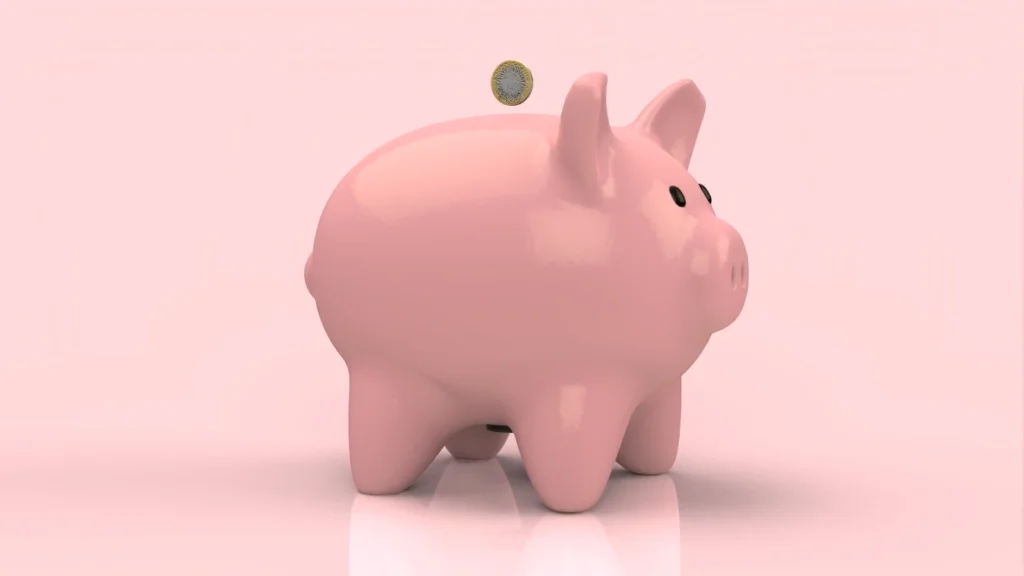
Once I have the final model, I can save it and export it as a Step file and export it to file on disk, saving it to my pc. This file can be opened directly into SOLIDWORKS and can have features applied to it, appearances added, and can also be exported into SOLIDWORKS visualize for rendering, you can see an animation I created with the final model at the end of the tutorial.
