

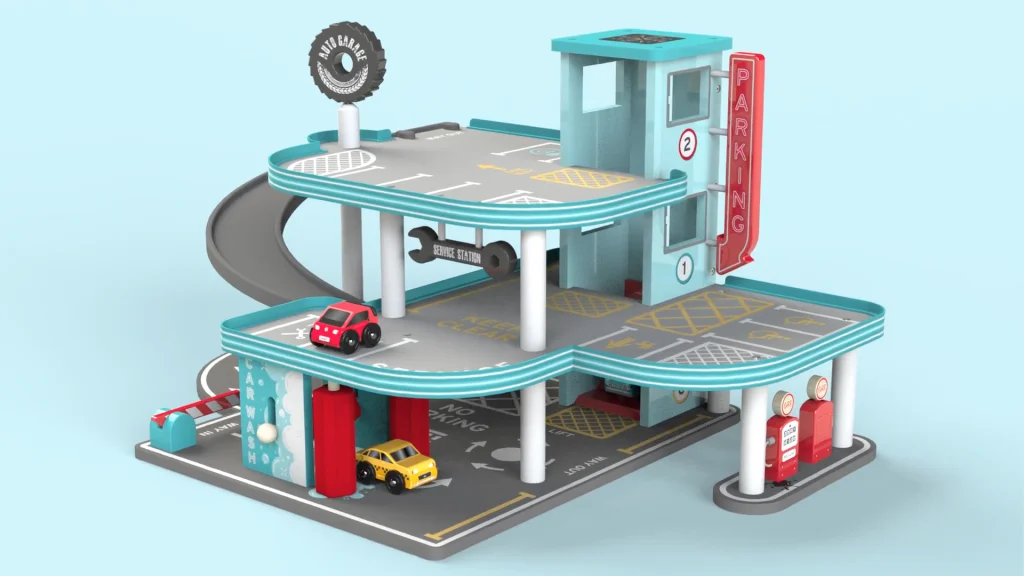
For this tutorial I designed and modelled a wooden Toy Garage, that includes all original decals applied to each part. The garage was modelled in SOLIDWORKS as a Part file, all the separate solid bodies were then exported as new parts for creating an assembly. You can download all the part files for the tutorial here. For this tutorial, I wanted to show how I assembled the toy with all the different mate types including tangent, parallel, slot, angle limit, distance, path, coincident and concentric mates. All these mates help with fixing parts into place, but also controlling their movements. The tutorial has been split into two parts; in this part we will start with the ground floor parts which set ups up the base structure of the toy to attach everything to.
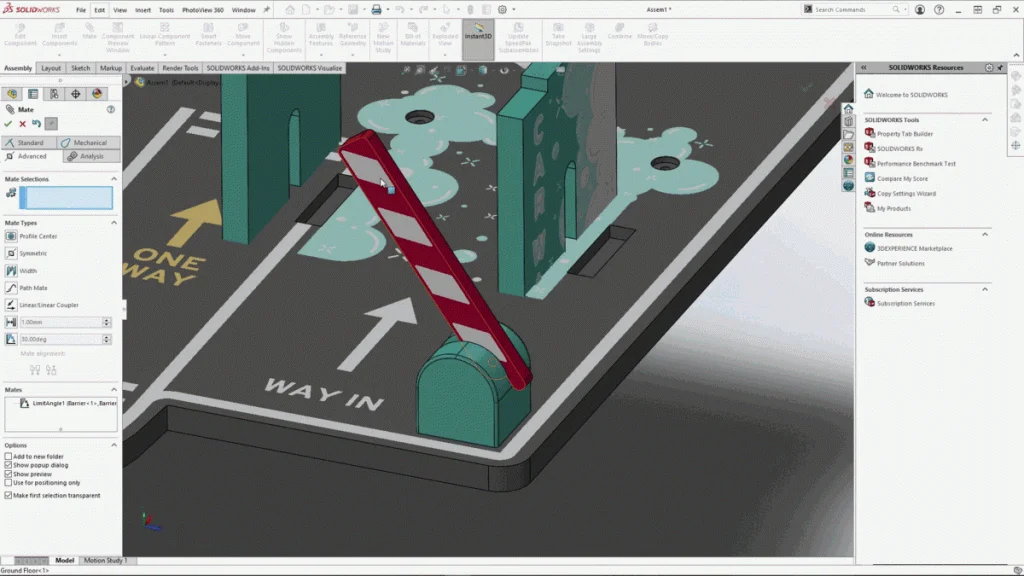
With this part of the tutorial, I feature the limit angle mate, tangent, and slot mate. Starting with the limit angle mate, you will find this under the advanced mates tab, I used this on the car barrier. This mate allows you to create a maximum and minimum angle distance between two faces, you can also specify a starting angle. Here I applied the limit angle mate between the bottom face of the barrier and the parallel top face on the base that hold the barrier. This allowed me to move the barrier up and down with mate controls that stop the barrier hitting the base. Another mate that contributed to this is the concentric mate that holds the barrier onto a pole connected to the barrier base.
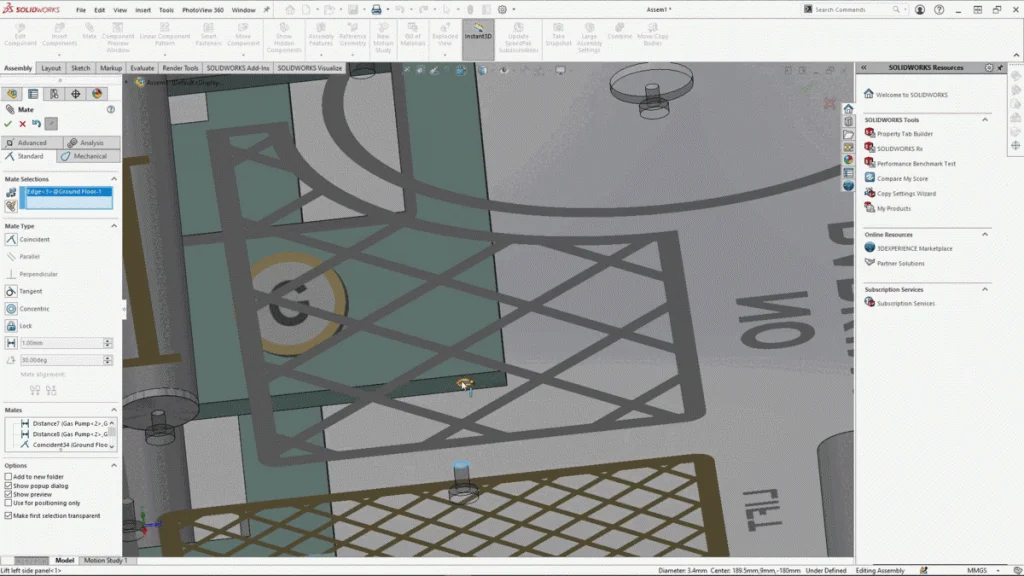
Concentric mates may be a standard mate, but it can be a very powerful tool when assembling parts that need to fit together with screws, this is because when you’re lining up two parts that have multiple screw holes, when you line up one set of holes with a concentric mate, then attempt to line up the next set with a concentric mate, if they aren’t lined up exactly, it will not mate, this flags up any issues with your parts. When using this method, I use the concentric mate on the circular screw hole edges, but I ensure to keep the rotation unlocked, so that I can move the part and mate other holes up with concentric mates, you can see this below. If there are only two screw holes to line up, a coincident mate is fine to use for the second screw hole edges. The concentric mate was also used on the two vertical carwash rollers, with rotation unlocked the rollers were free to spin on their poles, allowing for more moving parts.
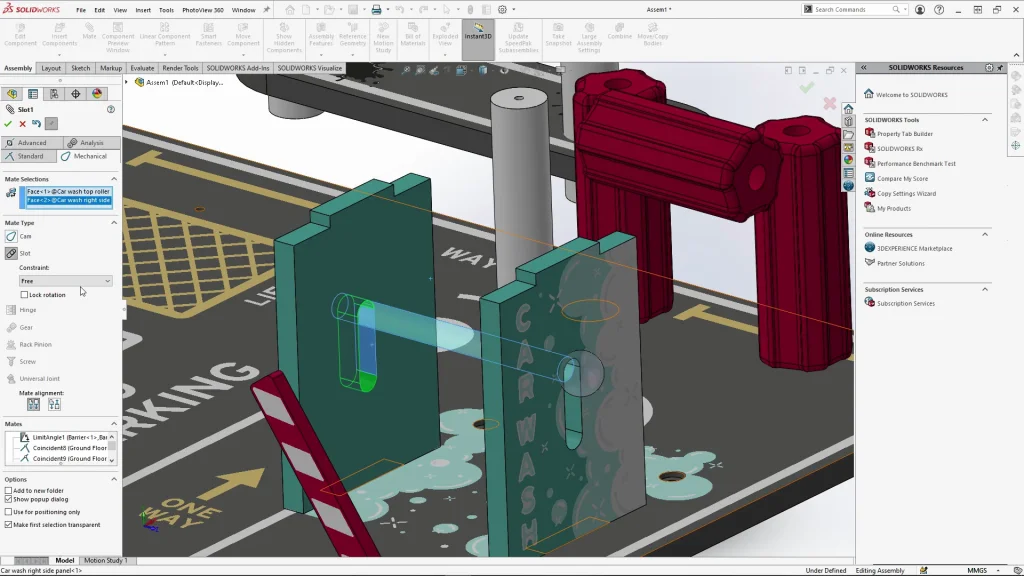
Next lets look at the slot mate, you will find this mate under the mechanical mates tab. You can mate cylindrical faces to straight or arced slots, for my assembly this mate was used for the top roller of the car wash. The pole part was mated into the slot with the constraint on Free, this allows me to move the pole part freely within the slot. Finally, the sponge car wash roller was mated concentric to the pole. For the purpose of the toy, when a car is pushed under the top roller, it would move up upwards along the slot, and fall back down as the car comes through the other side of the car wash.
By the end of this tutorial, you will have the ground floor parts all mated into place, and the first floor components inserted ready for the next part. In part 2, we will finish assembling this toy garage and showcase some more mate types. There is also a rendered animation of the garage at the end of the tutorial to view the garage in action.