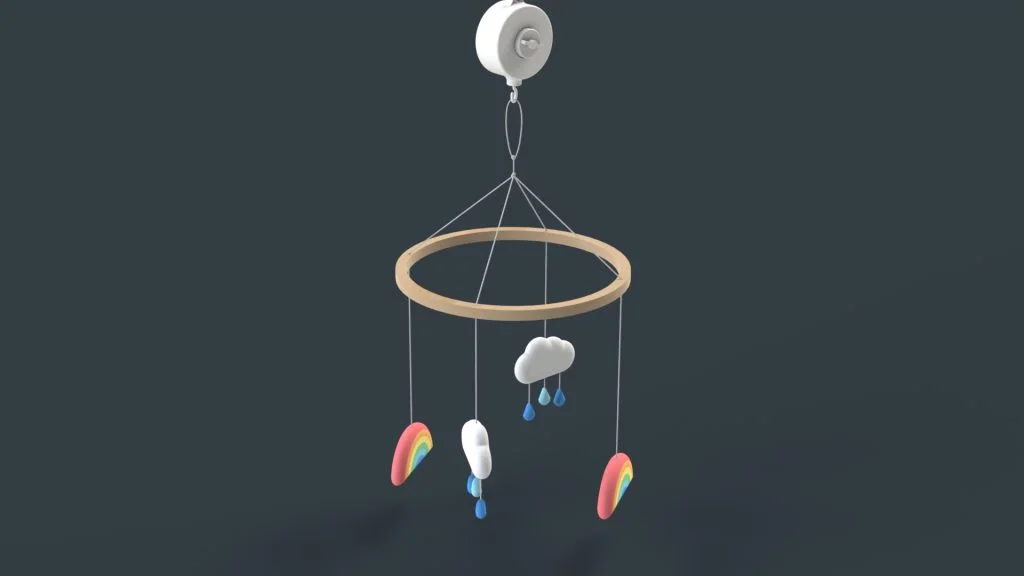

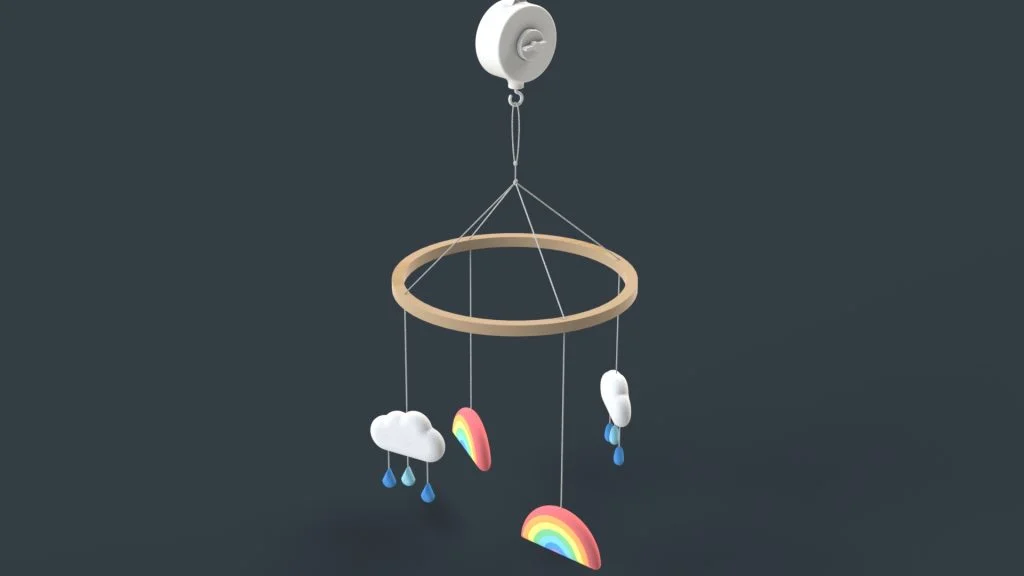
For this 2-part SOLIDWORKS tutorial, I have designed a Rainbow Cloud Baby Mobile. In part 1 of this tutorial I will show you how to create some simple baby mobile parts for an assembly that we will create in part 2. For part 2 of the tutorial the finished assembly was used to run a motion analysis of the mobile using mates and motors. The music box part and rainbow decal seen in the tutorial is available to download here.
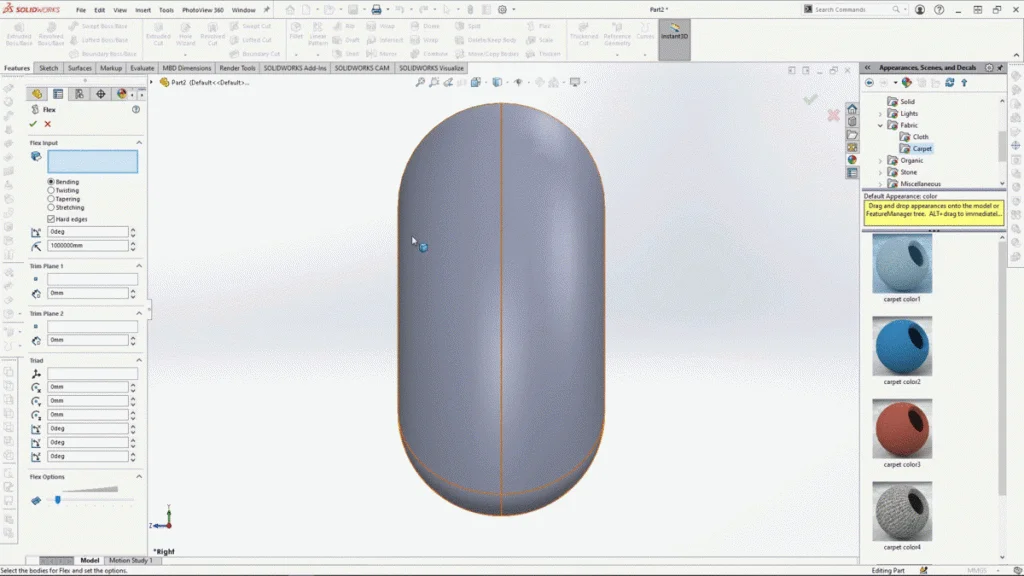
Many core SOLIDWORKS features were used to create the mobile parts, including extrude, revolve, circular pattern, combine, move/copy bodies, swept boss and cut, fillet and flex. The rainbow and cloud parts were designed to be stuffed fabric/plush hangings so the fillet tool was used to round off both the front and back faces of the parts. The flex tool was used on the stretching tool input to squish the parts smaller rather than make them wider, this can be seen in the below gif. It is best to use this tool once you have fully filleted your part to see the full effect the feature has on your shape, it may be harder to fillet a complex shape after using this tool.
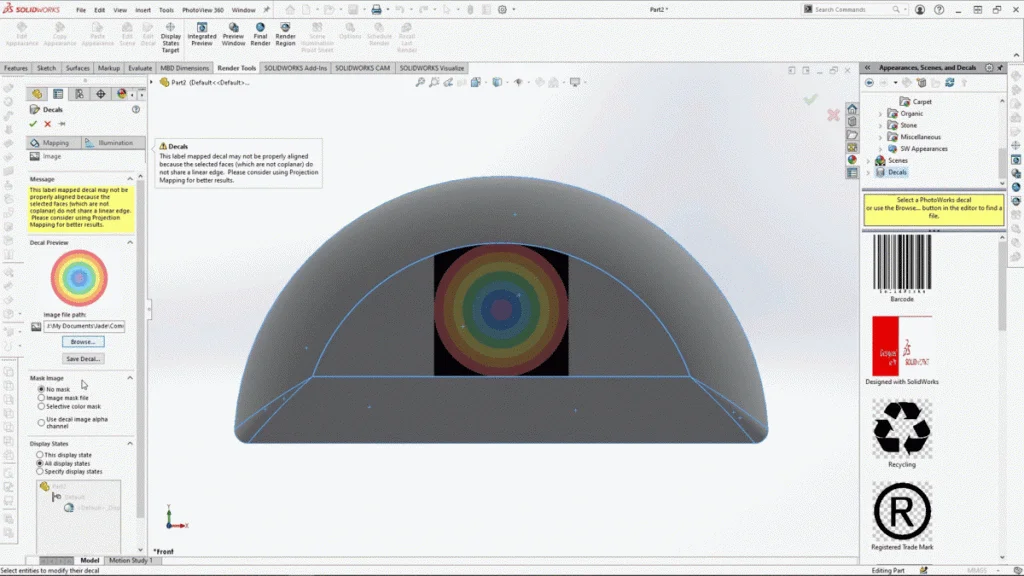
The mobile music box part seen in the tutorial is found in 3 parts from the downloadable file. The music box was designed just for the rendering aesthetics and analysis, rather than a realistic representation of how it would be made, but you won’t need this until part 2. The file you will need is the Rainbow decal, this decal was saved as a PNG file. Using a PNG file means that I can have a transparent background to my decal. Using mask image, I can select ‘use decal image alpha channel’, and the black masked background will become transparent. If you’re working with a decal and you need the background to be transparent, export your image without a background as a PNG file rather than a jpeg. Projection mapping from the front view of the rainbow is used to apply the decal across the whole part allowing the decal to be visible from the front and back of the mobile hanging.
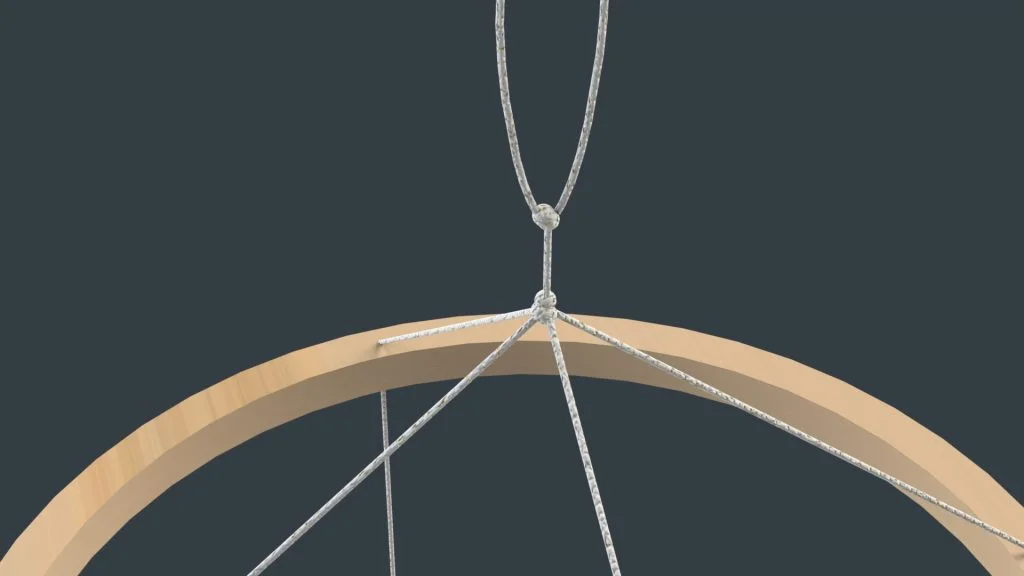
Using a revolved sphere, I copied and moved the part to overlap each other to represent knots in the string. On their own they did not appear very realistic, but once I added the carpet appearance and resized it, this added a more realistic finish to the mobile stings. You can see this in the below rendering. When creating the model, I was not too concerned with the actual construction of the mobile, more the visual finish and model parts for the assembly. So don’t worry too much about how all the strings connect to the mobile.
By the end of part 1 of this tutorial, you should have the empty mobile, a rainbow and a cloud hanging part, you will need these parts to complete part 2.