I LOVE astronomy and everything outer space, so, naturally, that had to be the theme of my daughter’s room. We even had a good friend (thank you @JenHeartsArt) come over and paint her ceiling to look like space.
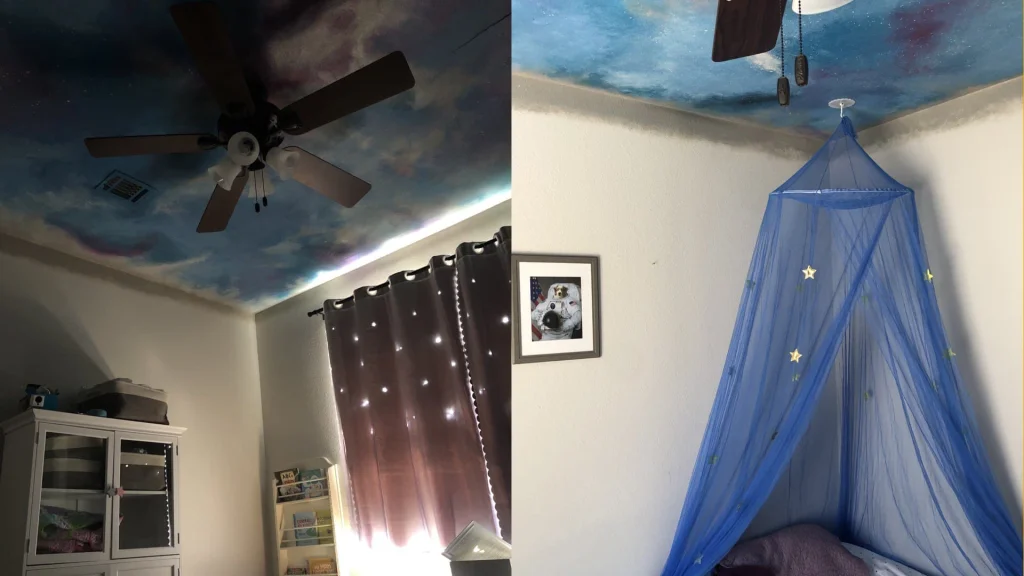
Yes, the ceiling glows in the dark at night. It’s incredible.
Anyway, the one thing we are still missing from this room is a lamp, so of course I decided to design one using SOLIDWORKS and make it using a laser cutter. I started with a simple sketch. To be clear, I’m not an artist, but it doesn’t actually matter as you’ll see later.
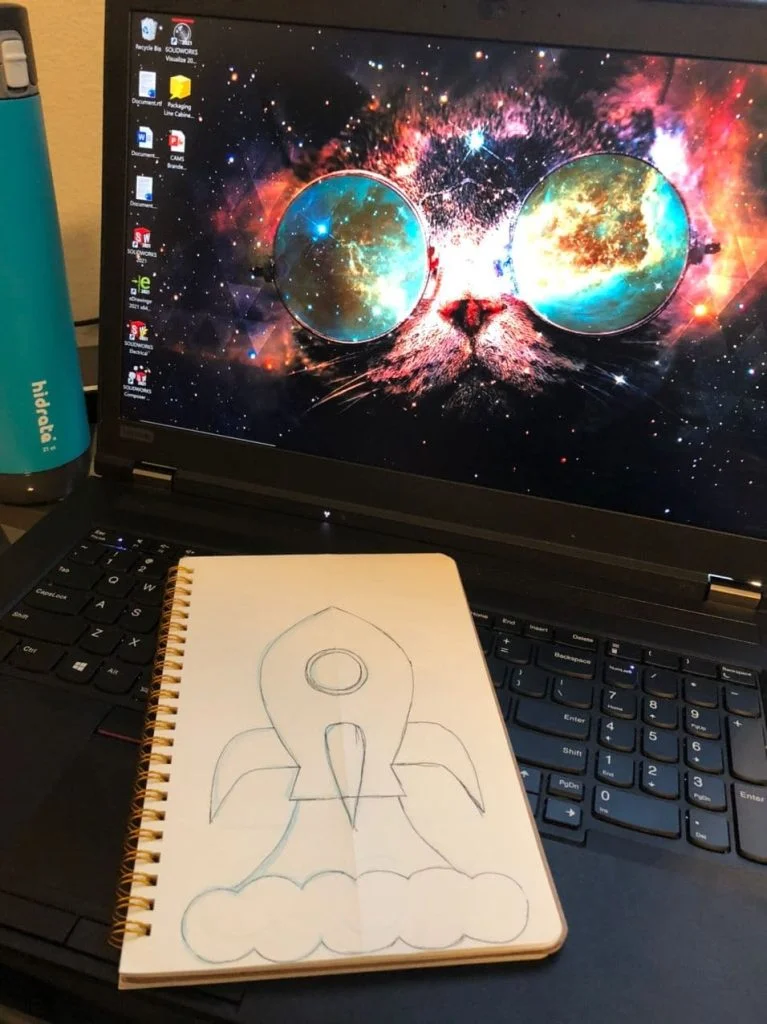
A simple sketch like the one above is literally all you need to get started designing in SOLIDWORKS. To be clear, you don’t actually *need* a sketch, but I find it helpful and you will see why in a minute.
Let’s get started! The first thing we want to do is open a sketch on the Front plane and insert our beautiful “napkin sketch” from Tools > Sketch Tools > Sketch Picture. From here, we can scale our picture in Properties. I decided to give the lamp a height of 15 inches before centering it approximately on the origin and setting the Y insertion to 0.
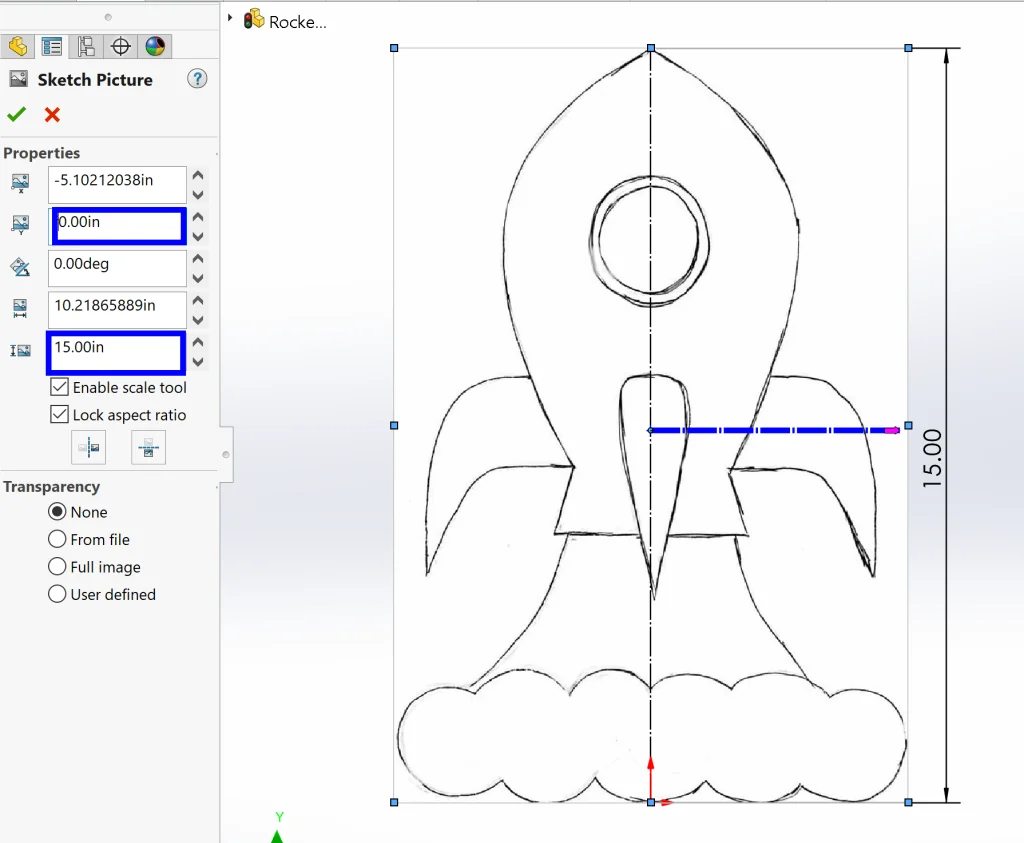
Awesome! We now have the shape we need and we can simply trace it. I like to do this in a new “Layout” sketch to keep everything neat and tidy.
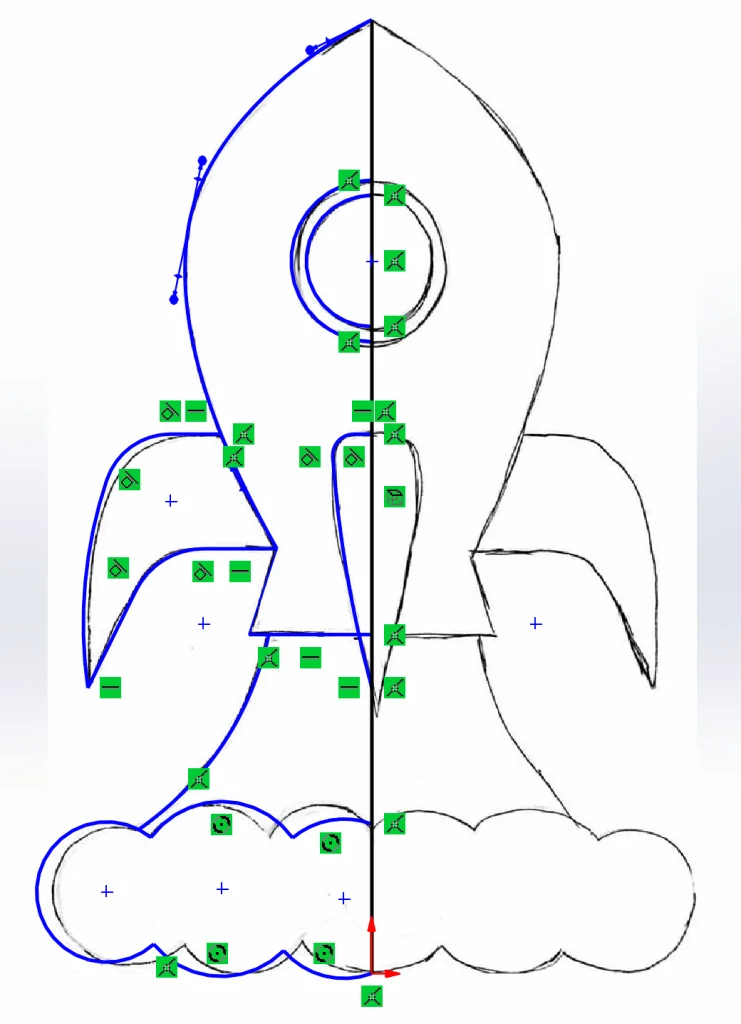
Note: Initially I decided to sketch this using a mix of splines, arcs, and lines, but later I went back and removed most splines, replacing them with arcs and lines because I feel like this (1) gives me more control and (2) allows me to offset, trim, etc. with more precision.
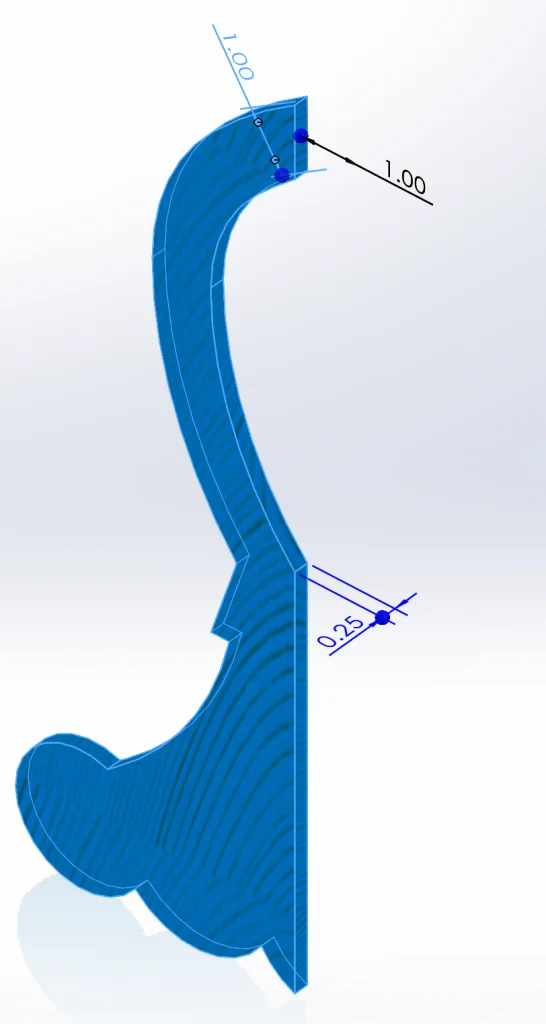
From here, we can start by extruding the primary shape that will make our rocket ship come to life. I extruded this to a depth of ¼” since the goal is to laser cut this out of ¼” wood. I also made sure to hollow out the top using an offset to make room for a light bulb!
The next step is a trick I like to use when I’m working in a multibody part (and therefore I *don’t* want new Extrude/Revolve features to Merge with other bodies by default). I inserted the Weldment feature to keep bodies separate by default.
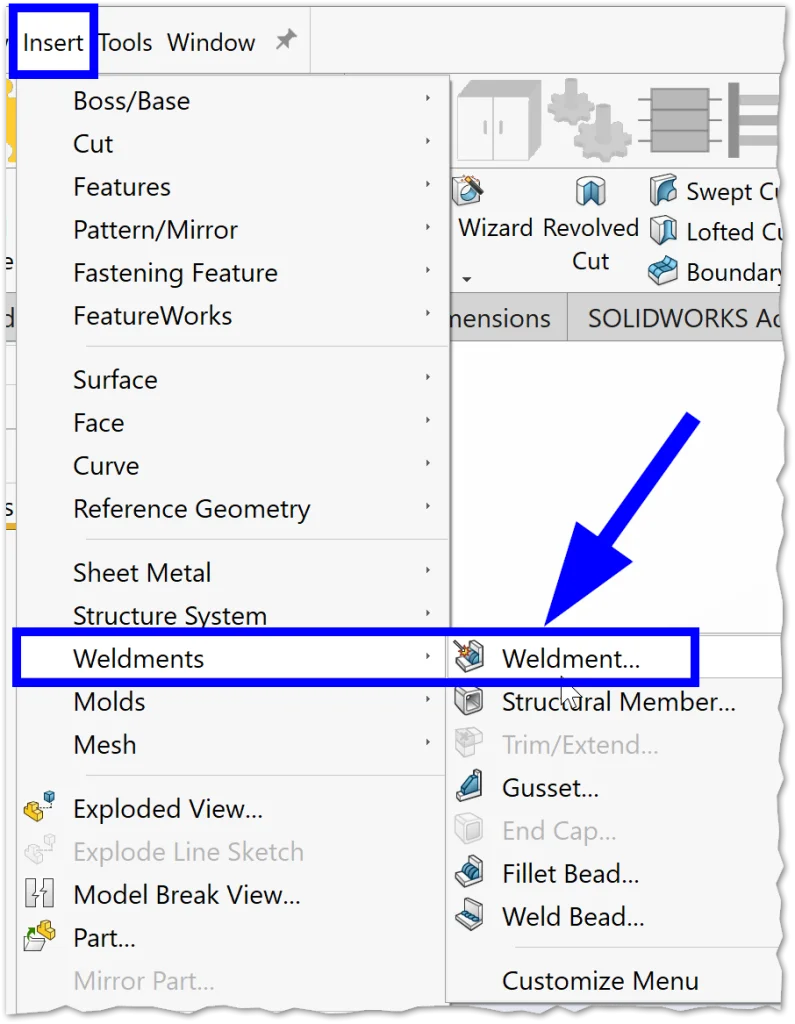
This feature appears in our tree and it also creates a Cut List for us with identical bodies grouped together – PERFECT for this application!
Now we can continue by extruding the wing (and adding some stars for decoration) to the same thickness. I also used Split to section off the top of the rocket ship that will act as a lid so that we can insert the light bulb.
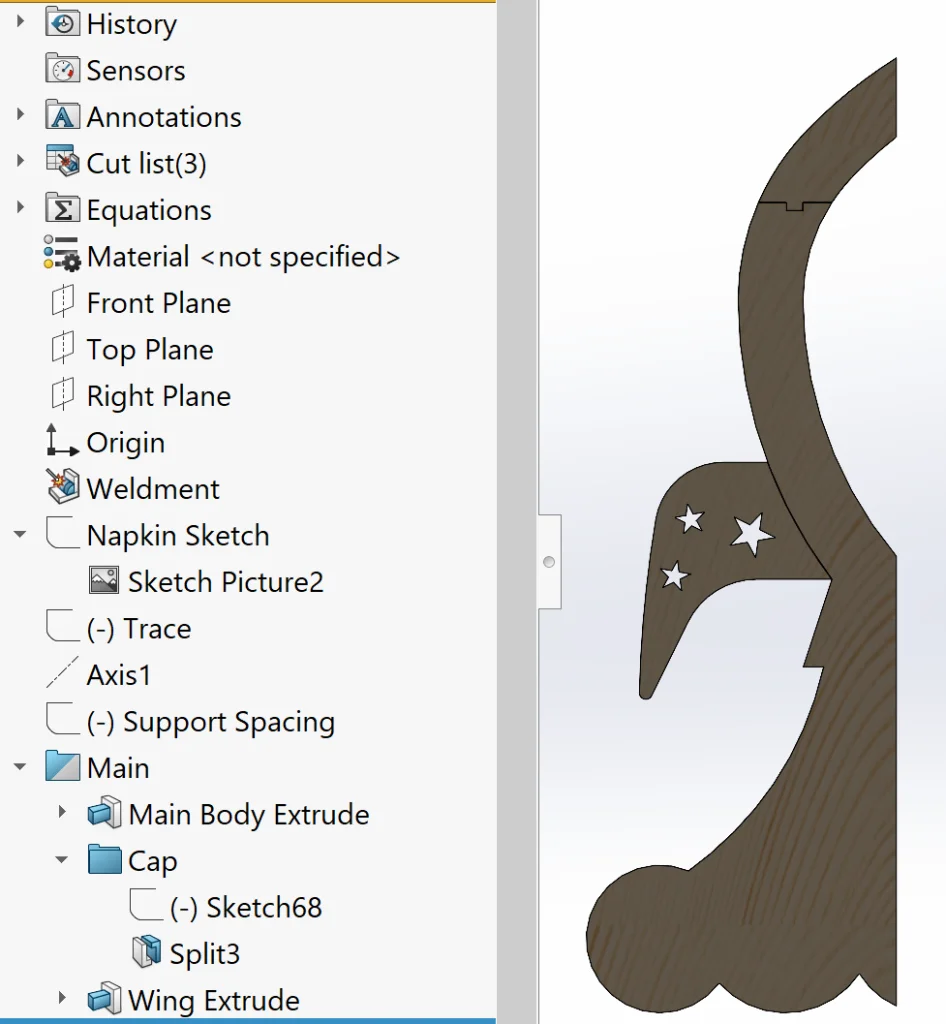
The next part is to add supports and support cuts so that the rocket can piece together like a puzzle when we assemble it. This is actually a tiny bit trickier that I originally assumed because all cuts need to be normal cuts so that this can actually be manufactured. The first time I did this, I used Revolve and Intersect to create the geometry but then I realized that I had created curved faces where there should be flat ones, so I tried again. Luckily, it didn’t take too long to realize my mistake and I was able to quickly correct it.
Support cuts were added using a simple Cut Extrude before the corresponding supports were created using Revolve and then normal cuts were made to each support (and patterned using a Circular Pattern) to create the interlocking piece.
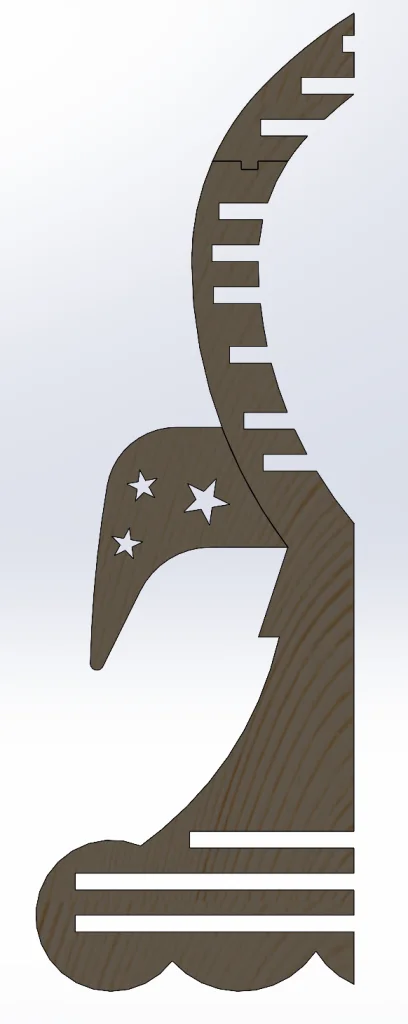
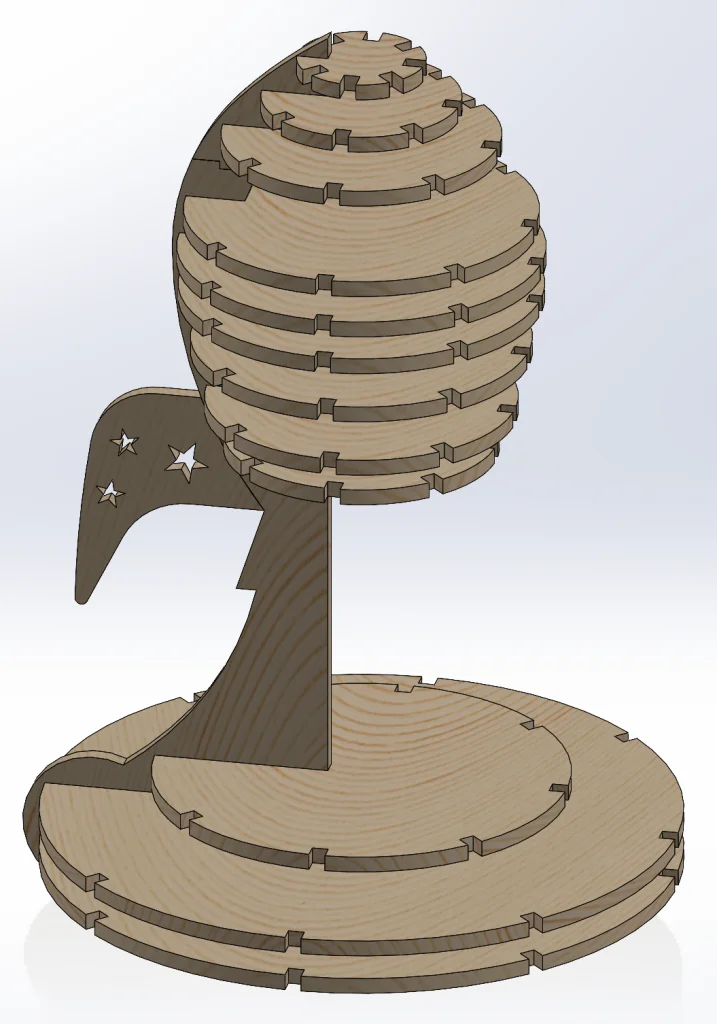
Finally, we can use two circular patterns to create the rest of our primary geometry before using Combine to merge the wings with the main extrudes at four points. I also added a window and cut corresponding pieces out so that it fit into the puzzle at this point.
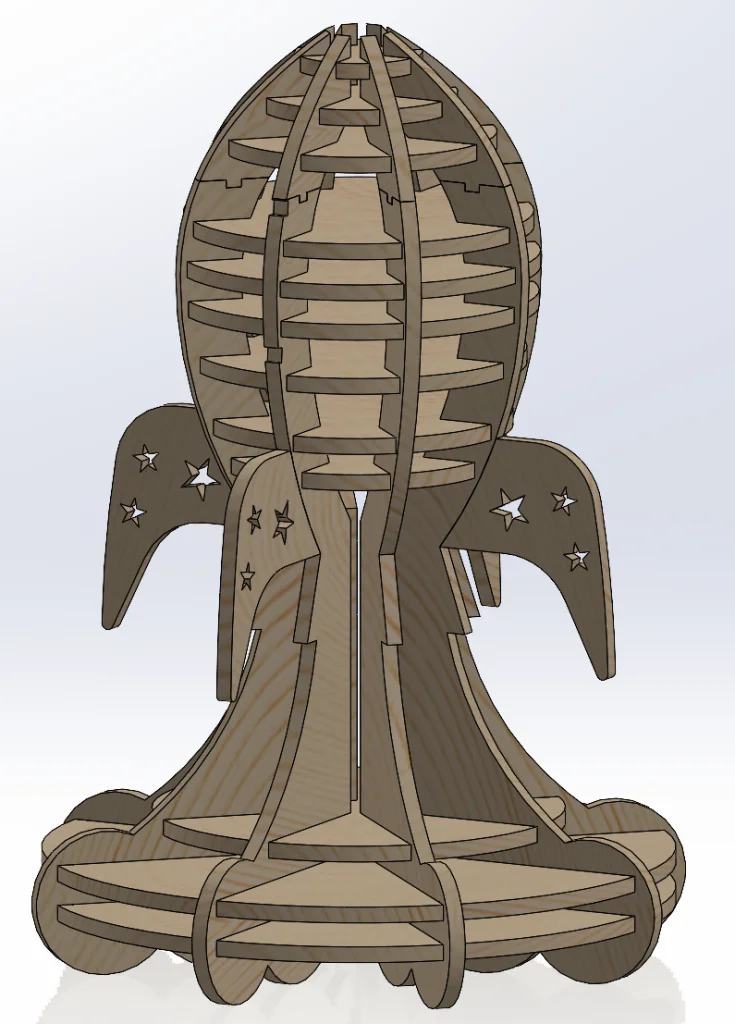
Now we’re REALLY getting somewhere!
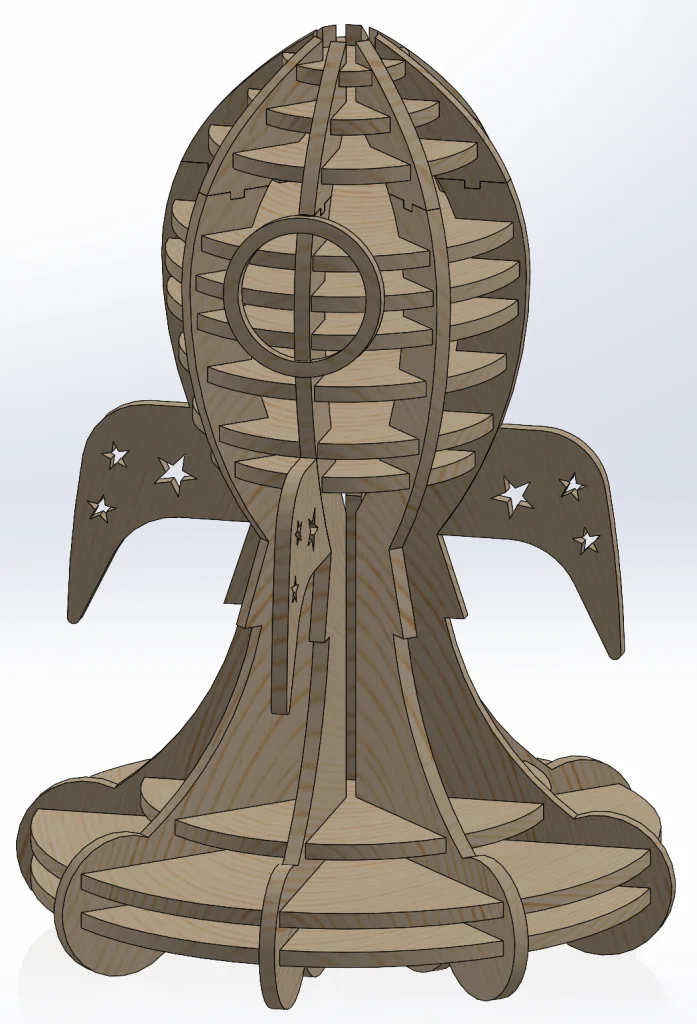
It looks amazing, but we still need to add the light itself. I opted to purchase an incredibly simple lamp off of Amazon and finish the design around this. As soon as the lamp arrived, I removed the shade, took a few measurements using a digital caliper, and reverse engineered it into SOLIDWORKS for design reference.
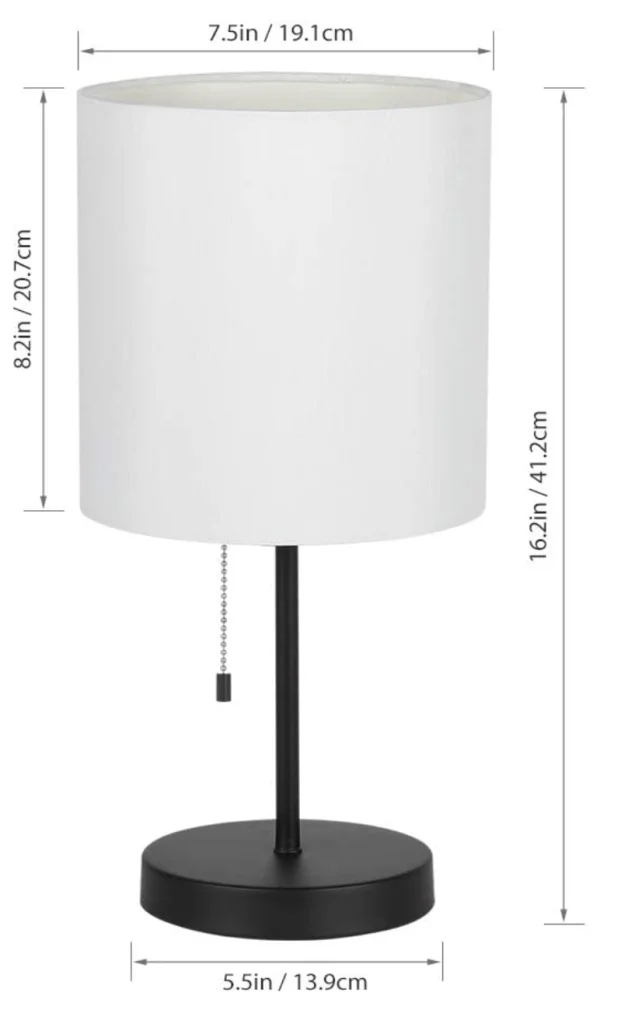
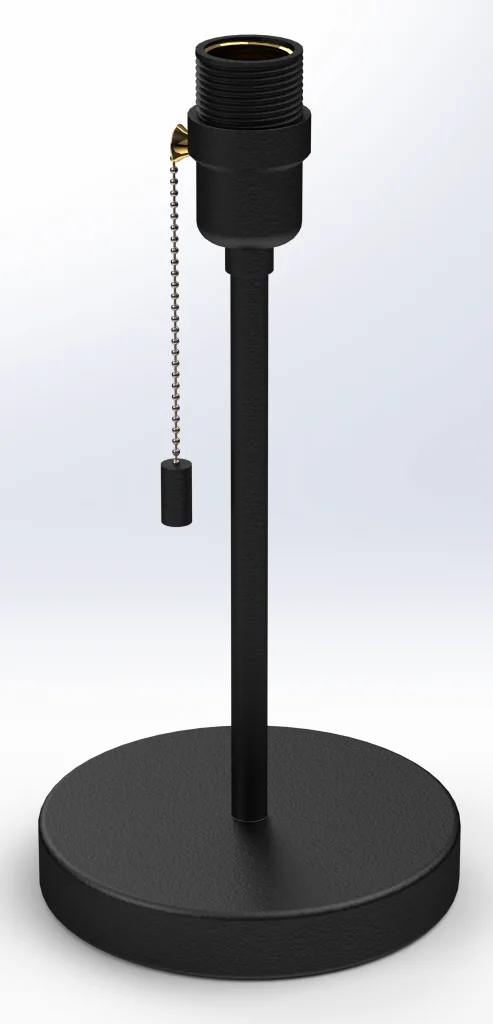
(Left is the manufacturer’s picture, Right is my quick reverse engineer of it in SOLIDWORKS)
I also quickly modeled a light bulb and the ring that was used to secure the lamp shade and I threw everything together in an assembly. In the assembly, I selected Section View from the Heads-Up Toolbar and right-clicked the Rocket Lamp part > Edit Part to edit it in context. This allowed me to modify the position of supports and create cuts as needed so that the lamp shade would be able to accommodate the lamp itself.
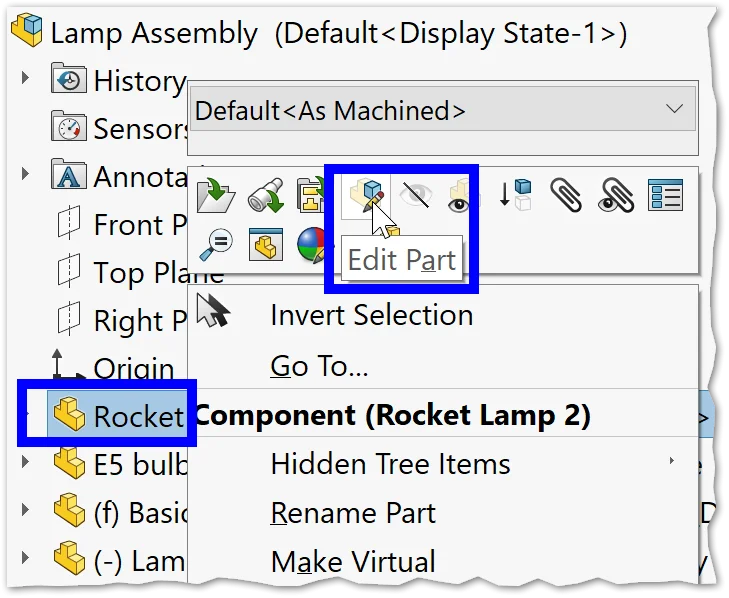
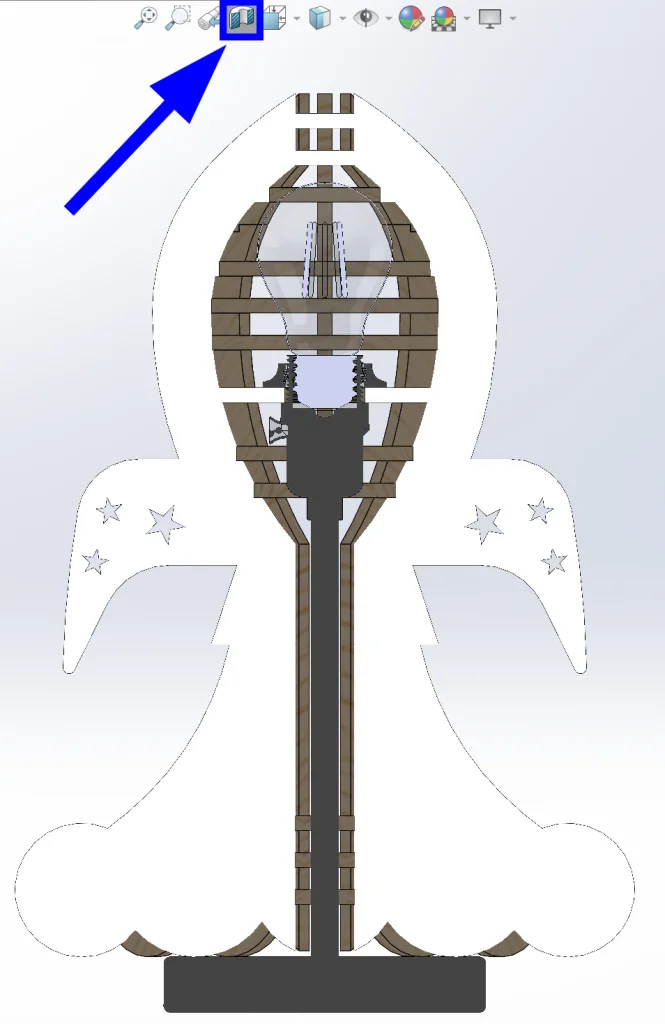
We’re done, right? Almost. We still need to create a dxf to give to the manufacturer, but luckily SOLIDWORKS makes this a piece of cake.
From the lamp part, all we need to do is right-click the Cut List and select Save Bodies…
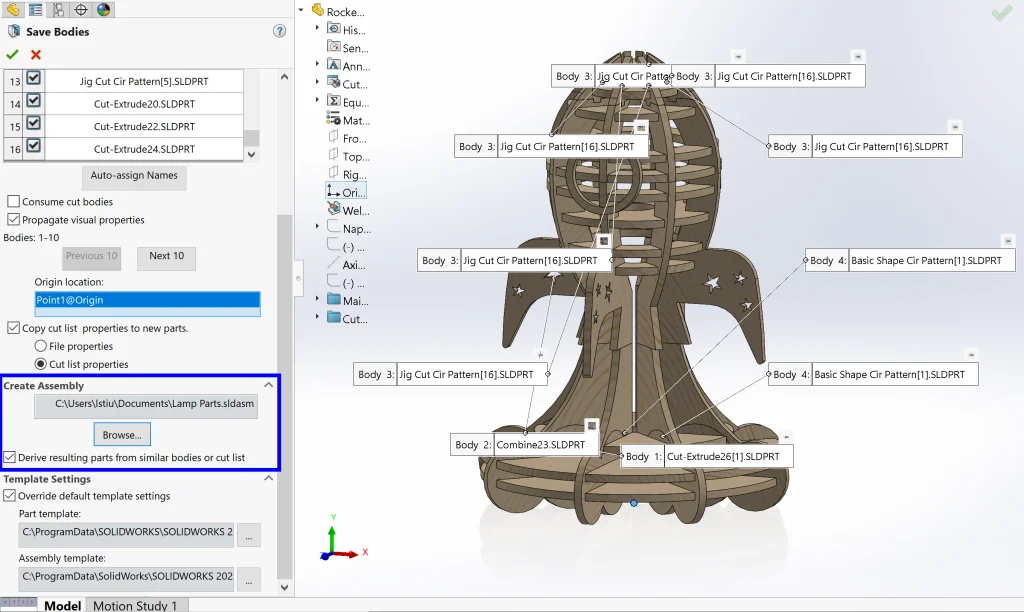
From here, we can create an assembly (as shown above). After opening the assembly, we notice that all of the parts are fixed in place. To change this, we simply select all of the parts in the tree to Right-click > Float. This allows us to move our parts around and mate them to the Top Plane so that we can get a nice layout for our dxf. The last step before exporting is to quickly go to File > Make Drawing from Part and select a sheet scale of 1:1. This ensures that our parts will print at the correct size.
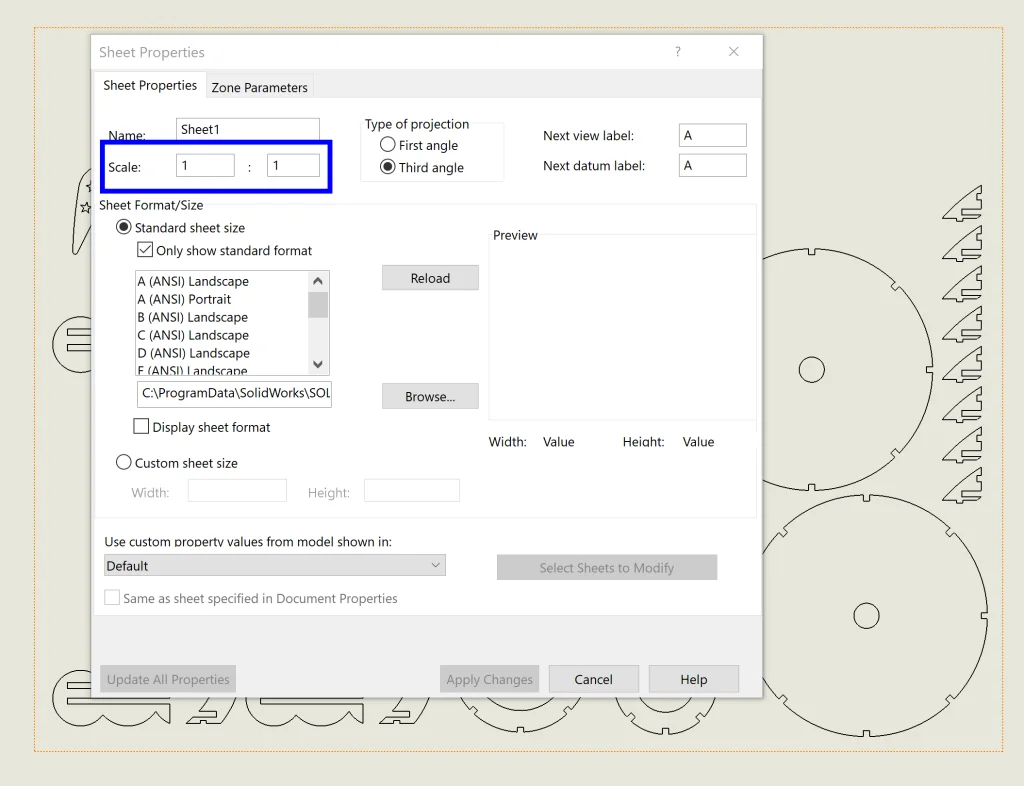
To export, all we need to do now is go to File > Save As… and select dxf.

Ready for manufacturing!
Just for fun, I decided to make an exploded view that shows how everything fits together…
… and paint everything before quickly rendering in SOLIDWORKS Visualize.
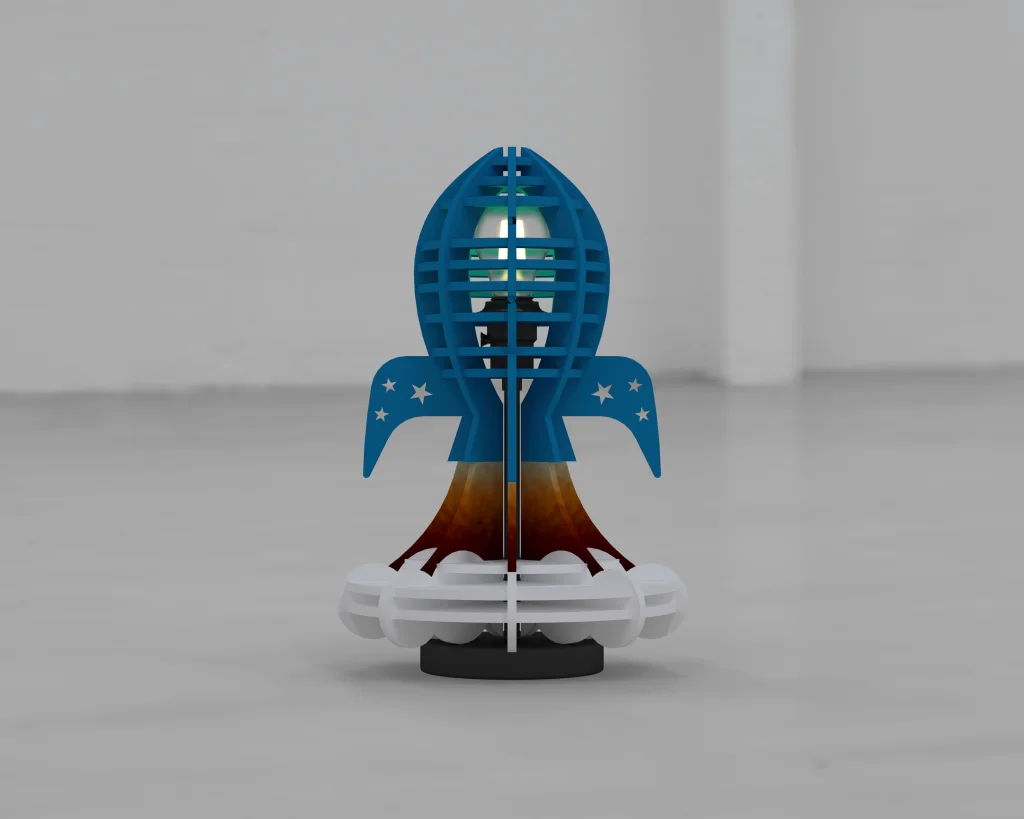
Now we’re really ready to blast off!
Thank you so much for following along. I can’t wait to get these parts cut and put this in my daughter’s room. Such fun!
Here’s hoping 2021 is out of this world.


