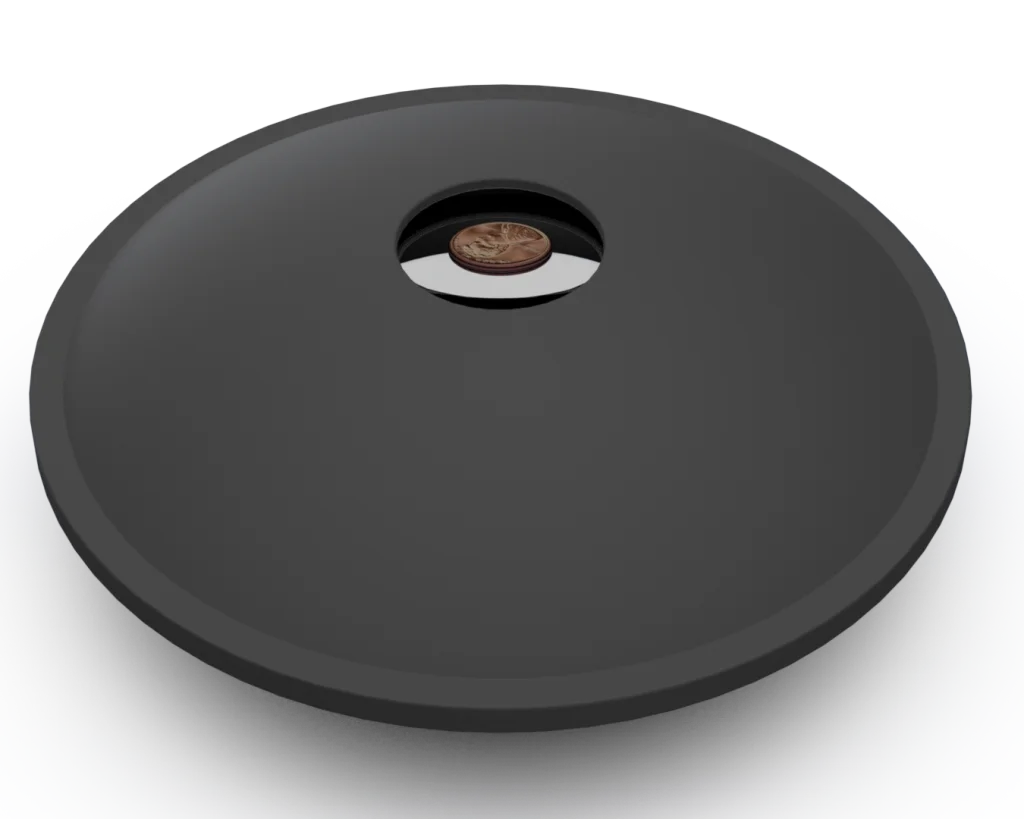
This is the second part of a two-part blog that investigates the power of SOLIDWORKS and SOLIDWORKS Visualize to accurately model and render illusions created by mirrors. In the first part, we created the illusion of disappearance and in the second part we will see if we can create a hologram.
Part 2: A visible illusion
Since Visualize did SUCH a good job handling the mirror box illusion, I thought I would try something a bit trickier – a mirascope. I originally saw this illusion in a video of a Squirrel Obstacle Course and, since we have a coin shortage at the moment, I thought it would be appropriate to try and make a coin appear.
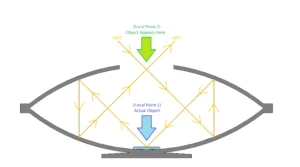
The concept behind a mirascope is fairly simple. All we need to do is model two identical parabolic mirrors (one with a hole on top at the vertex) such that the focal point of each mirror is the vertex of the other. The opening allows us to place a small object at the lower focal point and view it at the upper focal point – floating in space! I’ve created an illustration below for clarification.
To calculate the precise dimensions of the mirascope, we could use a formula to get to our answer, or we could get close, create a design table, and let the combined power of SOLIDWORKS and SOLIDWORKS Visualize do the rest of the work for us. I’ll let you guess which route I decided to take!
OK, so time to create a model! This was one of the easiest objects I’ve ever created – possibly in my life. All we have to do is sketch a cross-section of our mirascope, add a few dimensions to capture design intent, and complete a single revolve. I just started by modeling the top half, mirrored it down, and created a second revolve for the base, but I could have completed it all in one sketch. If we want to get fancy, we can add a couple of fillets, but functionally all that is needed is a single revolve and our design is complete. Below you can see what our original sketch looks like with the relevant dimensions applied.
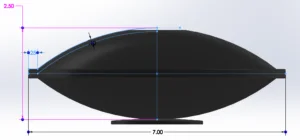
The top hole was cut with a diameter of 1.5 inches and the base was added with an arbitrary radius of 2.5 inches just so that the mirascope can stand on its own.
After getting the basic geometry in place, I went ahead and applied a plastic black appearance to everything except for the inside parabolic faces. For the inside faces, I applied the Mirror (Appearances > Glass > Gloss > Mirror) appearance.
Finally, we need to model an object at the lower focal point that we want to make appear. For this, I chose a penny. Again, this is a simple revolve. I applied the Copper (Appearances > Metal > Copper > Cast Copper) appearance and I applied a Decal for extra flare.
To apply a new Decal, I first searched for an image. One trick I like to use here is to do a Google Image Search and select Tools > Color > Transparent. This will almost always give me a .png file with a transparent background, making it easy to apply to our part once we get into SOLIDWORKS.
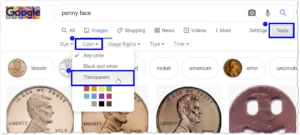
After picking and saving an image, we jump back into SOLIDWORKS, head over to the Display Manager > View Decals, and right-click the background > Add Decal…
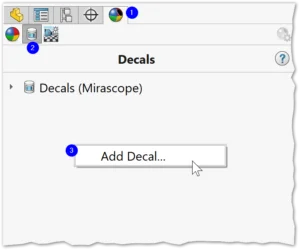
This allows us to select the previously saved image from Browse… and we can simply specify Use decal image alpha channel under Mask Image to take advantage of the transparency already in the file.
Note: If we couldn’t find an image with a transparent background, we could have also selected Selective color mask under Mask Image to get rid of the background.
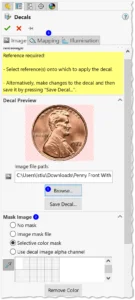
Finally, we go to the Mapping tab and select the top round face of the penny to apply the Decal.
At this point, we’re 95% done – there’s just one step left! Since we didn’t do the math, we need to give ourselves options by configuring the height of the mirascope. Once we’re in Visualize, we should be able to quickly pick the configuration that creates the best illusion. To do this, we can quickly double-click our model to bring up dimensions, Right-click the dimension corresponding to the height, and select Configure Dimension.
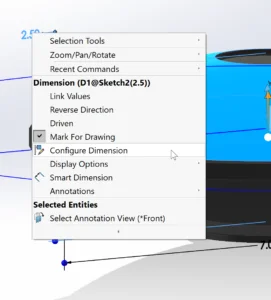
From here, we can add new configurations and new dimensions for these configurations. I added a few different options – each just a tenth of an inch from each other.
Modeling: Done! Here’s what it looks like in SOLIDWORKS so far.
Now all we need to do is check our work and select a configuration in SOLIDWORKS Visualize. To do this, we first need to make sure we have the SOLIDWORKS Visualize Add-In enabled from Tools > Add-Ins > Visualize. Then we can select Export Advanced to jump directly into SOLIDWORKS Visualize and check our work.

After export, to check each configuration, all we need to do is jump over to SOLIDWORKS, activate the configuration we want to check, rebuild, save, and jump back to SOLIDWORKS Visualize. From here, we are prompted to update our model – Easy peasy!
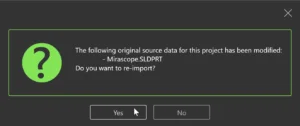
Here’s our first try – the penny is not showing up! Oh no!
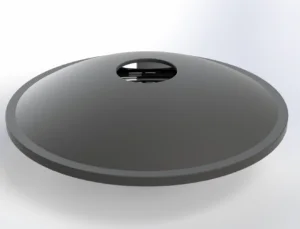
As we flip through our configurations, however, the penny slowly comes into view…
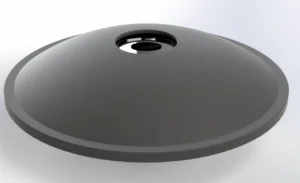
… until it is just right!
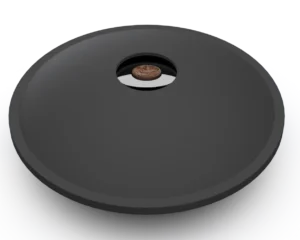
IT WORKS! I’m so incredibly impressed with SOLIDWORKS Visualize and the way it handles mirrors. Not only were we able to make items disappear with our mirror box, but we were also able to literally make a coin appear with our mirascope illusion. The best part? If someone goes to snatch your coin from the top of the mirascope they will be BAMBOOZLED and your precious coin will be safe!
Anyway, thanks for following along! I hope you enjoyed this mini-series as much as I enjoyed making it. Until next time, stay safe and have fun!
Content
The Magic of a Reflection: Part II

Loretta Stiurca
