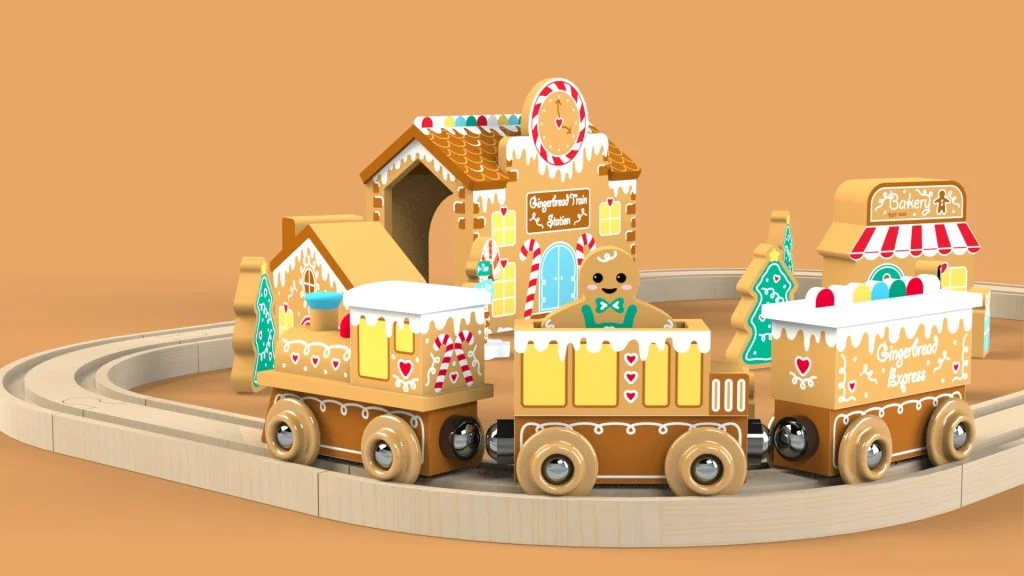

This is a two part SOLIDWORKS tutorial for a Gingerbread Train Set. Part 1 of this tutorial will demonstrate how to create a simple wooden train model in preparation for a motion analysis which is used to create an animation. In Part 1 you will create two parts, a Train and a set of wheels. The tutorial focuses on basic modelling features and tool, and also how and where to add guide sketches to be used in an assembly to create a motion analysis in Part 2.

The tutorial also looks at the creation of decals in vector based programmes, and how you should export them in preparation for SOLIDWORKS. Tip for exporting a JPEG, ensure that the colour properties of your image or document is RGB and not CMYK, as this will affect the colour in the rendering. RGB stays true to the colour on screen, so always check your settings before exporting an image.
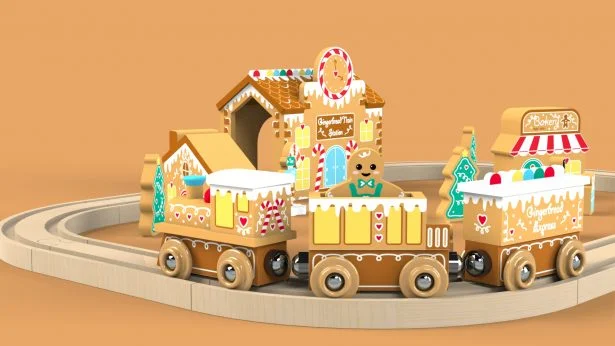
In Part 2 of this tutorial, the train and wheels created in this tutorial will be put into an assembly with the other parts. Different mates will be applied in preparation for a Motion Analysis, to create an animation of the train, carriages and gingerbread man going around the tracks. All the accessories for the assembly will be available to download.
The decals for this tutorial are available to download here.