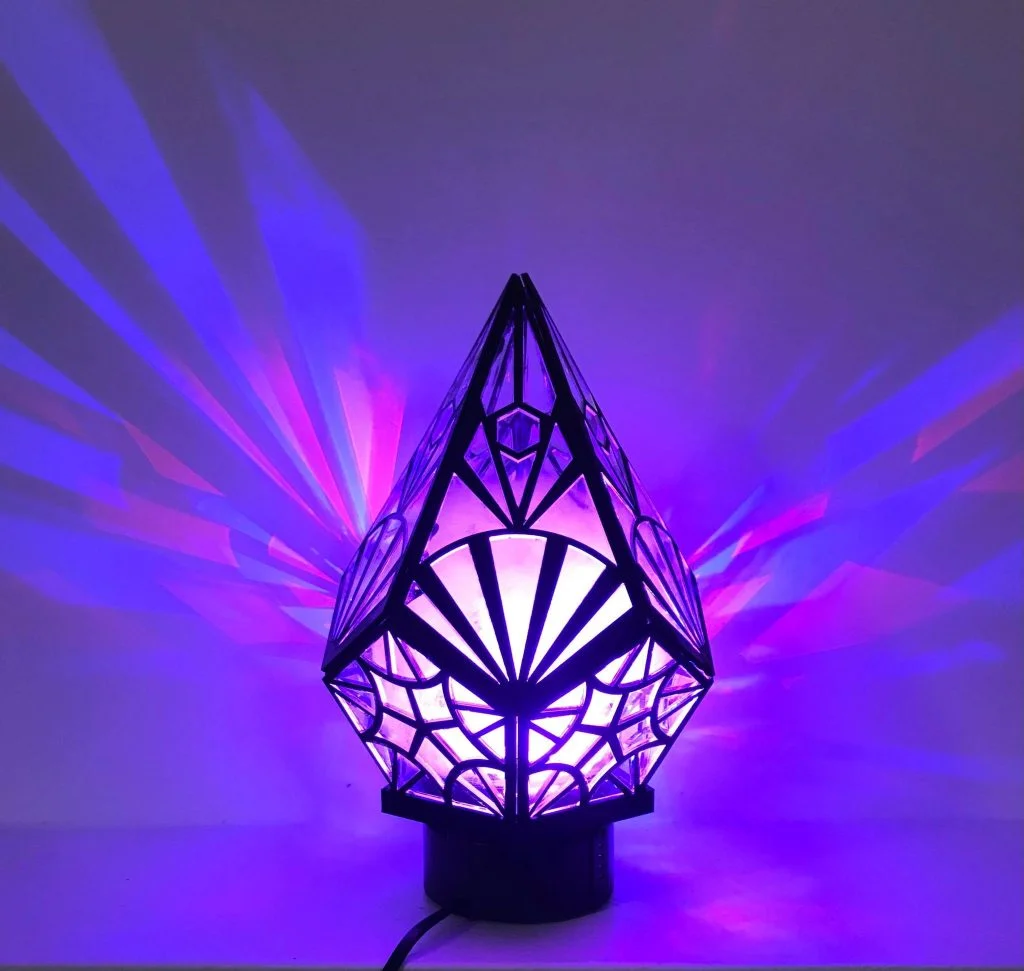

I love the look of stained glass and wanted to make something that would have a similar aesthetic. I made this lantern using wood, clear acrylic, and a disco light!

Design
I designed my final assembly in SOLIDWORKS to make sure that all of my pieces would fit together perfectly. I chose to make my pieces symmetrical because I think it offers simplicity to an otherwise ornate design and it will greatly facilitate the assembly process.
Cut
I cut all of my pieces out of ⅛” plywood and ¼” acrylic. I used a sheet of acrylic that is thicker than my wood because it will make assembly a bit easier and give me more surface area to apply some glue. I did my best to achieve a press fit by slightly scaling up the acrylic pieces so that they wouldn’t need much glue to lock them in place. This process can be challenging because although laser cutting is a relatively precise process, each cut can vary in size and shape.
Prep
I decided to stain my pieces a deep brown color because it really simplified my post processing. This allowed me to skip sanding all of the smoke stains off of each piece and it gives the whole lantern a really clean look. The dark color will also come in handy for assembly. I designed and 3D printed a small base that the hexagonal pieces can fit into. This will add some structure to the pieces and act as a connector between my pieces and the disco light.
Light
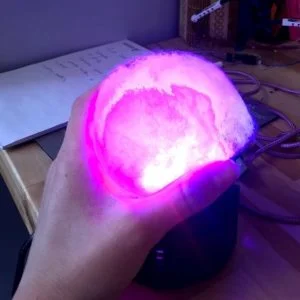
I purchased a small disco light so that my lantern can shine with lots of different colors. However, I wanted the end result to be calm and mystical rather than a disco party. I removed the disco dome it came with and experimented with several ways to diffuse the light. I wanted to find a medium that would spread the light around the room without being too harsh. I tried: parchment paper, sanded clear acrylic, a plastic cup, and synthetic cotton. I was most happy with how the cotton (left) diffused the light regularly and didn’t impose any patterns.
Assembly
Once I had inserted and glued in all of the clear acrylic pieces, it was time to put it all together! Although I took several measures to simplify the assembly process, it was still difficult to set the pieces together without any gaps. This was especially true for the top panels. I used tape to help me keep each piece in place and carefully used hot glue to join each panel together. I had originally planned to do this with wood glue, but the drying time was too long and the pieces were difficult to clamp together.
Finished!
Although the final product came out with several gaps, I am very happy with the result! I learned a lot about diffusing light and next time I attempt a project like this I will be sure to create a better jig.
