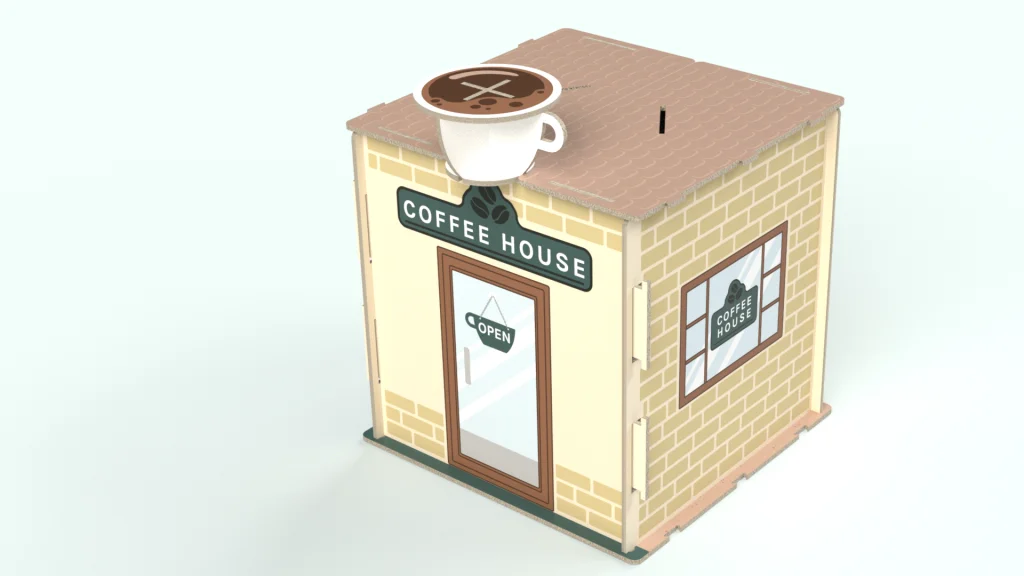

The playset used in the tutorial was designed to be easy to assemble and disassemble to be able to play on the go. I also designed some accessories, including miniature food, a pastry stand, tables, a coffee cup, plus a barista and customer. The playset was created as a multi-body part to begin with and all the bodies were saved as new parts, they were all mated together within an assembly in its open playing position. From here I create an exploded view working backwards to collapse the playset.
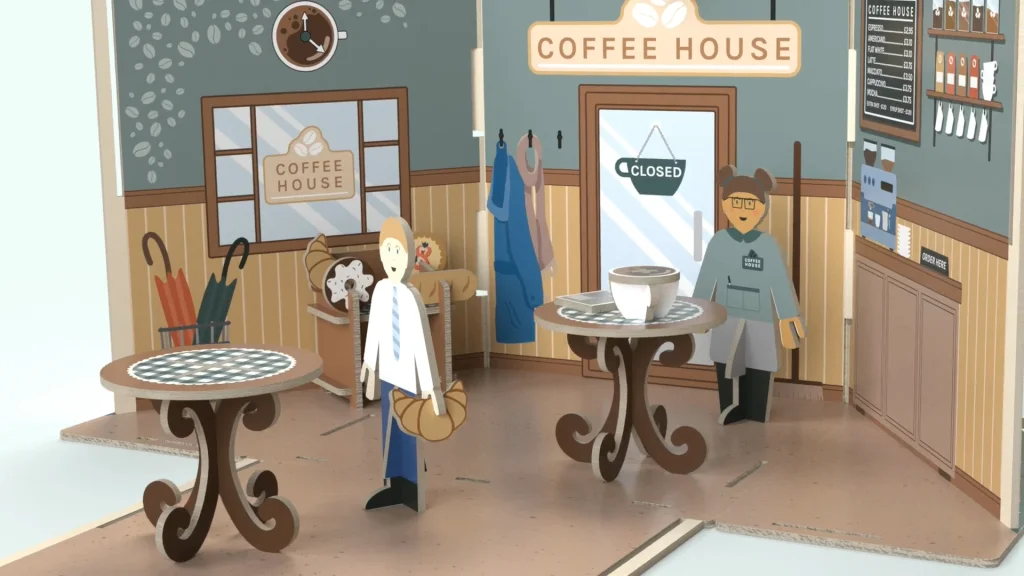
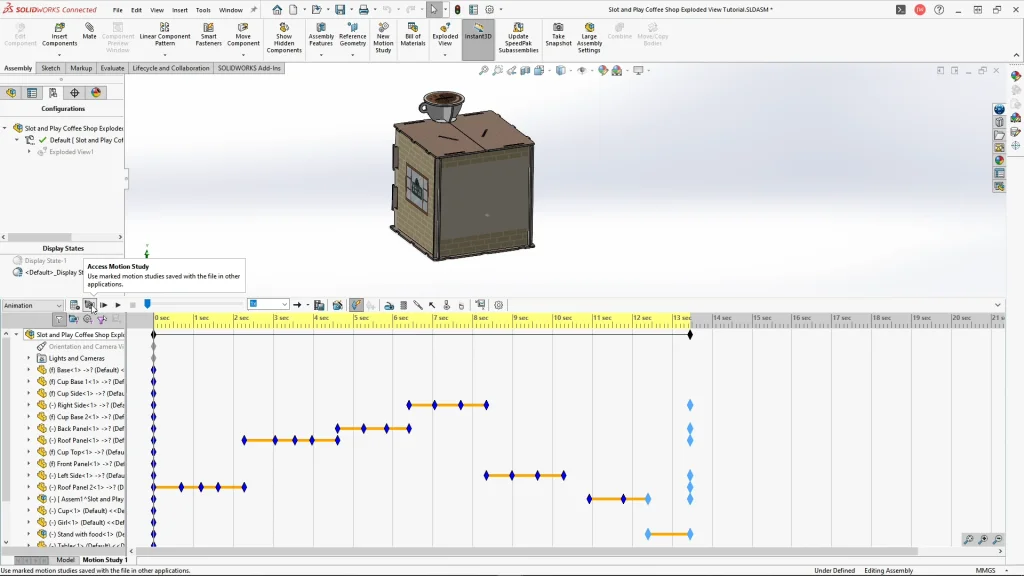
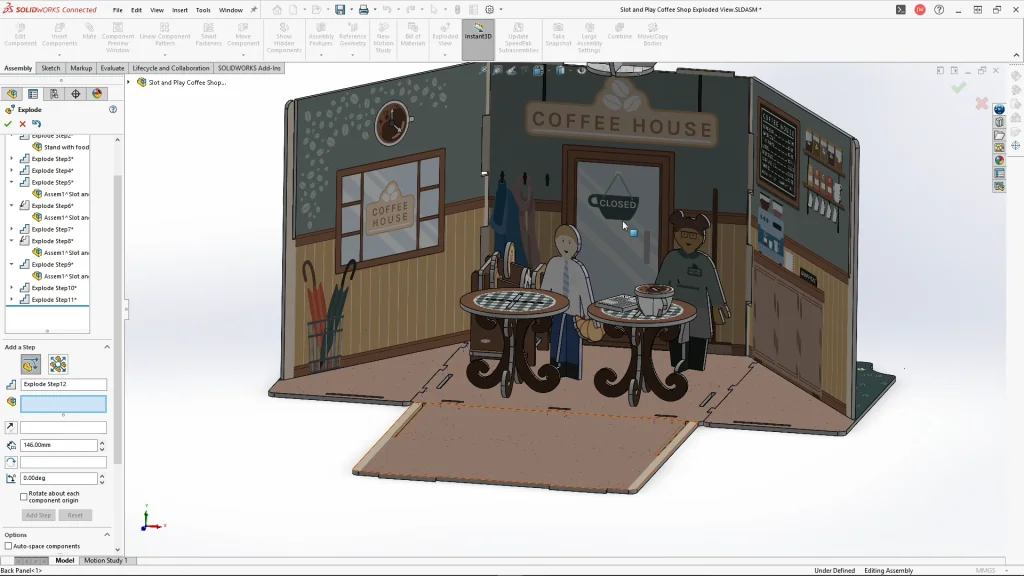
I began by moving all of the accessories within the inner base panel of the set, so that when the panels were all closed they would be stored safely. The pastry stand was brought in as a subassembly with all the pastries mated onto the stand to make it easier to move in the exploded view. Parts were moved with several explode steps so that when I use the animation wizard collapse feature I can remove and simplify movements. For example, if I move a part forward and then sideways, I can delete keyframes to make the part move diagonally.
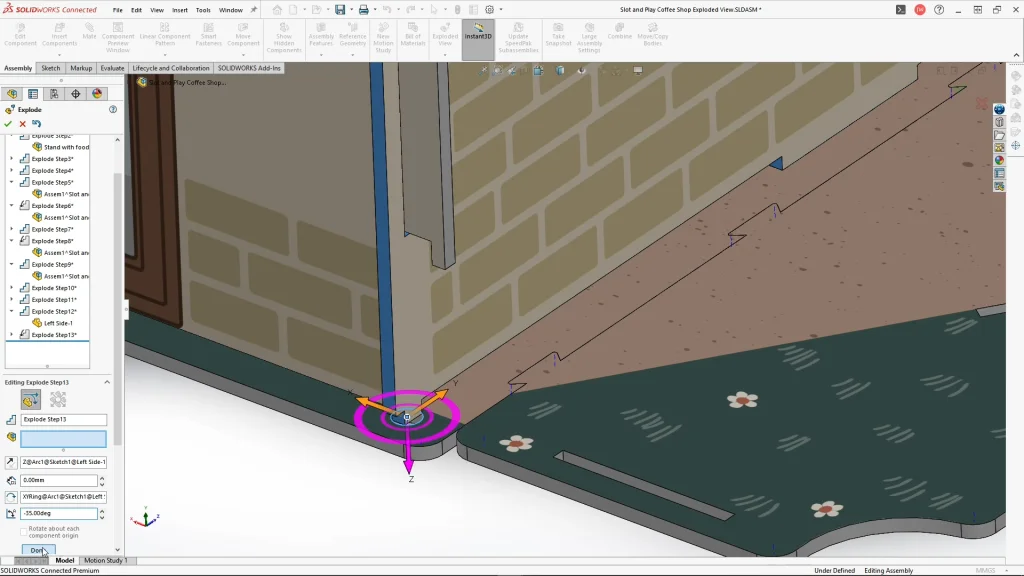
When rotating parts, you want to see the rotation ring, if you don’t see the rotation rings, check the show rotation rings box. You can use the rotate ring or simply type in the angle of rotation. For the side doors, they were designed to hook onto tabs onto the front panel creating a hinge-like feature. This would allow me to open and close the side panels and slot into the underside of the roof panels. With a side panel selected, for the reference axis for rotation box, I used a circular sketch I had created within the part which allowed me to rotate from its axis closing the side panel by -35 degrees.
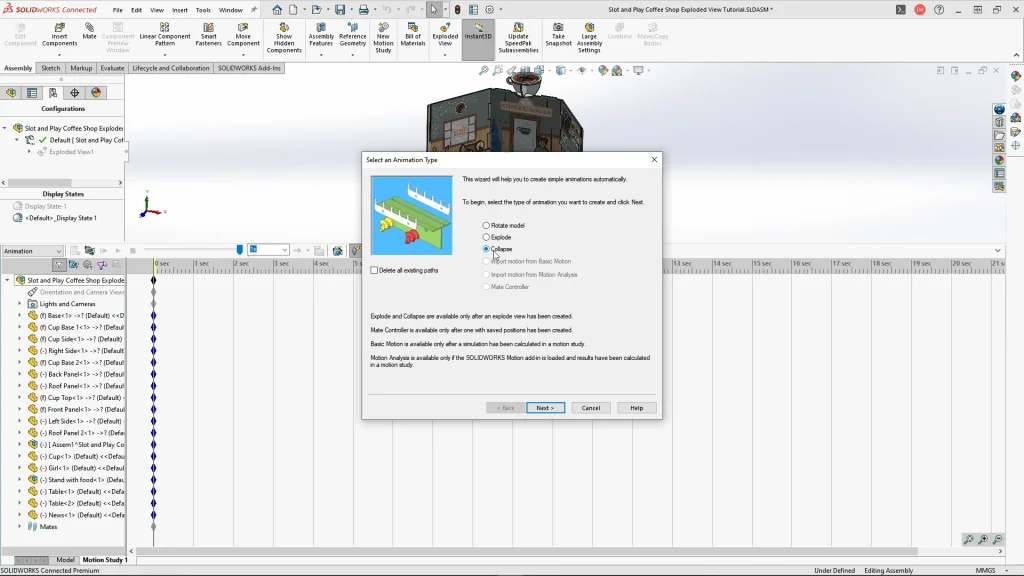
Once all of the explode steps were added, I could start a motion study. Using the animation wizard, I chose the collapse option and set the animation length to 20 seconds. Once applied animation keyframes will become visible like this. Now you could leave the animation as it is, but its not very smooth and there were some interferences. I can drag over frames with the time bar to watch the animation play out and help me to decide which keyframes to delete. Removing the keyframes in between the first and end keyframe of a part won’t change the end position of a part as long as the last keyframe is in place. However, deleting too many can cause parts to move more unpredictably, I demonstrate this in the tutorial when I removed the wrong keyframe and a part moved through other parts causing a collision. You can just undo any edits using control and Z on your keyboard. You can test removing keyframes if your unsure of the effects they will have, and the more you do this the more you’ll understand how you can create smoother transitions for animations using exploded views.
When I play the animation out from the start, I found the speed of some of the transitions to be too long, to fix this I can highlight and select keyframes and drag to shorten the keyframe transitions. Once I was finished, I ensured that the access motion study icon is checked, so that when I open it up in SOLIDWORKS Visualize the motion study keyframes will appear in the animation bar ready to render.