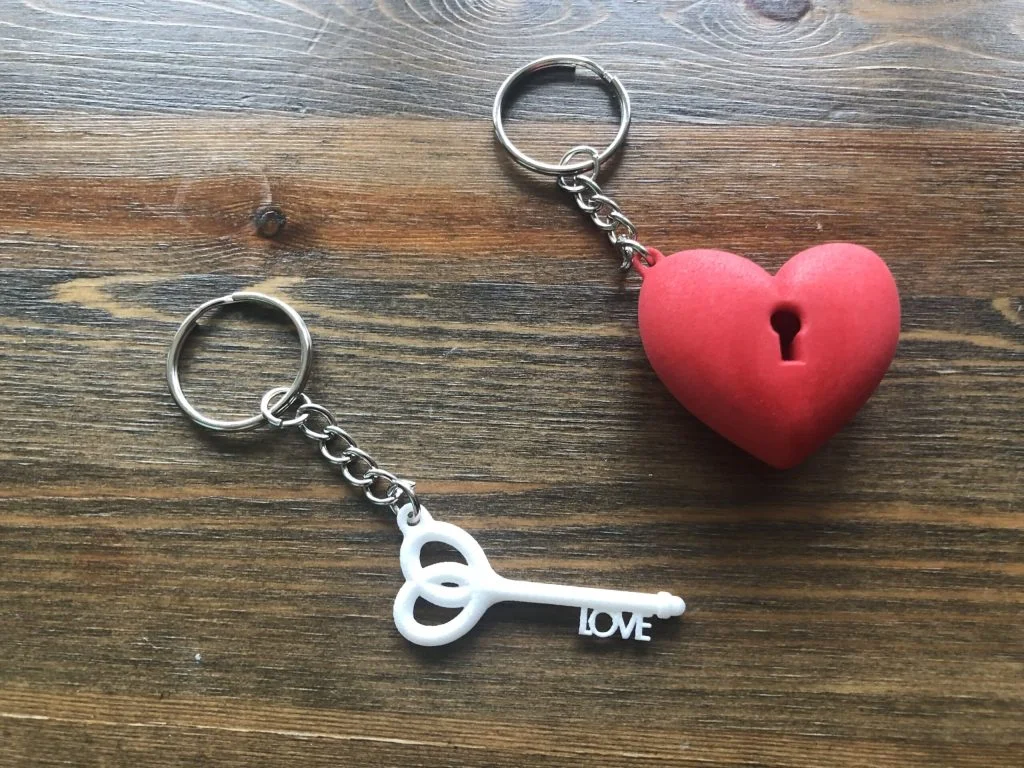

I designed these heartfelt themed keyrings for myself and my husband, he will keep the key and I will have the heart, I had them printed by 3D Print UK, in an SLS Nylon, the heart was dyed red and I kept the key natural. So, diving in to some of the things I featured in my tutorial, you will see the use of dome, revolve, mirror bodies and sketch text. If you would like to add the keyring to your model, you can download that part here.
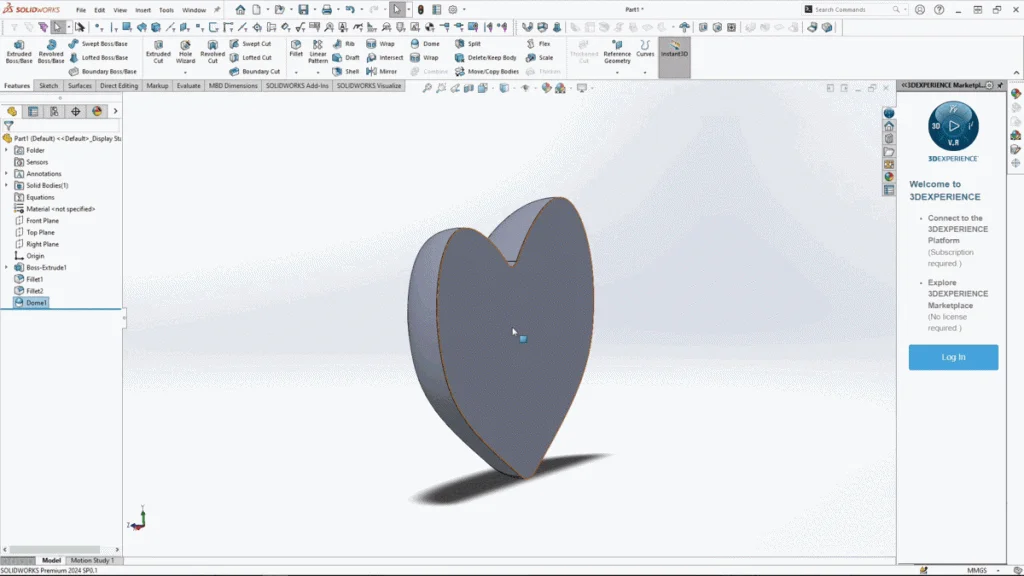
Starting with the heart, I sketched and extruded a very thin heart shape, from here I could select the front face and apply the dome feature, because of the shape type, I needed to uncheck the continuous dome box. Once applied, I could repeat the feature onto the opposite heart extrusion side to create a 3D heart.
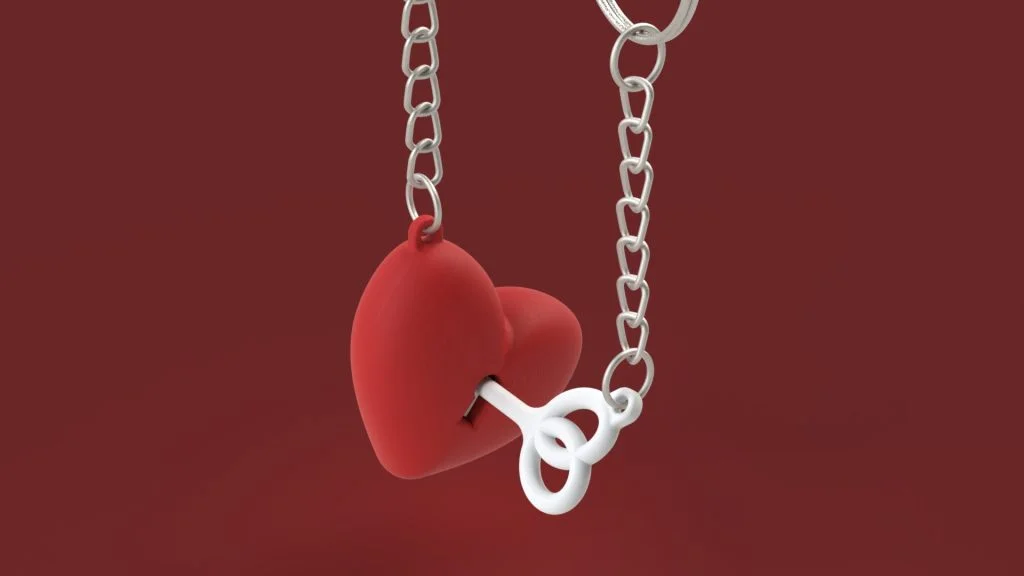
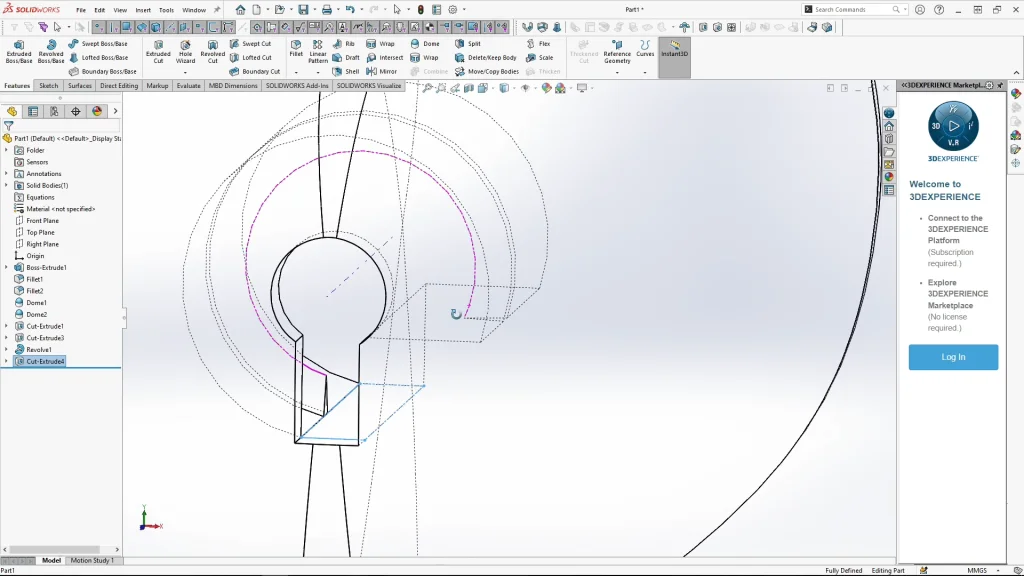
For the key barrel within the heart, I sketched a simple triangular shape which I revolved within the barrel, this has been spaced apart ready for the ‘LOVE’ text on my key to lock onto and follow when turned in the heart. I have predesigned my keyrings, so I know the dimensions needed to model this part. I also added a segment within the barrel to stop the key from turning at 270 degrees.
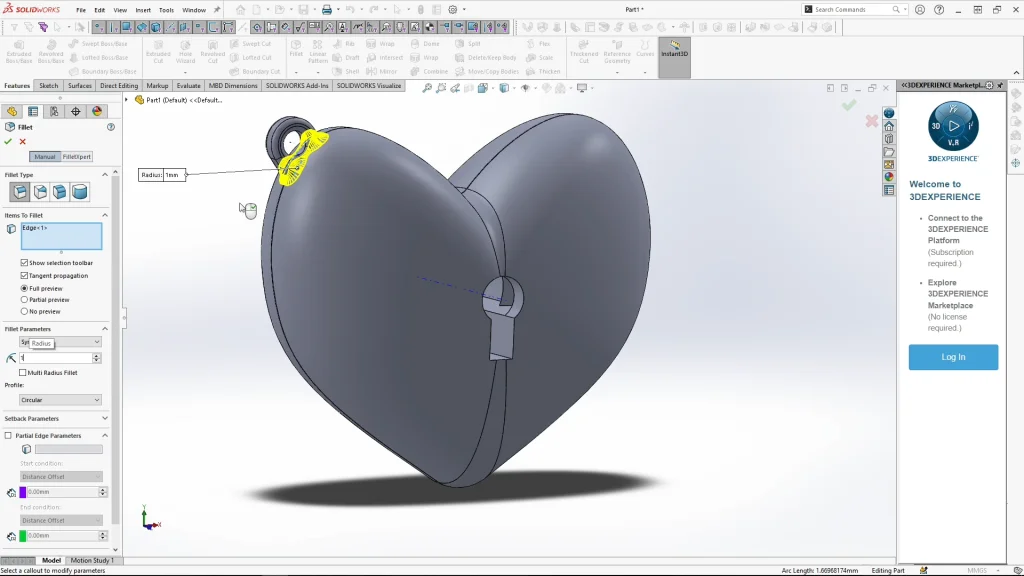
An important step in the design was the keyring hoop, this is where I would attach my designs to a keychain, so it needed to be strong enough and large enough for the chain to attach and not break. I had some breakages in a print when I designed it too thin, so be aware of this, dimensions needed might differ depending on your printer material and your keychain thickness. At the joining edge of the hoop, I applied a small fillet, which adds material and can strengthen the join.
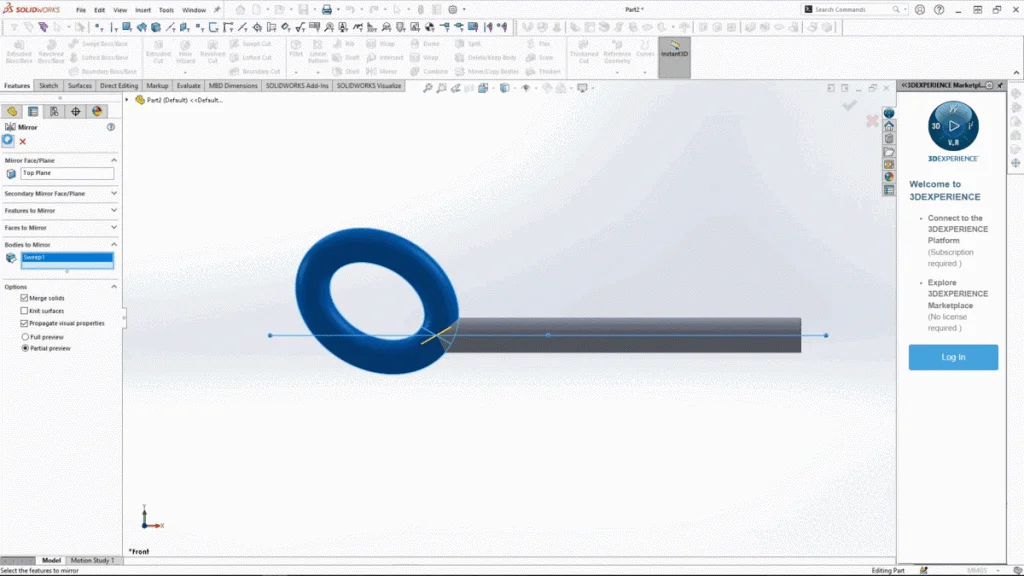
Moving onto the key, I took an angled ellipse and the sweep feature, using the circular profile setting I chose the ellipse for my sweep path. I could then mirror this body over and merge the two together to create a heart shaped key handle.
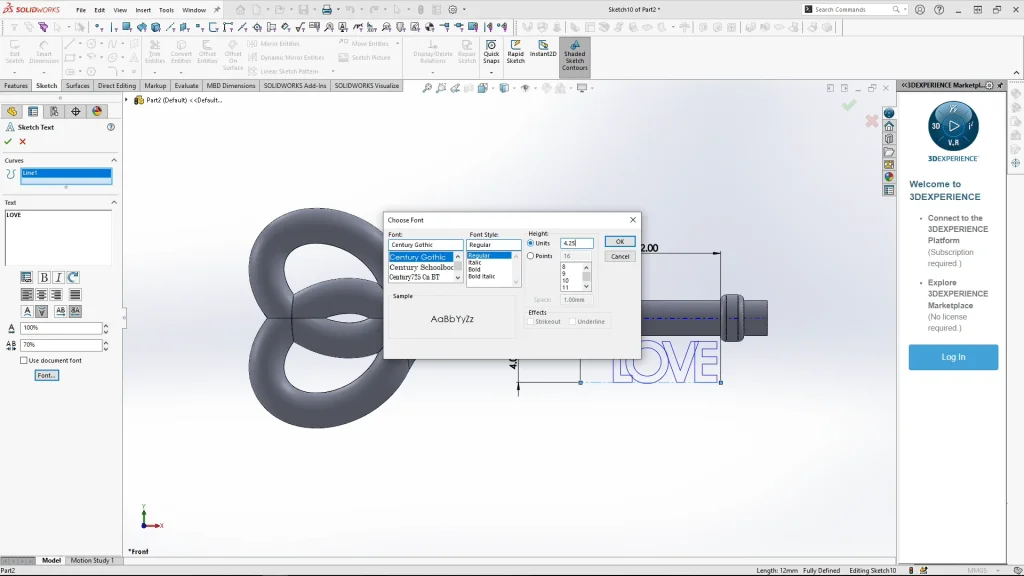
For the text element of the key, I created a guide sketch for the sketch text to sit onto. Using the sketch text tool, I can select my sketched line as my guide curve, and type LOVE in all caps. You could use a different word or name, but you would need to amend the text size to ensure it fits within the 12mm space and also amend the revolved shape in the heart that acts as a tooth in the heart barrel. I used the orientation buttons to flip my text onto the line, then unchecking use document font, I changed the spacing between the letters to 70 percent, to create an overlap in the text, highlighting the text I could also make the font bold, which would like the text overlap, strengthen the print. You can choose other font, but I just changed the height until the text overlapped onto the keys bar and when extruded mid plane it merged onto the key.
Below are my final 3D printed models.


If I were to do this again, I would make some design changes including thicker/larger loops for the key chains and a larger key as the details were quite delicate. Mine are just strong enough, but with some wear and tear I think I’ll see some breakages, so just keep that in mind when modeling your own designs. The key hole and key would need to be bigger by around 20% or more. You could also think about a heart design that could be printed hollow to reduce the weight. But this is what I love about design, the tweaking, the testing, the lessons!