

Next chapter in “Six SOLIDWORKS solutions”, this time with the subtitle PDM Part II.
In this blogpost I will cover some more SOLIDWORKS solutions that i have come across in my works as a technical supporter at PLMGroup
Some of them are trouble shooting tips, some of them are tips to make your everyday easier when using SOLIDWORKS PDM
Using Edrawings interface in PDM explorer
When working in PDM explorer you haver several options on how to preview your files.
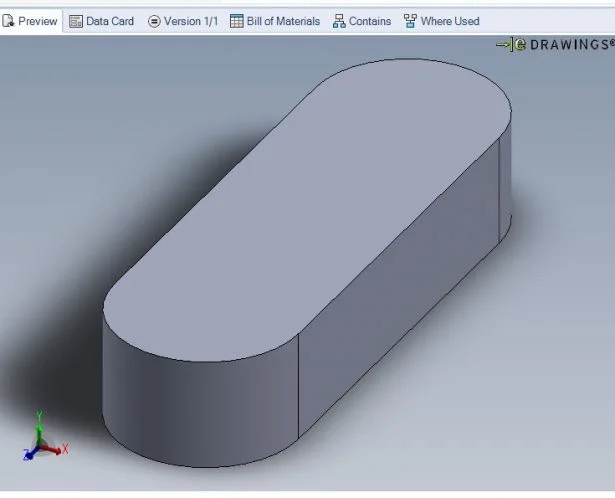
When viewing a 3Dmodel file, most people are used to this preview
However you also have the option to use the Edrawings interface.
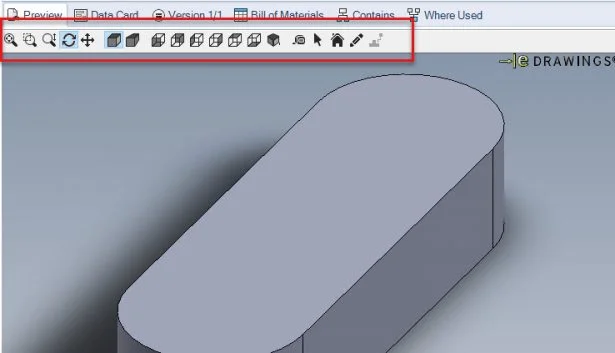
When in explorer, go to “Display”->”Options”->”Show full UI in SolidWorks preview”7

On some occasions you might need to restart your explorer for it to take effect.
Please note that this is disabled in order to increase performance, so in you experience a drop in performance, i would recommend that you disable it again.
Wrong license installed.
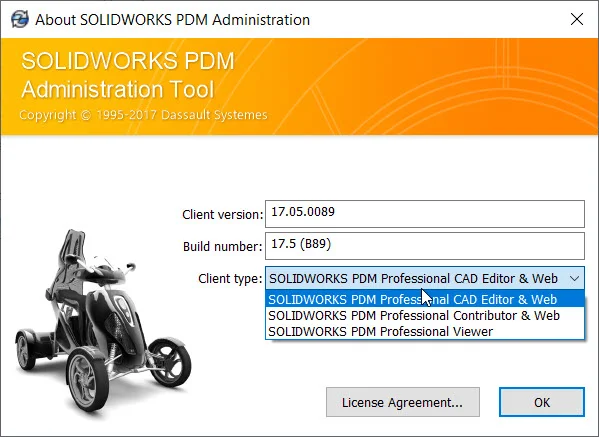
Problem: When starting your PDM you get the following message
And you are quite sure that the number of licenses has not been exceeded
Solution:
This issue is most likely due to a wrong client type installed
During the installation “PDM Cad Editor” was selected, instead of “PDM Contributor”.
You do not have to reinstall or modify the installation.
Simply open your administrator module
go to “Help”-> “About SOLIWORKS PDM Administration…”

Here you have the option to change the client type,
After the client type has been selected, restart your computer and you should be good to go
See Properties in the PDM add-in
This is not a fix to a problem but a tip that you may find useful
When using the PDM add in, it can sometimes be useful to see specific properties of a CAD model, for instance “Part number”
To achieve this do the following:
Ensure that you are logged on to the vault
Open SOLDIWORKS and make sure that you have the PDM add-in turned on
Go to Tools->SOLIDWORKS PDM->Options”
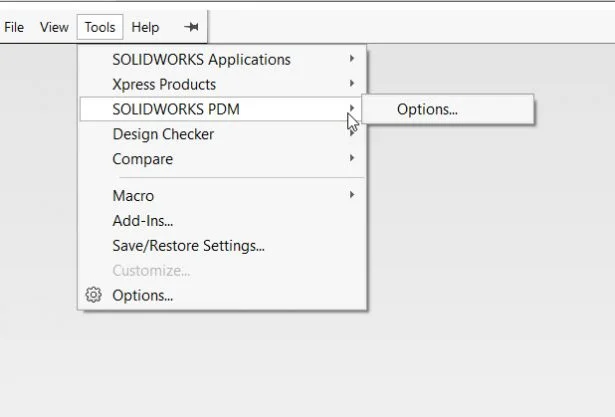
And press the “view settings” pane
Under “Display Information” you can select the variable you want to appear and select where you want it to appear
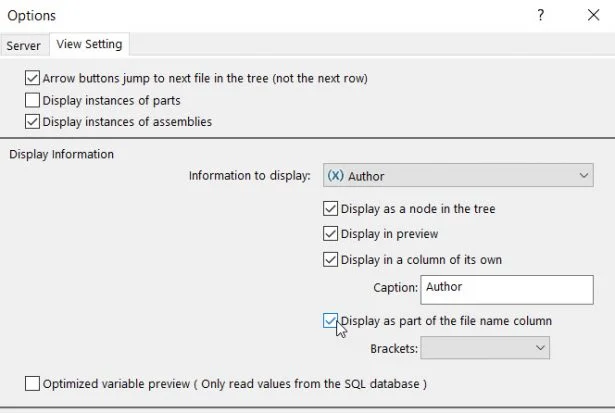
Be aware that the settings is for your SOLIDWORKS machine, meaning that if you have several vaults, this variable will appear on all of your displays regarding what vault you are logged into
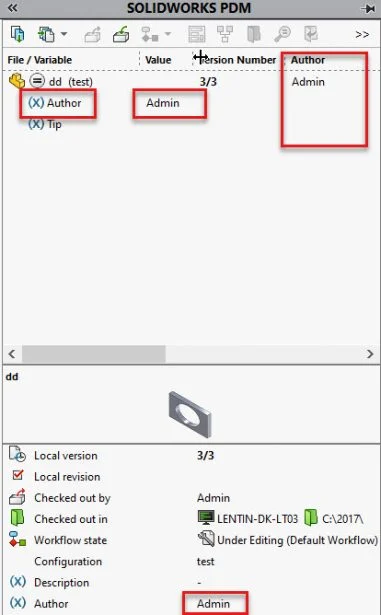
When you have set it up, you will be able to see it the properties
Clean up generation tasks
In PDM you have the option to generate different different files automatically.
However, over time the list of “Completed” and failed tasks can grow quite huge.
This will slow the process down when you want to have a quick view of the tasks.
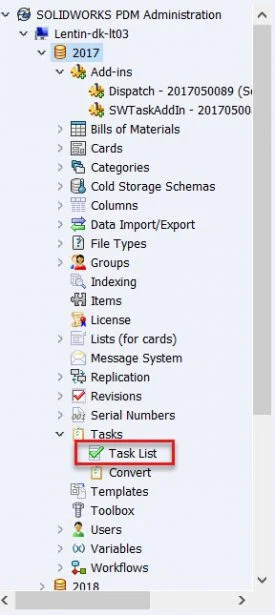
To reduce the number, simply open your admin module and open the task list
Press “Options” and change “record all completed tasks” to “record the specified number of completed tasks”
Change the number to a number that you find sufficient
Do the same for the number of failed tasks
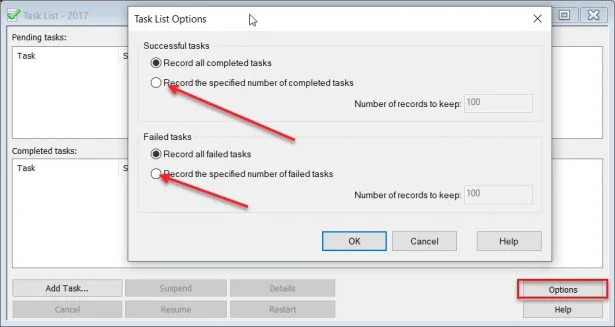
This will speed up the opening of the “Task List”
Set values in Copy Tree
“Copy Tree” is a great PDM alternative to Pack and go, as it uses the PDM database to collect the required information when copying an assembly and its components.
However, sometimes it can be required to reset certain values when using this feature, for instance if you have some sort of revision information or if your file cards are set to a certain value.
Clearing the values can be done both on both user and group level. In this example i will do the change on user level (admin)
Open the administration module, right click on the user and press settings.
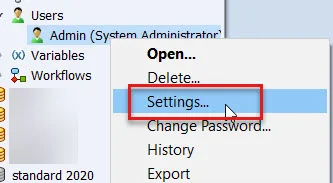
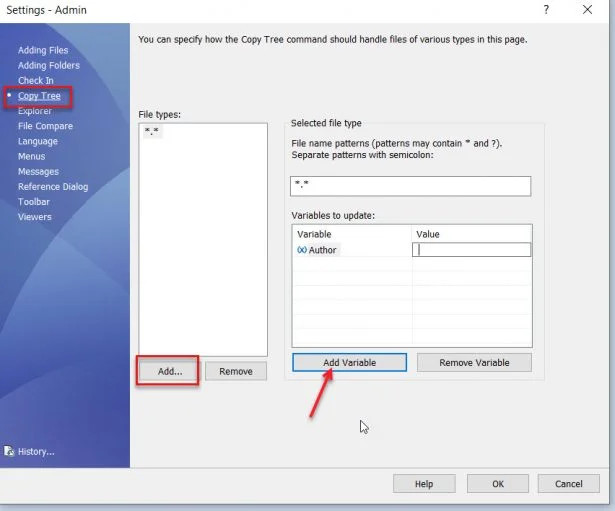
Go to the “copy tree” section and press “Add”.
Select the variables to be set (or reset) when performing a copy tree
Read only when checking out files
This troubleshooting tip could also be put under “Six SOLIDWORKS solutions – Opening files”, but for some reason I mostly talk to PDM users about it.
In this scenario, the user has checked out the a part and a drawing.
The drawing has been opened and after reviewing the drawing, it is decided that a change is required.
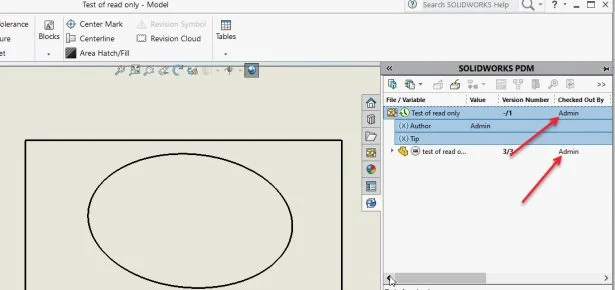
The quick way to open is to right click on the view and open the drawing.
The part is read only despite the fact that it is checked out.
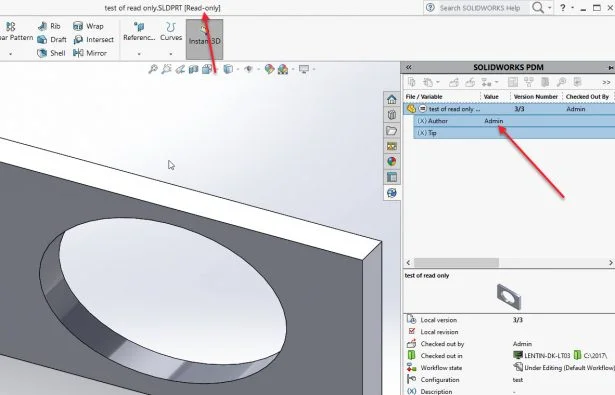
in most cases this is due to a SOLIDWORKS setting.
Go to Tools->Options->System Options->External references, and make sure that “open referenced documents with read-only access” is not checked off.
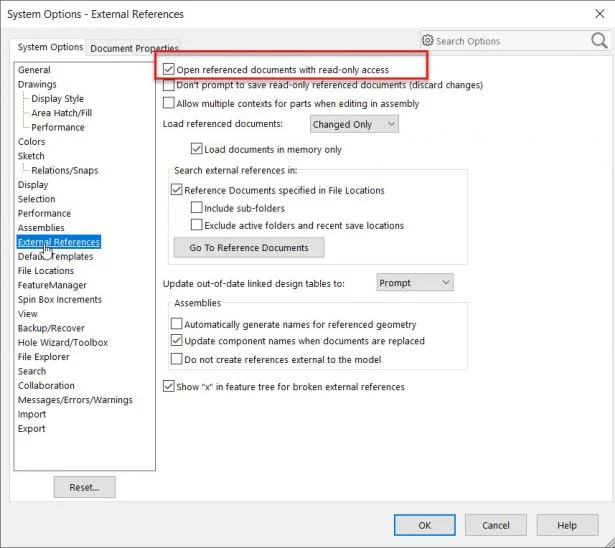
Restart SOLIDWORKS and open the file again
If this does not solve the issue, contact your VAR as there may be some issues with your PDM connection