

This tutorial for a geometric shark demonstrates how you can use images on sketch planes to guide a 3D model. A png image file of the shark was added to the top, right and a plane off the front plane. The images can be brought into a sketch from, tools, sketch tools and then sketch picture to use as reference points for sketches and creating the 3D model. it helps to have multiple views of the 3D object you’re trying to recreate. For the shark I used png files, which meant I could remove the white background using the image masking tools, this makes it easier to work with. The png files are available to download here.
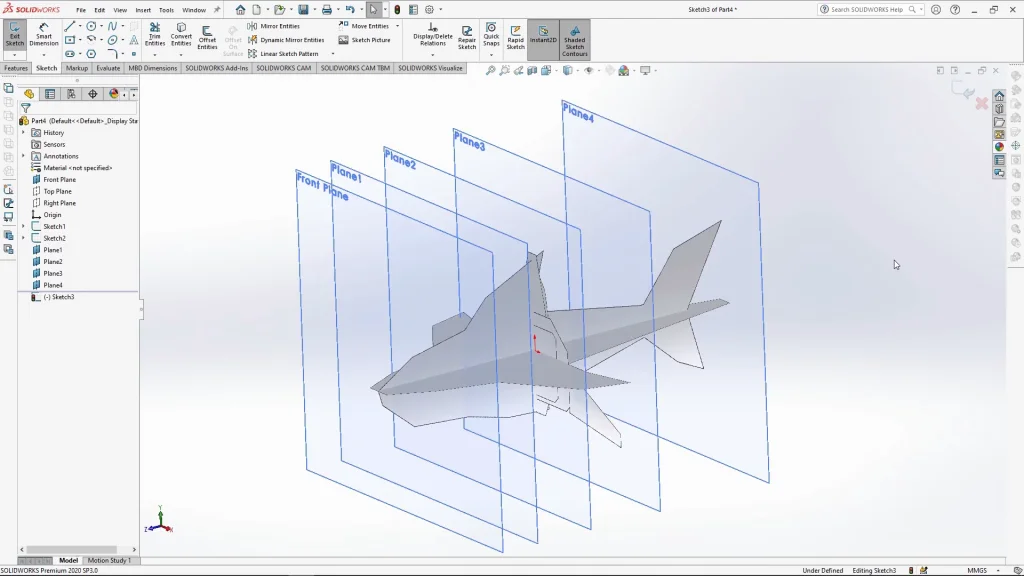
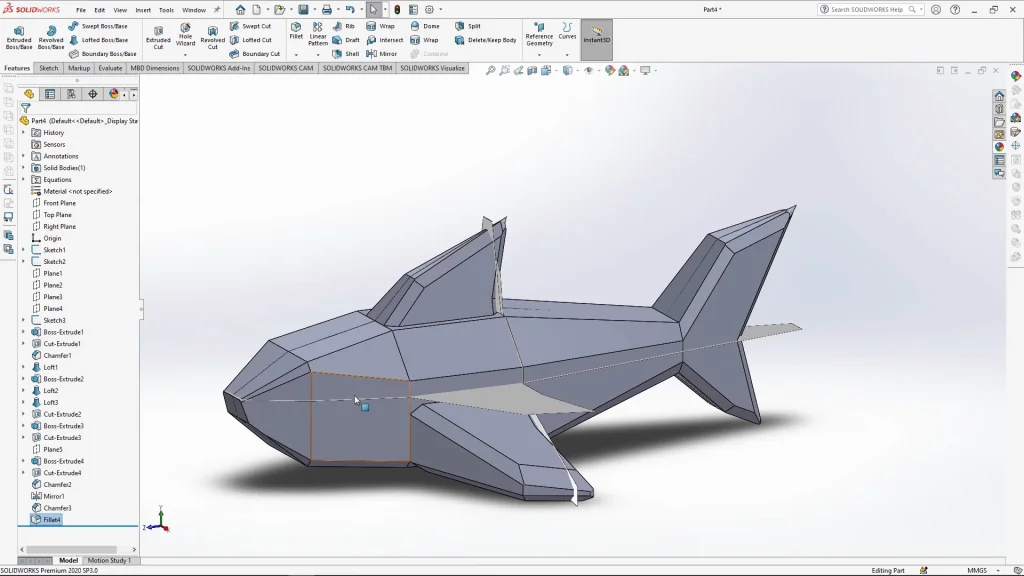
Planes were placed along the body of the shark, rough sketches are then drawn over the top of the shark images and are lofted along in segments to create the sharks body. Cut extrude and chamfer was used to create more geometric details.
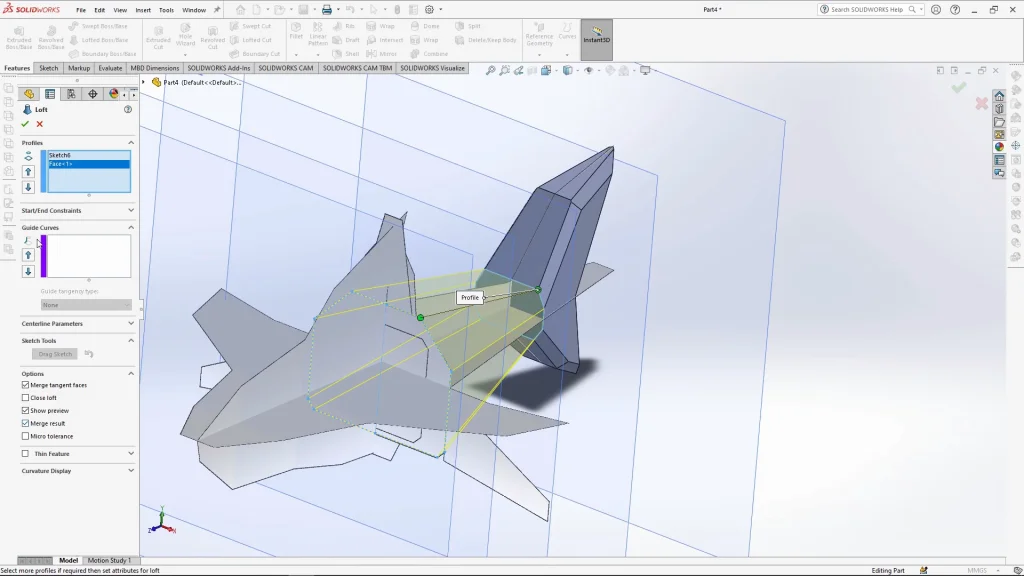
The side fin of the shark was mirrored over to save time modelling, and chamfer was used again to add more detail. Fillet was also used to soften the sharp corners of the fins and round off the shark nose.
Finally and decal was applied top the shark body using projection mapping, the decal is available to download here.. You can see the finished design below which was rendered in SOLIDWORKS Visualize.
