This SOLIDWORKS tutorial uses a single DXF file I created in vector software to create a full 3D design of a carousel themed rocking horse. The DXF I created is a 2D side view of the rocking horse, it includes all the profiles needed within one file to extrude, revolve, cut extrude or mirror features. The DXF file used in this tutorial is available to download here. Within this file you will also find the decals for the final model.

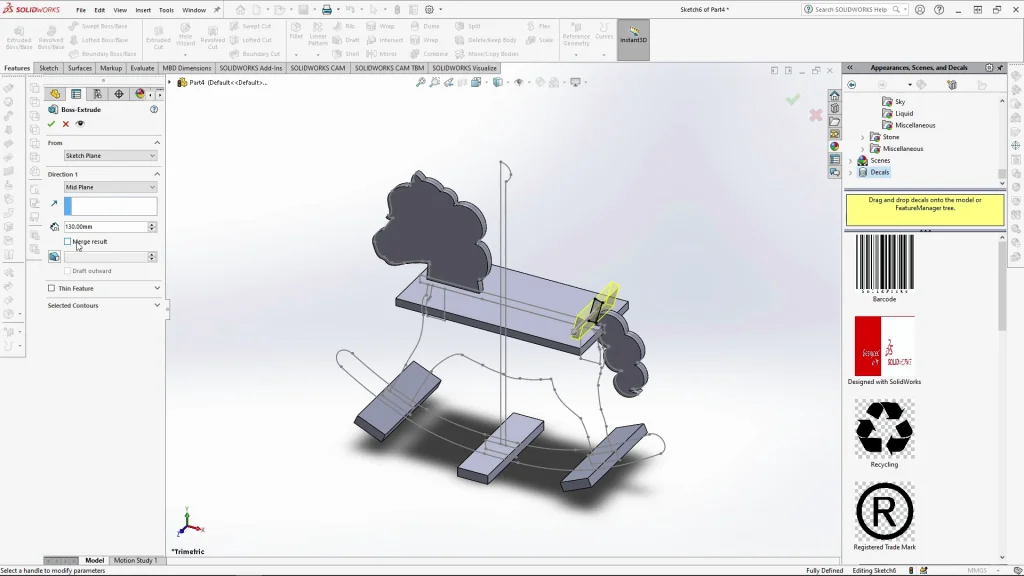
The DXF file was brought into SOLIDWORKS as a reference sketch. It was then used to create individual features by selecting the chains of the sketch and converting the entities. Most parts were extruded mid plane or revolved, and all parts were kept as separate bodies. When I am creating designs like this, I ensure to keep all the bodies separate this is so I can see how many parts the wooden toy is made up of. It also makes it easier to export them for assemblies and creating a bill of materials in a SOLIDWORKS drawing.
The model has been designed as a concept design and so it doesn’t have any screws, if It was designed for production, then parts would need to have recesses for the wood to slot together and be screwed into place. Once all the bodies are in place, appearances were added to the model before I brought in decals. The main carousel horse decal was created to be projected onto multiple faces of the design including the other side of the horse. I often use projected decals as it is useful for designs with multiple faces, and parts that are the same on both sides. The projection mapping was also useful when it came to applying the pole decal. The stripes of the decal when projected from the front, wrap around the pole, and join up seamlessly creating almost a twisted pole effect.
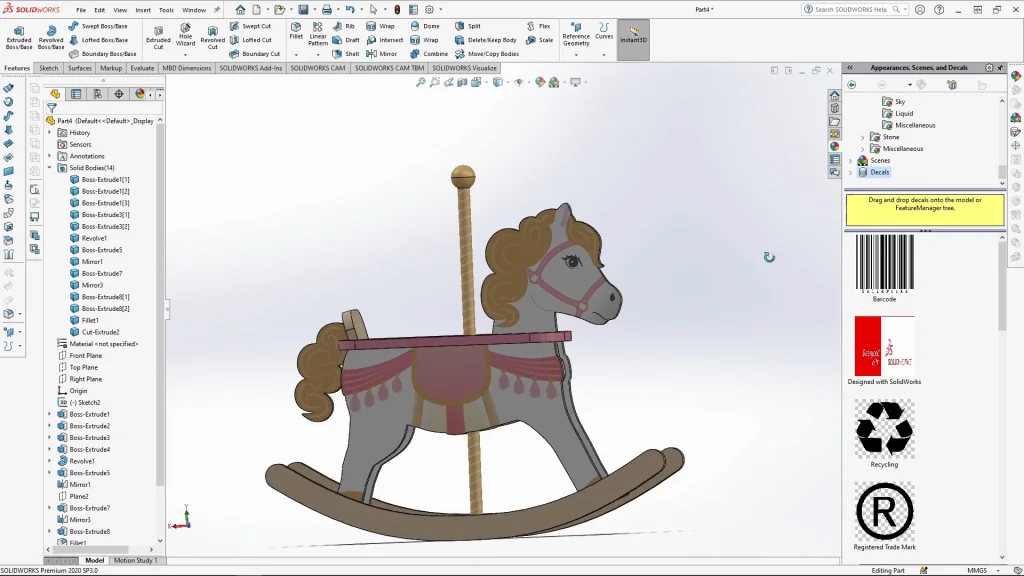
As I mentioned in the description of the tutorial, I used a PNG decal for the pole. The reason I used a PNG over a jpeg was because the decal design was white stripes. Had I exported out the decal as a jpeg, the background would also be white, and you wouldn’t see the design. Also, had the background of the design been colored in with a contrasting color it would have covered up the gold appearance of the pole underneath. When you export the white striped decal as a PNG however, the background is transparent. So, when you are in SOLIDWORKS, you can tick use decal image alpha channel under image mask options, and this makes the background transparent. Allowing you to see both the decal stripes and the appearance of the pole, which in this case is gold. You can see the effect more clearly in the rendering. The renderings were produced in SOLIDWORKS VISUALIZE.