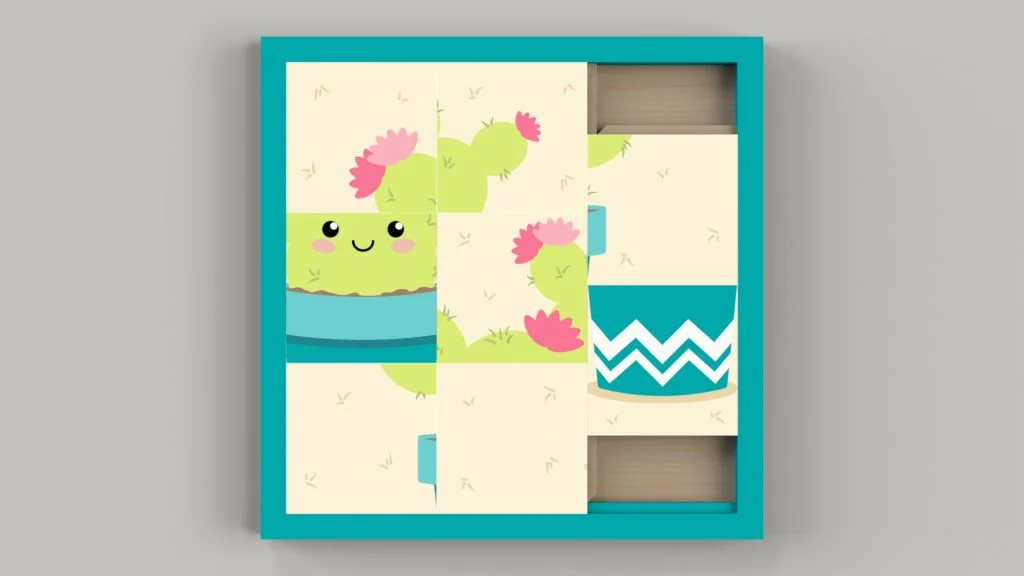

When I was younger, I remember getting a little 3 by 3 square tile picture puzzle toy out of a party bag. I decided I wanted to not only model it in SOLIDWORKS, but also play with it inside of SOLIDWORKS in real time. To do this I needed to create two parts, the base for the puzzle tiles, and also a tile.
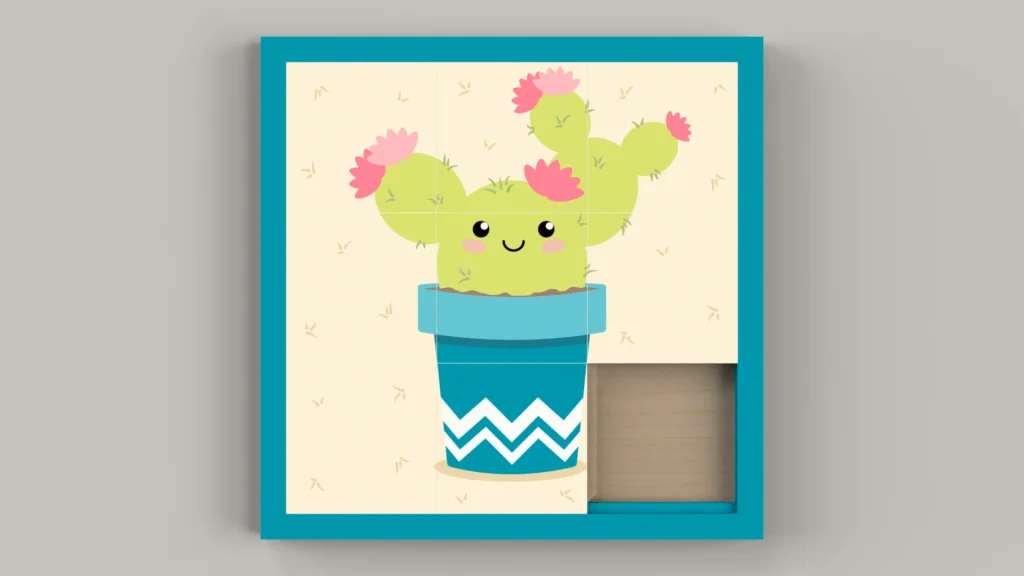
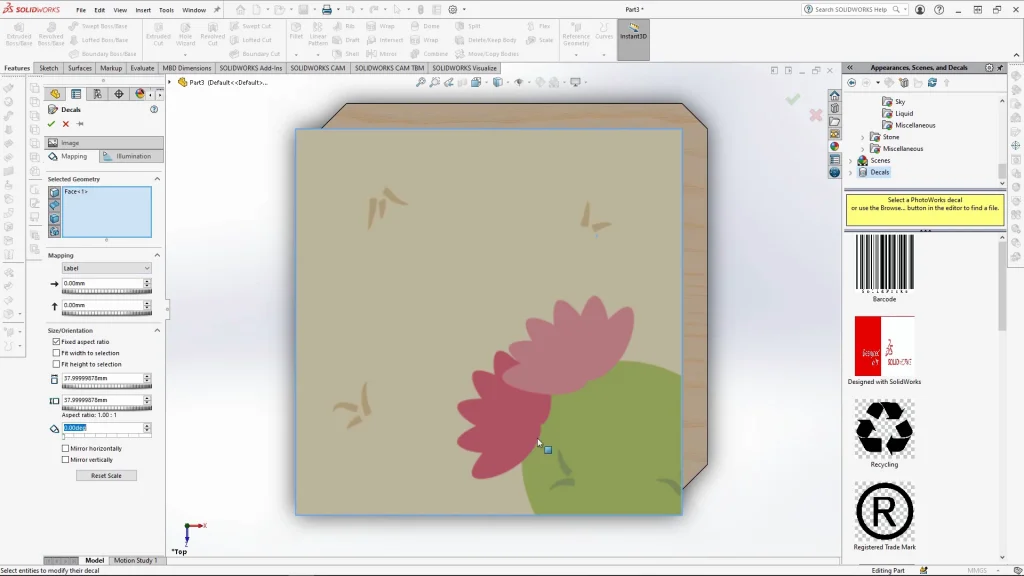
The decals used for this tutorial are available to download here, the decals are 38 by 38mm each and with 8 of them they make up an image. Feel free to create your own decals for the puzzle, just ensure that your number each square to ensure they are in the right order. It is possible to place the tiles into the base in the wrong order, and the puzzle becomes unsolvable, so if you’re following the tutorial, it is best to follow the order I place the tiles. I used the one tile part to create all 9, after inserting the first decal the part was saved as Piece 1, then keeping the part open, I changed the decal to the second decal, and used save as to save the part as Piece 2. I repeated the process for the next 6 pieces,
The parts were then assembled and mated into place. It is important to ensure that all the pieces are properly mated otherwise this will affect move components further into the tutorial. I placed all the tiles into the base in a random order so that I could solve the puzzle afterwards. All the mates were then suppressed apart from the mates that kept the pieces onto the puzzle base. Next using move components with physical dynamics on, I had to turn down the sensitivity to minimum, so that the pieces would slide more smoothly, and finally I changed the move direction to move along assembly XYZ. Without these settings the tiles could move diagonally, also by using move component with physical dynamics I can drag one tile that is behind another and both move together.

During the tutorial, I give out some troubleshooting tips just in case you run into any issues moving the pieces,
- Ensure that the tile is fully moved to an edge before trying to move the next piece
- If the piece seems a little stuck try moving the tile slower, and make sure other tiles are fully in place.
- Only move the tiles while in these settings.
- You can move two tiles at once like this if you have the one from behind selected.
- If you run into a collision, stop moving tiles, close move component and undo a few of your steps. Then go back onto move component with the same settings and just continue solving your puzzle.
You could always mate all the tiles into the right place first, then mix up the pieces in move components, that way you can retrace your steps if you’re struggle to solve your puzzle.