Cosplay is not just about dressing up as your favourite character, it is about becoming your favourite character. More people want to cosplay but are afraid to take the leap into prop making. The truth is it’s not as scary as it seems. In this tutorial we will show you how to create a basic helmet design, we are making a wearable Iron Giant helmet, in SOLIDWORKS and then use basic prop making techniques to add detail and finish the helmet.
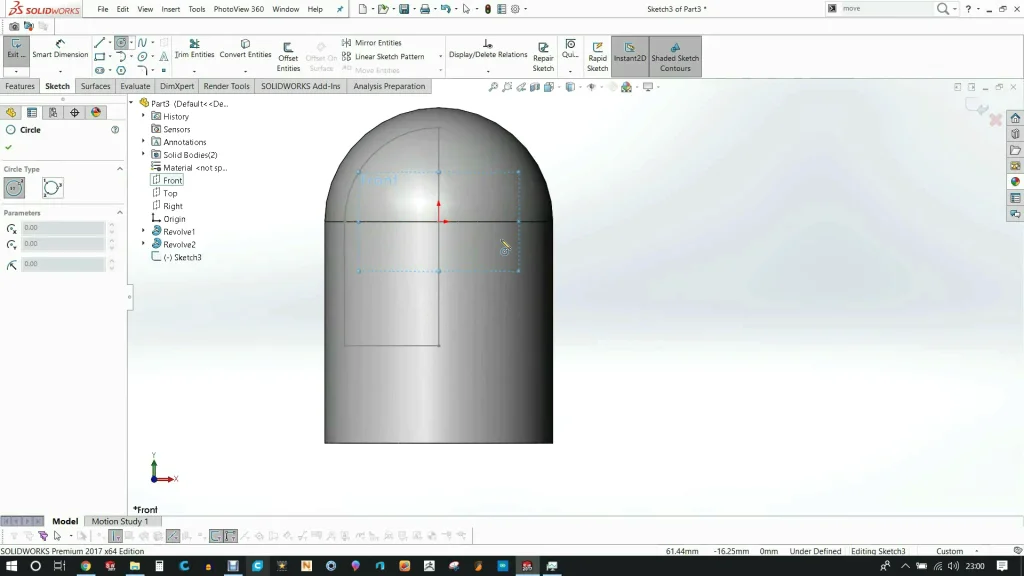
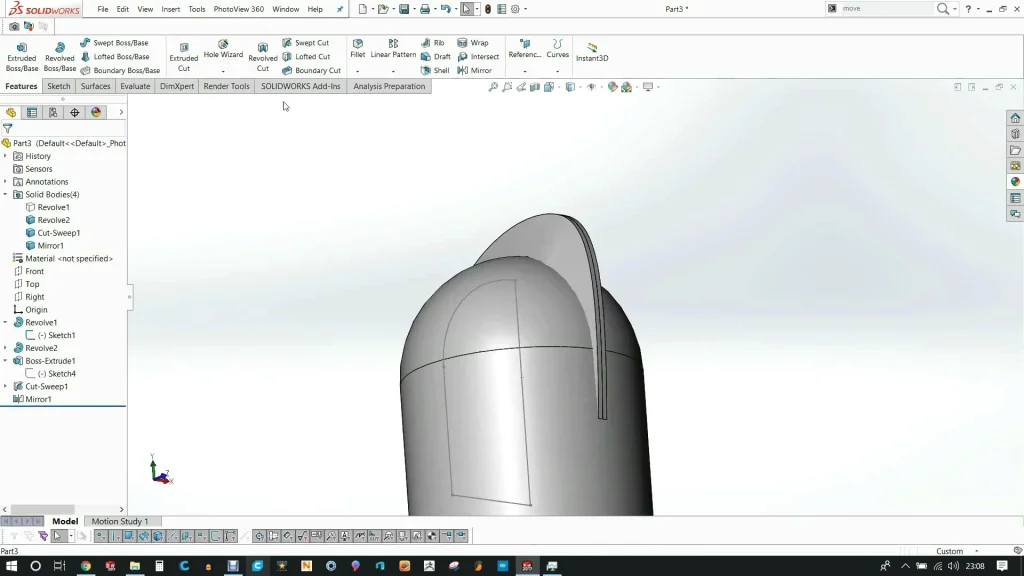
To create the model we used a revolve to make the head, a sweep for the Mohawk and basic extrudes and cuts to make the eyes and jaw. Finished it with chamfers and then finished the eyes. I then added a little marker to know what orientation it should be placed once printed.
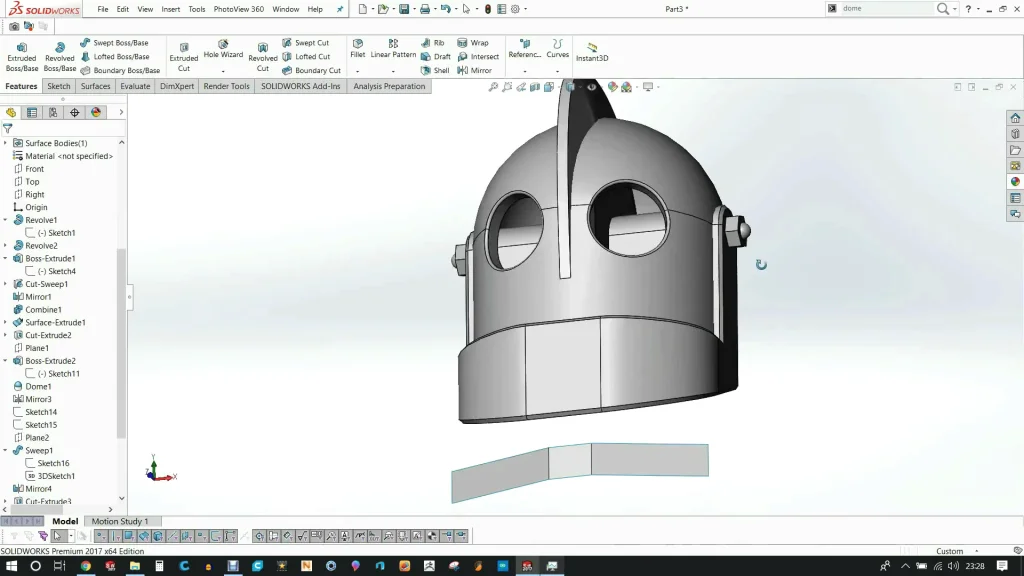

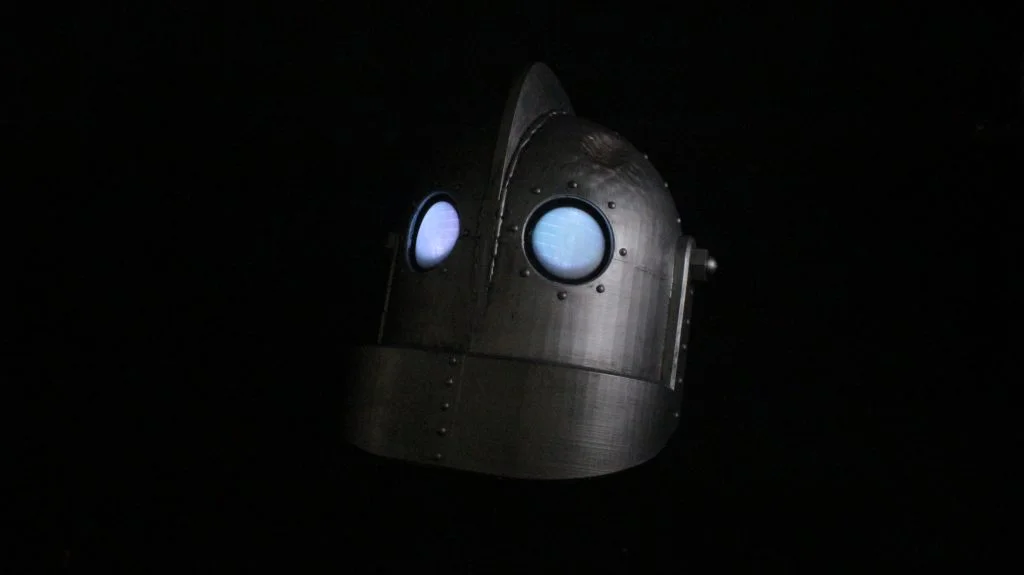
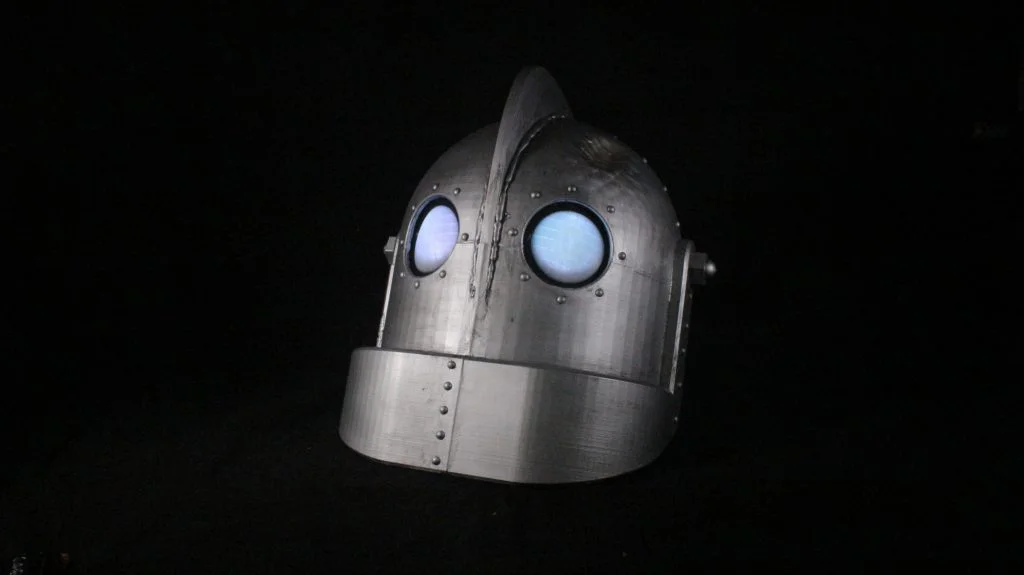
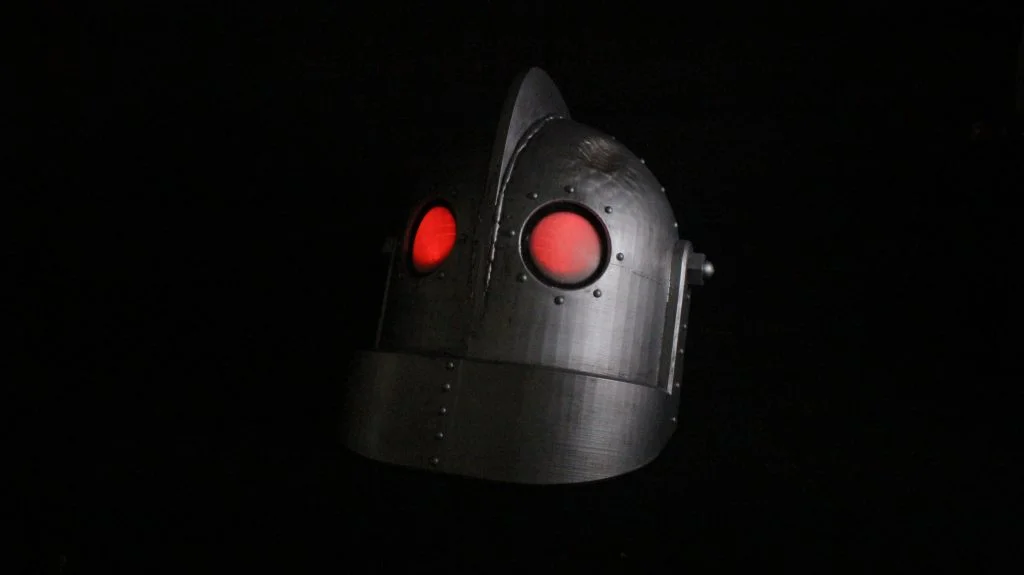
The eyes were printed as a multi material part, black PLA for the outer ring and the eyeball was natural PLA so if we placed a light inside the helmet you can see the light.
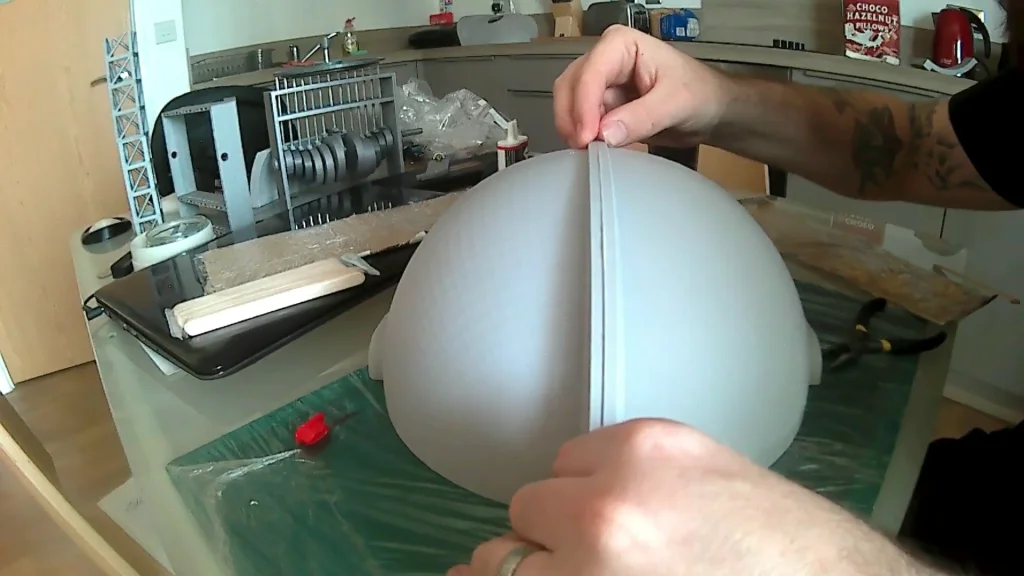
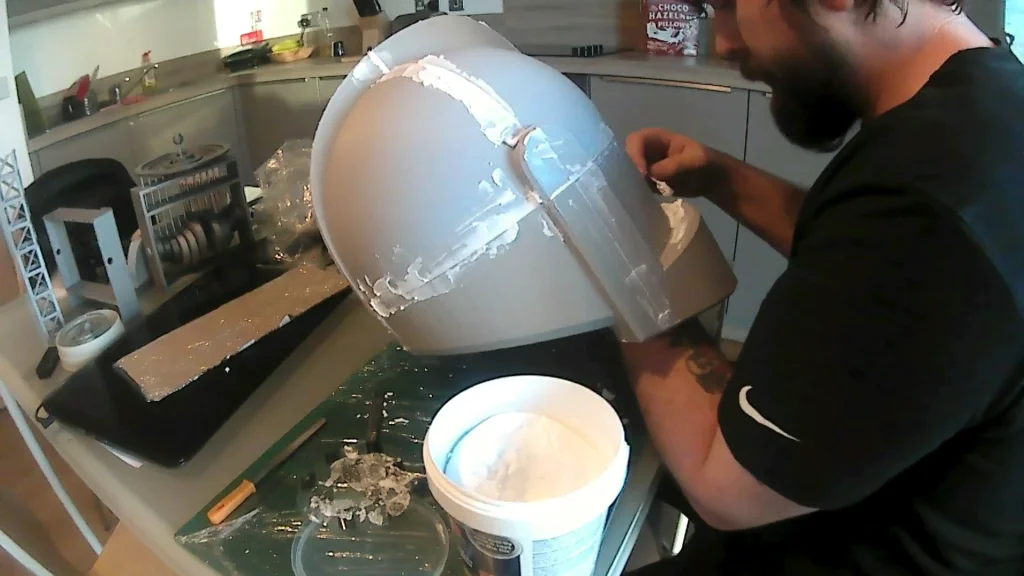
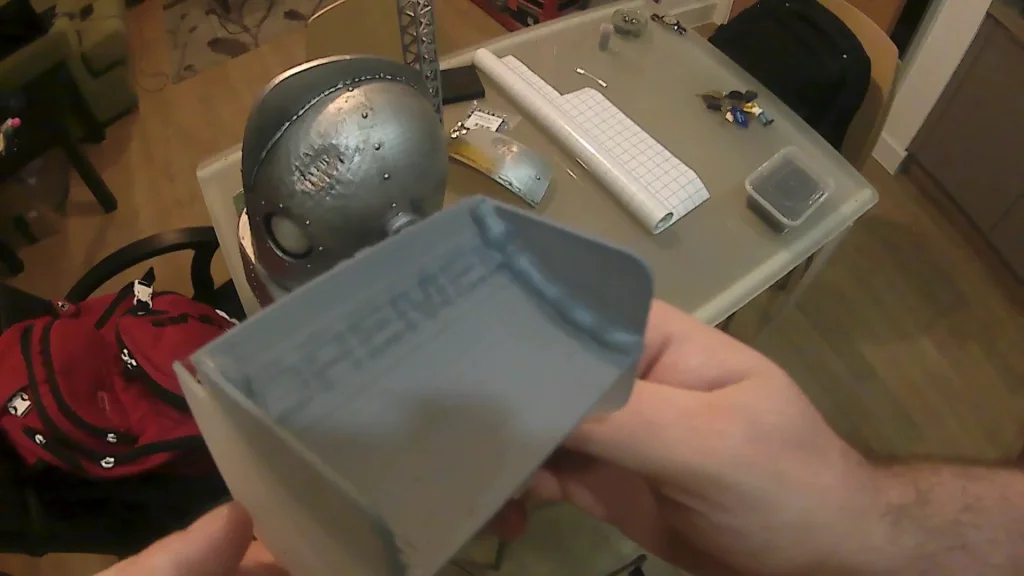
Once all the parts were printed, we glued them together with a two part epoxy glue. It’s stronger than super glue and allows you to align the parts before it cures. They all needed to cure for 2 hours before the next part was glued. When we had all the parts glued we used a filler to fill up the gaps. We were generous with it as the filler sands easy. It also means we don’t have to go back and fill parts again.
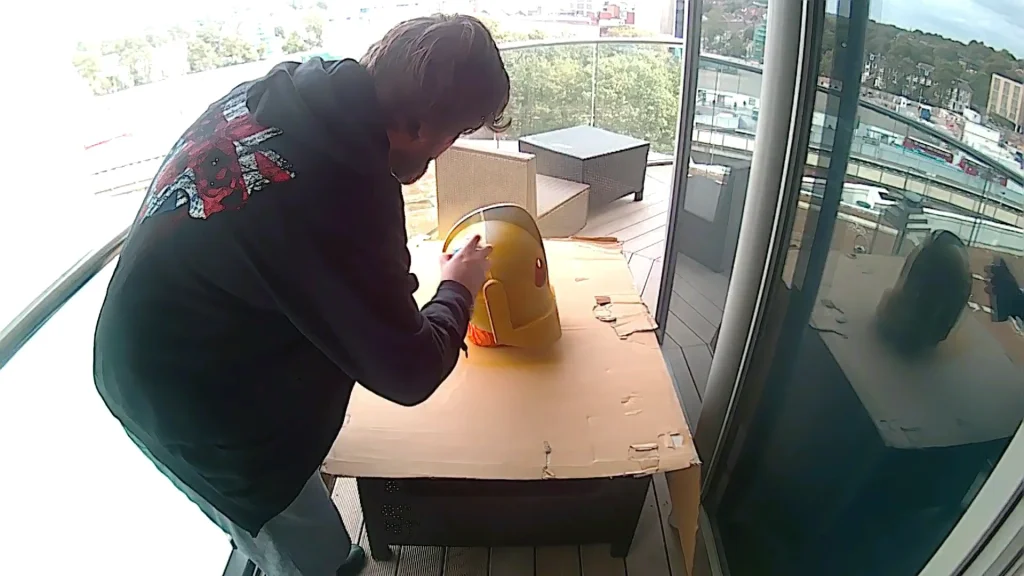
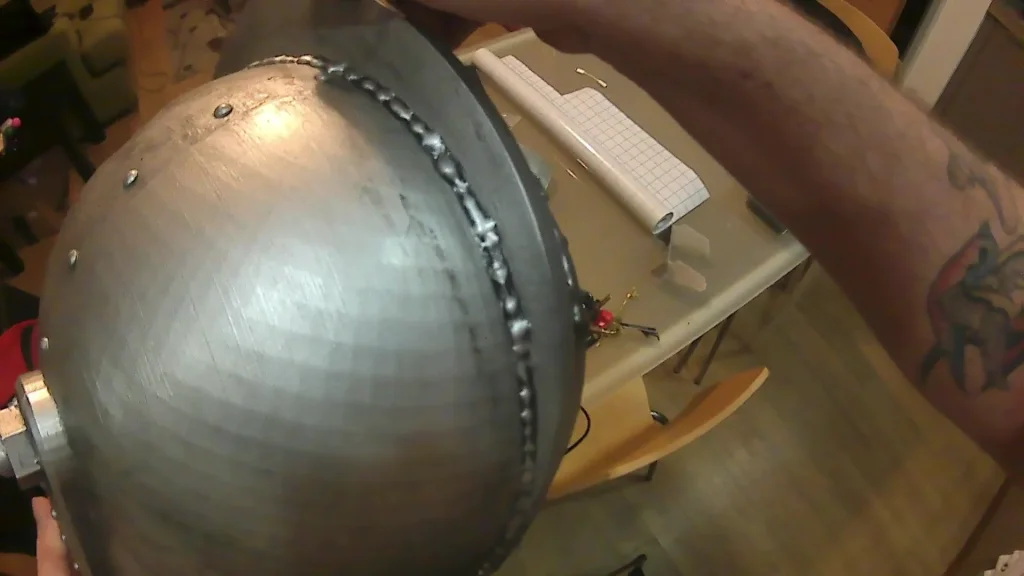
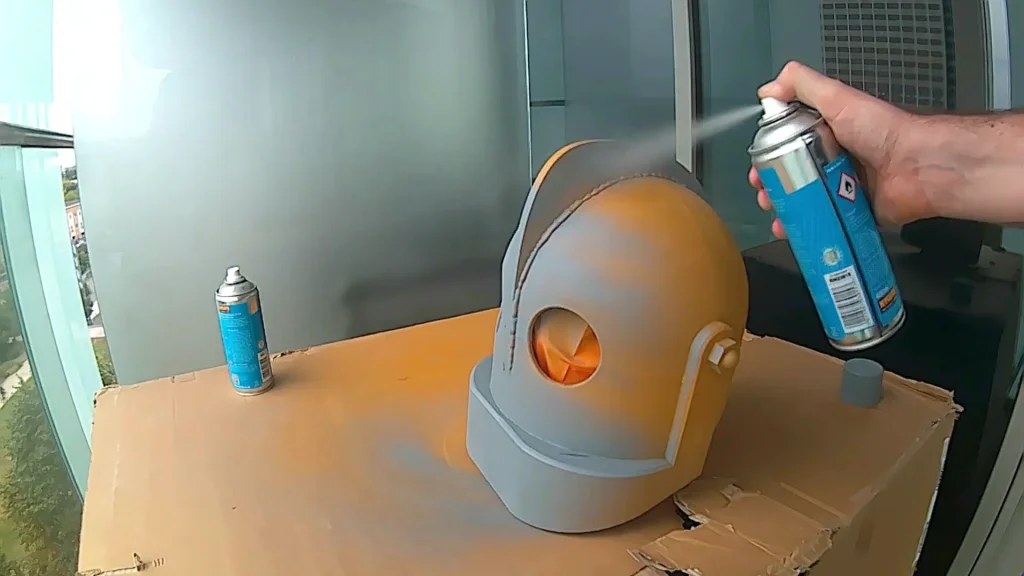
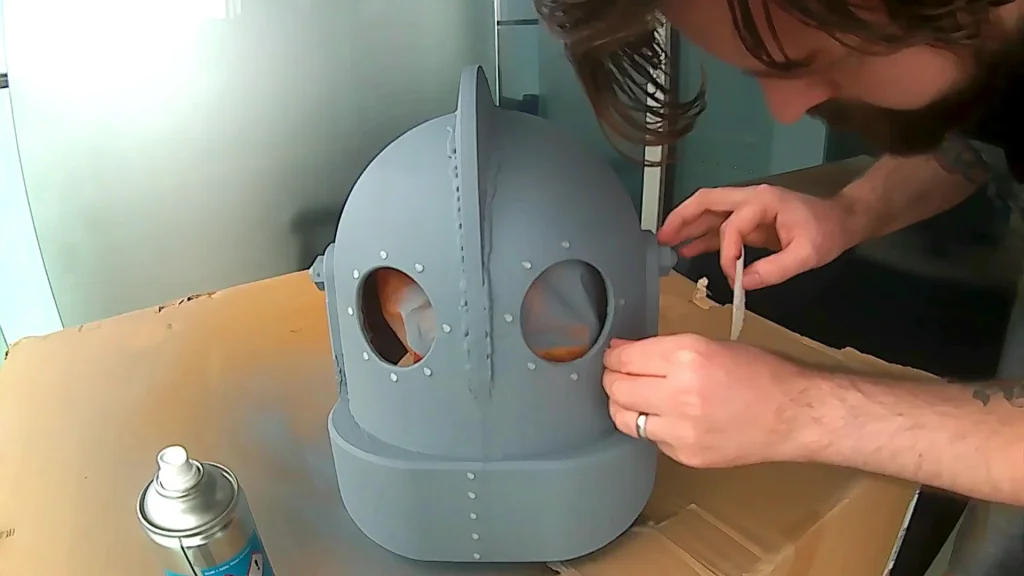
When it came to painting we started with a high build primer. This will fill up between the layers, when sanded this will smooth the layers. We then wanted to add the welds. To do this we used a glue gun and made it seem like a weld, you can make it neat but we wanted a rough look so it is a bit more rushed. Once we did the weld we added a grey primer, this helps highlight any areas that need more work.
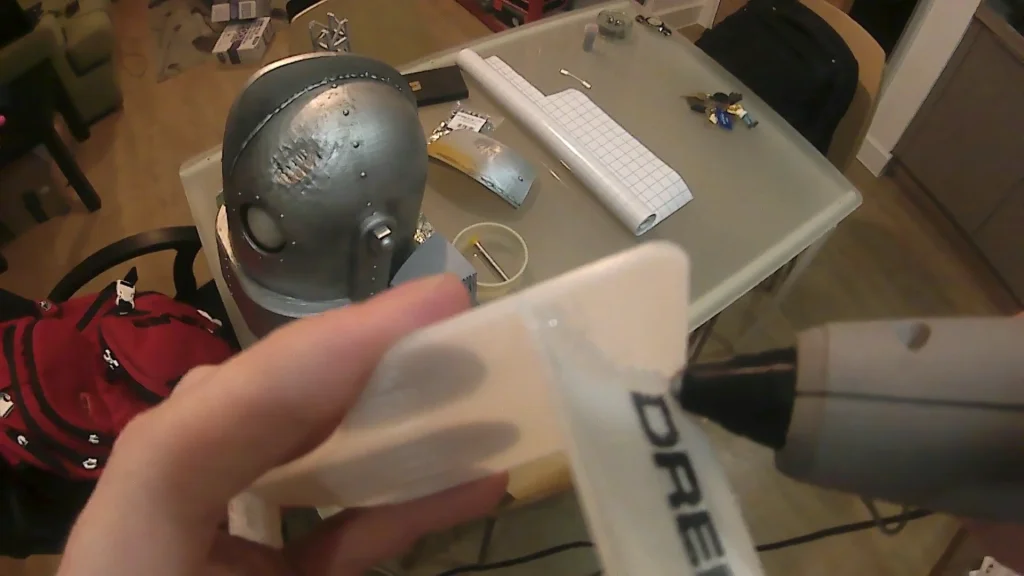
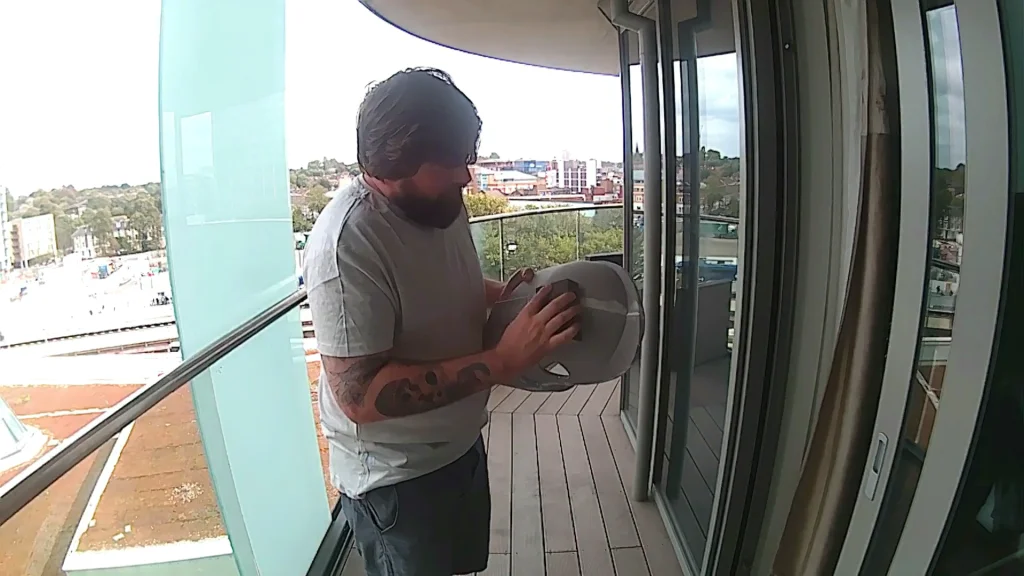
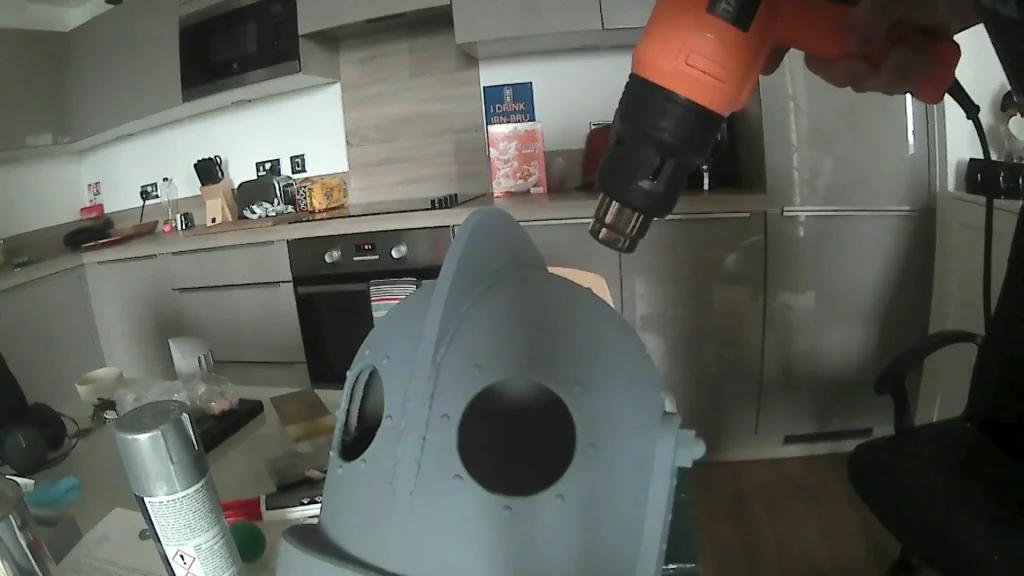
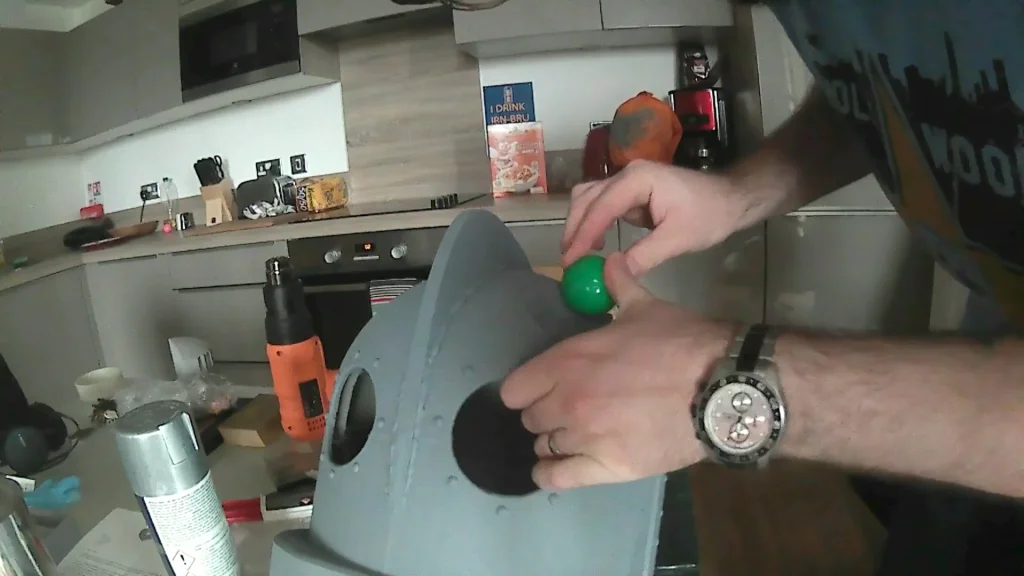
To make the rivets we used silicone dots. The kind that is used to stop items moving around. We stuck them on and cleaned them with acetone. The dent on the iron giants head was the last detail was done by heating an area with a heat gun. We then rolled a golf ball on the surface creating the dent. We left it to cool before we started with he final paint layers.
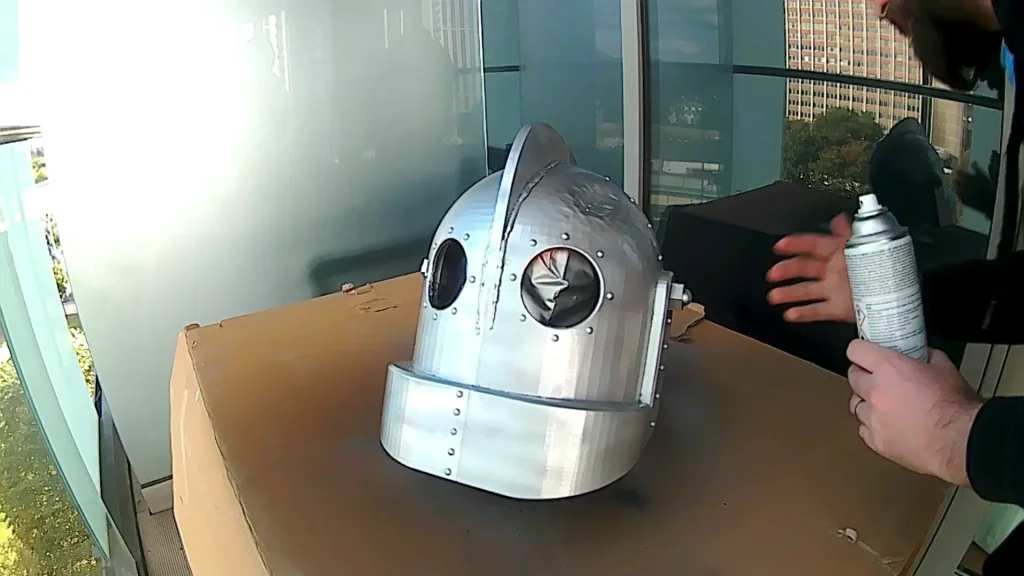
We then painted a matte black spray on the helmet. We used black as the under coat because any gaps the silver paint misses it looks dirty instead of looking like you missed a spot.

Once the last silver coat was applied and dried it was time we weathered the helmet. We made a dark grey paint, then watered it down and spread it all over the surface of the helmet. We then used a paper towel to wipe it away. The effect we going for is like the helmet got dirty and was wiped clean. Dirt will still be left in the deeper grooves.
For the dent we use a small bit of brown to make it seem like the protective paint had been scratched off and some rust was forming. It’s very subtle but effective in telling the story of what happened.
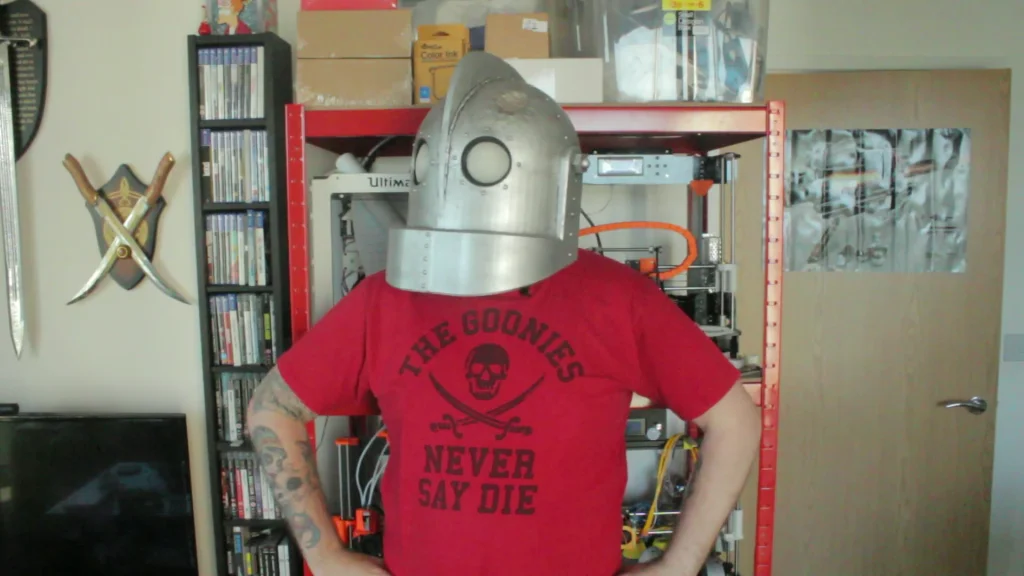
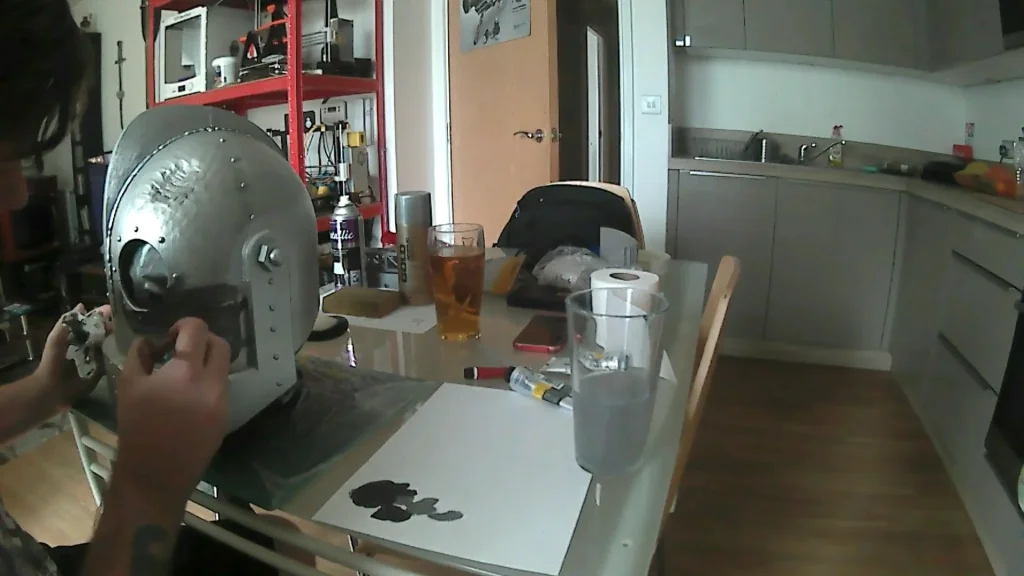
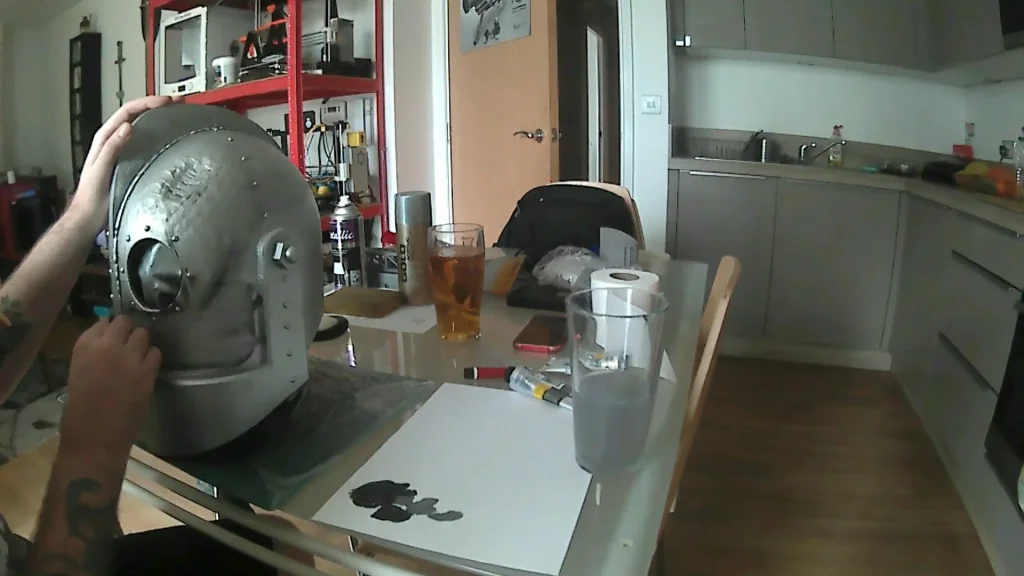
To finish off we glued the eyes in place and that completed the helmet! The effect came out perfectly and the helmet looks great! It may be a little big but we are happy with it. It shows that SOLIDWORKS and 3D printing can be a tool to add to your prop making arsenal. 3D printing the basic shape and adding detail with basic prop making techniques can be a powerful tool. We hope this inspires you to take the leap and make your next cosplay yourself for the next comic con coming to town.