Sketch Entity Relations in xDesign
Here, we have a sketch in xDesign that doesn’t have any dimensions added.
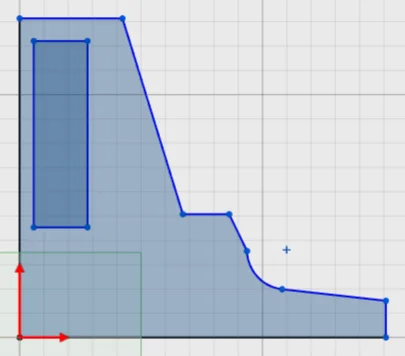
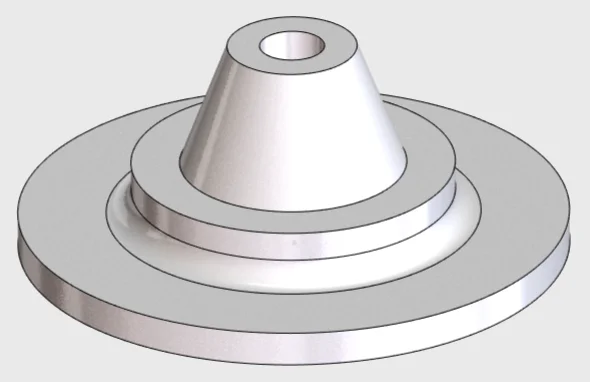
This sketch is intended to create a mount for a vertical rod, which would be revolved around the left edge to create the 3D geometry. Some of these sketch entities have relations that were added as the sketch was created, but we’ll want to use some additional relations to clean things up and make sure that we maintain design intent.
First, we want to make sure all of the vertical and horizontal lines are set. Notice that when we click the line on the left, the “Vertical” relation icon appears next to the line. Similarly, the horizontal line shows the “Horizontal” relation icon when we click on it. We want the shorter line segment here to be vertical.
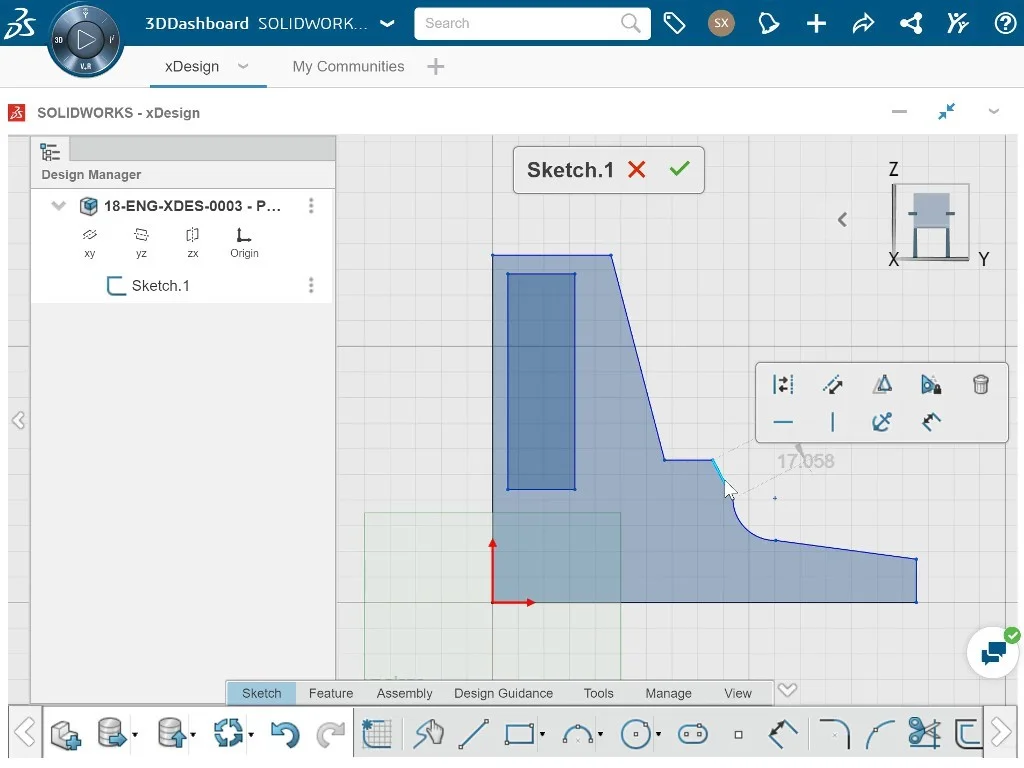
Whenever you want to add a relation to sketch entities, you first want to select all the sketch entities on screen, which brings up a context “toolbar” with the available relations that can be applied.
For this one, we’ll select “Vertical”.

And for this line here, we’ll select “Horizontal”.
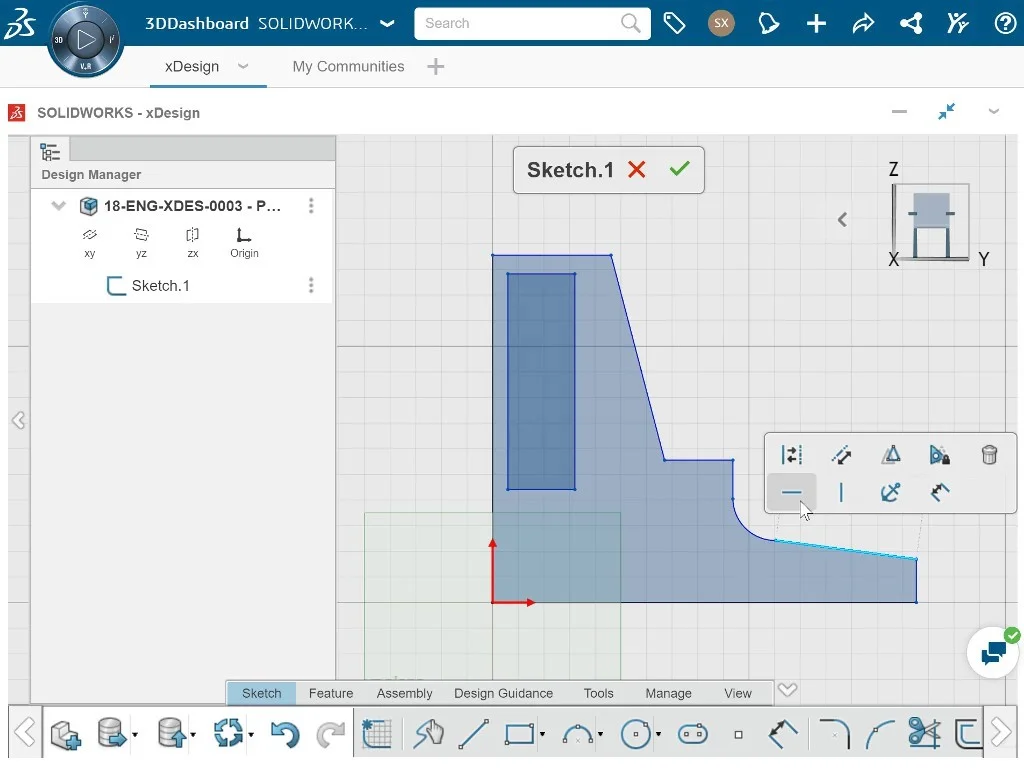
Note that you can see the sketch constraints existing in the sketch simply by clicking on a sketch element. So, if we click on this line, the icon appears on screen, letting us know which constraint type has been applied.

If needed, this constraint can be deleted either by selecting it graphically and pressing delete or by clearing it in the context toolbar.
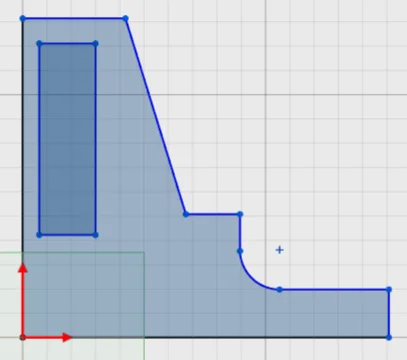
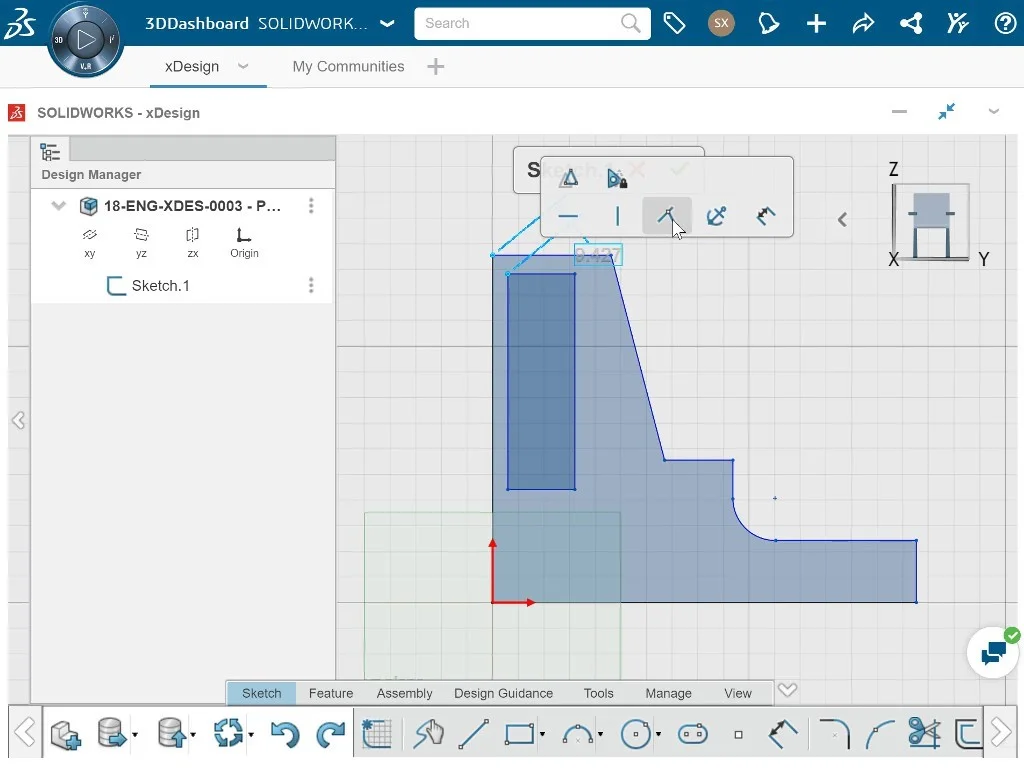
The next relation that we want to add is to make the top corner of the thin rectangle coincident with the top corner of the outer sketch profile. This relation can be chosen once the sketch segments are selected. To choose multiple sketch segments, hold the “Control” key, click on both corner points, and choose the “Coincident” relation.

This snaps the corners of the rectangle into place and makes them overlapping, no matter the size.
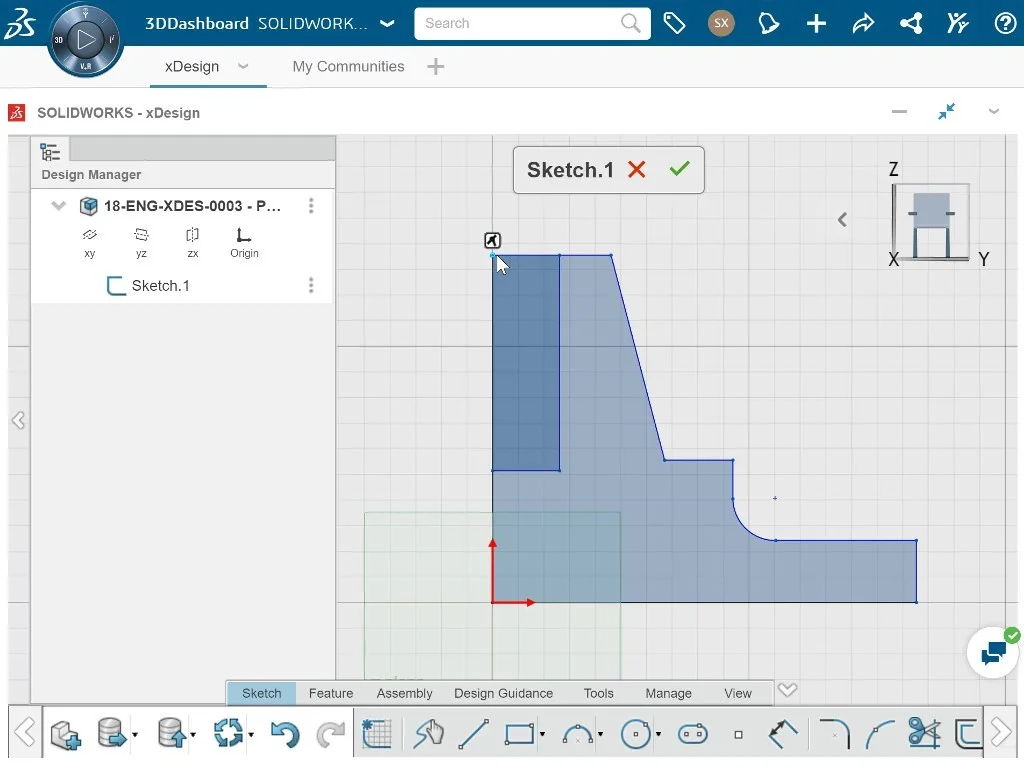
Now, we want to make the bottom edge of the thin rectangle colinear with this horizontal line.

We’ll hold the “Control” key and select both of them, and then choose the “Colinear” option in the context menu.
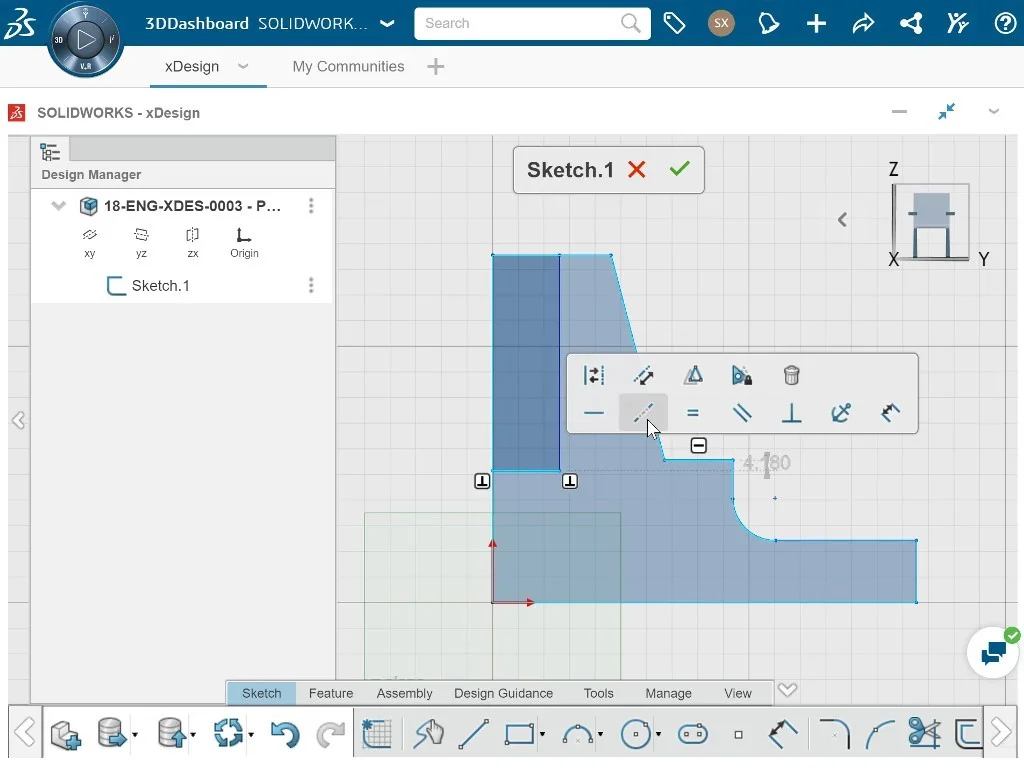
These lines will now remain colinear with one another, no matter where they’re positioned.
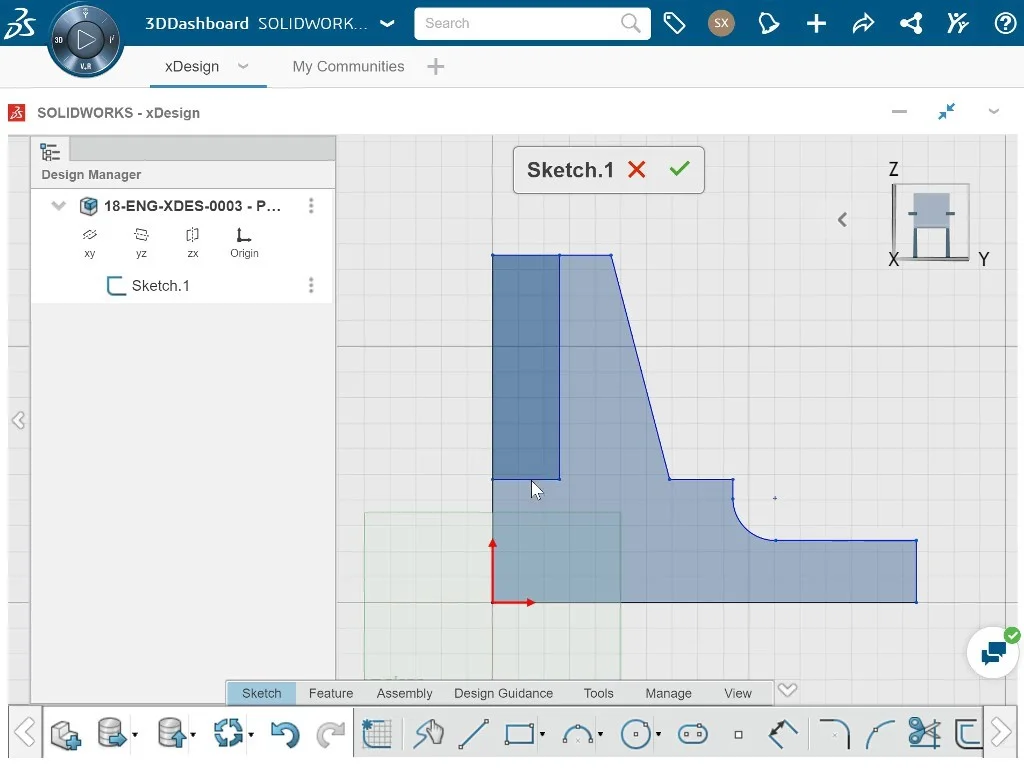
The vertical rod mount will be created using a “Revolve” feature, and the thin rectangle will create the cutout where the rod fits into place. The design intent of this part is to make sure the cutout is half the diameter of the top face. This means that this point on the rectangle needs to be set as the midpoint along the top edge. To add this relation, we’ll hold the “Control” key, select the point and the top edge, and click on the “Midpoint” relation icon.
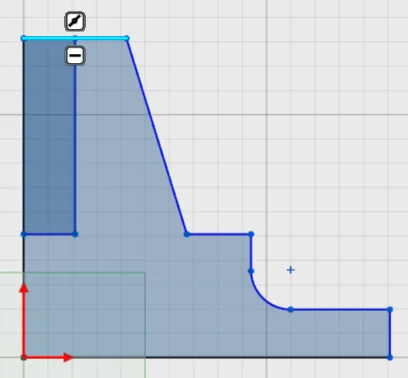
A key aspect of creating revolved features is making sure the surface geometry is smooth and doesn’t have awkward edges. This means we need to make sure that this arc is tangent on both sides with the vertical and horizontal lines. We’ll add the first “Tangent” relation by selecting the arc and the vertical line, and choose “Tangent”. We’ll make sure to select the arc again, and the horizontal line, and select “Tangent” once more.
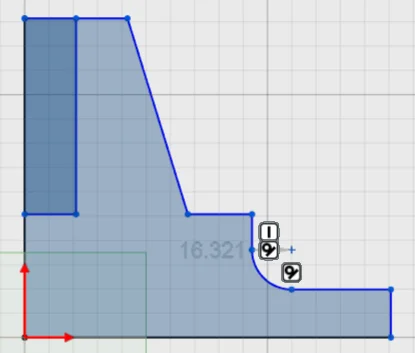
Let’s say that we want to add a construction line that shows that these two lines are in fact colinear. I can easily draw a line connecting them, and then switch it to construction geometry by selecting the “Construction Line” icon. This capability can be enabled for any segment in a sketch.
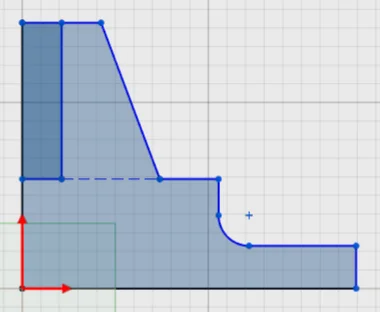
This sketch doesn’t actually need any circles, but let’s look at how to use the “Concentric” sketch relation. We’ll quickly draw a circle. If needed, we could make the circle concentric with the arc by selecting them both by using the “Control” key and choosing the “Concentric” option in the context menu.
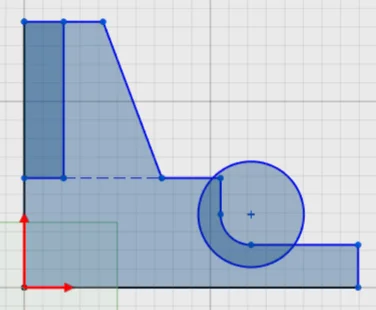
We don’t need this circle in this sketch, so we can simply click on it and press delete.
From here, we can add dimensions to fully define the sketch and make sure the geometry is set. We can then create the revolve geometry from the sketch and its relations to create the 3D geometry below!
Be sure to check back for the final part in the xDesign Sketching series on the SOLIDWORKS Tech Blog! Incase you missed it, take a look back on Part 1 and Part 2!

