If you have ever worked with SOLIDWORKS there has undoubtedly come a time when you couldn’t find the the weldment profile you need for a given job. As a result, you are required to enter each and every part parameter individually in order to move forward. Inevitably eating up time, and money.
In this Alignex video blog, we sit down and show you how to create your own custom weldment profiles for any job, speeding up any custom projects you may be doing in the future.
View the video transcription below.
[Begin Transcription]
Welcome to this edition of the Alignex video blog, my name is Same Oanes and today I will be demonstrating how to create a custom weldment profile in SOLIDWORKS.
SOLIDWORKS does come pre-loaded with a set of standard weldment profile, but if needed we can add to this library when we require something more specialized. I will use this functionality to create standard lumber profiles so I can design my next home improvement project.
Since I know the nominal sizes of standard lumber, I can start saving them as custom profiles. To start, we simply open a new part. Next, we sketch our profile. Keep in mind here that the origin will be the default pierce point on the path segment. We can also select any vertex or sketch point as an alternate pierce point.
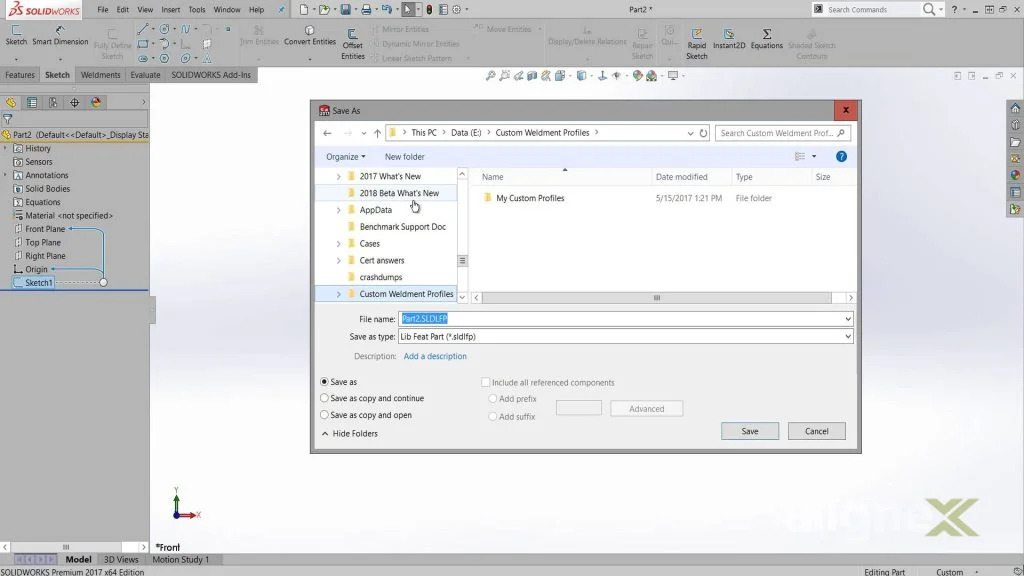
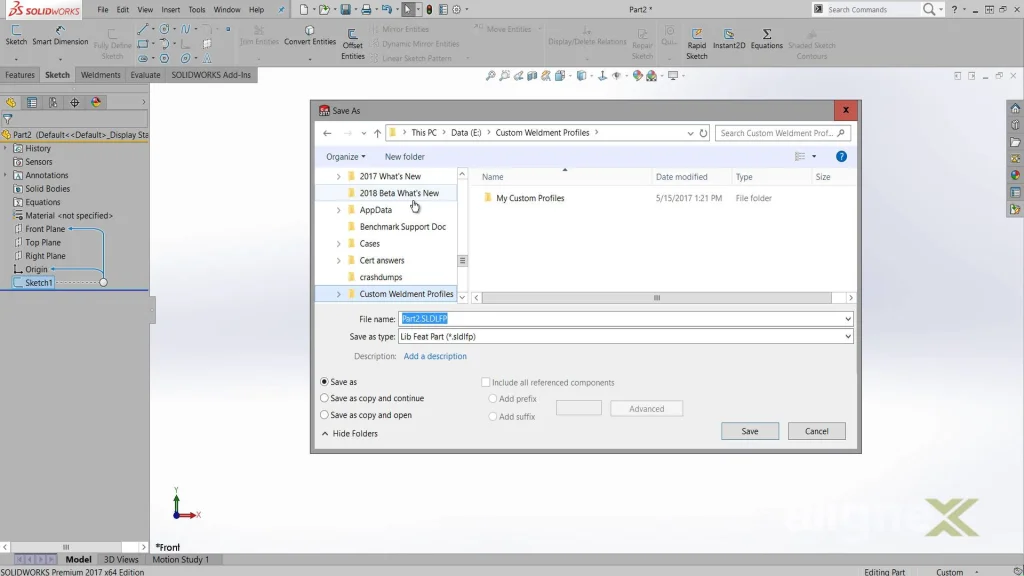
With the sketch drawn and dimensioned out, I am now ready to save the profile. We select the sketch from our feature manager design tree and go to save as. In the save as type drop down, we choose library feature part. We can save our profile in the default location which holds the standard weldment profiles, but we can also save the profile to some other location such as the documents folder, a shared drive or a PDM vault. I will place mine in a new folder.

The file name that we choose is what will appear in the size list of our obstructural member property manager. The folder structure is also important.The folder holding the library feature part file will correspond to the type selection in our property manager. The next folder up will correspond with the standard selection. To keep things nicely organized, I want my standard to be dimensional lumber and my type to be nominal standard. If I wanted to create non-standard profiles, I could nest folders under my dimensional lumber folder.
I finished the rest of the standard profiles and I am now ready to start using them. But first, since I saved my profiles in a different folder location then the standard, I will have to map SOLIDWORKS to look at this new folder location in my system options.
To do this, go to file locations and select weldment profiles from the drop down menu. Hit add, and select your folder from the browse window. SOLIDWORKS is now looking in this folder for custom weldment profiles. And now I am ready to get to work on designing my new deck. Using these new lumber profiles, I will know exactly how much lumber I will need to buy from the store.
Thanks for stopping by our blog! Stay tuned with Alignex for more tech tips and great ways to improve your productivity in SOLIDWORKS.
[End Transcription]
If you are interested in learning more, sign up for one of the many training courses we have to offer here at Alignex or check out our Alignex support documents available on our website.
Also, make sure to subscribe to the Alignex Blog to always stay up-to-date in the world of SOLIDWORKS.

