
For those of you with special kiddos in your lives, I know you get it: there’s something special about seeming cool in their eyes. Especially when it comes to those of us who live in and around the world of STEM when it comes to our own work.
This was really the foundational purpose behind a design Jason Pohl and I first created towards the end of last year. Jason and I are both fathers of children of who really get a kick out of monster trucks. And when it comes down to finding opportunities to unleash our creativity in a ‘maker’-style way, working on our own toy monster truck together seemed like a natural fit!
One big reason is because it took rather natural advantage of the tools we had at our disposal, all of which are included in the 3DEXPERIENCE SOLIDWORKS for Makers offer (for hobbyist projects) and 3DEXPERIENCE SOLIDWORKS offers (with 3D Sculptor at Professional and Premium levels, for industry work) today.
Surface modeling enthusiasts know that using parametric surfacing tools can be time intensive. This isn’t just an adept description of learning how to effectively surface model in the first place. It also describes the process of methodically defining each area of a given model using a stricter, rules-based environment when… let’s face it: sometimes, you just want to let your creativity fly!
Body modeling workflow
It’s crazy to think: Jason knocks an iteration of the truck body out in approximately 15 minutes (while conversing with me!).
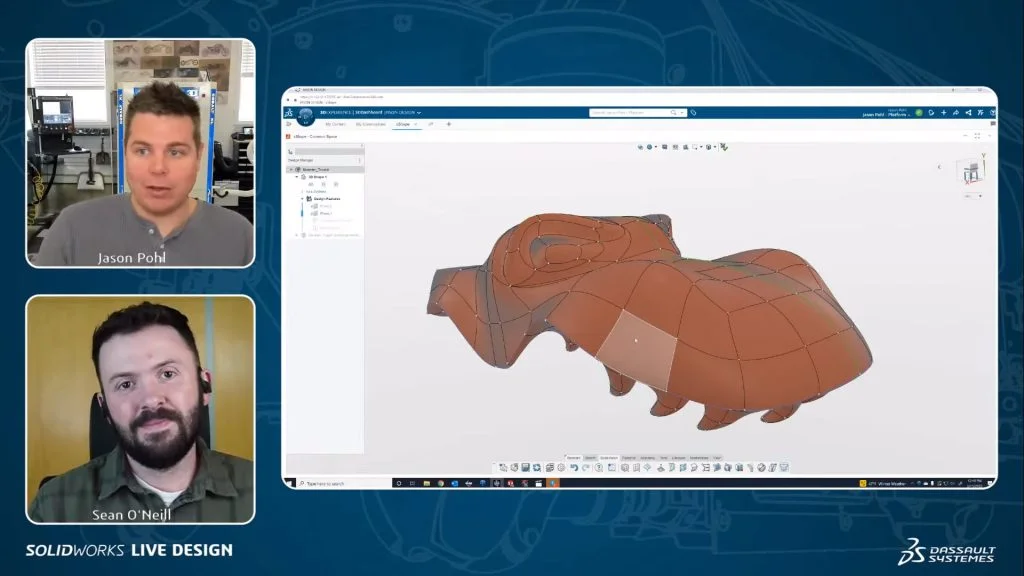
Here are a couple of aspects of his approach I found most interesting while observing it up close for the first time:
- He’s able to get this shape by stretching and pulling on a single box primitive (i.e. he did not have to use multiple primitives – and only sparingly needed to add facial/edge-level complexity.)
- Being in symmetry mode with the body makes heavily detailed areas of the model – like the gator eyes, snarl, gumline, and teeth – super efficient to model.
- Jason is able to add in sharp areas (e.g. for the truck bed, gumline) easily using some of the commands native to xShape.
General assembly workflow
As Jason and I discuss: he uses 3D Sculptor to 3D model the new alligator-themed truck body. I designed the chassis. He exclusively worked in 3D Sculptor, and I exclusively worked in SOLIDWORKS 3D CAD (in this case, 3DEXPERIENCE SOLIDWORKS, but pure desktop with the Collaborative Designer for SOLIDWORKS role add-in would work the same). On the initial model, I was able to insert/drag his 3D model as a component into my SOLIDWORKS assembly context using the 3DEXPERIENCE connector add-in.
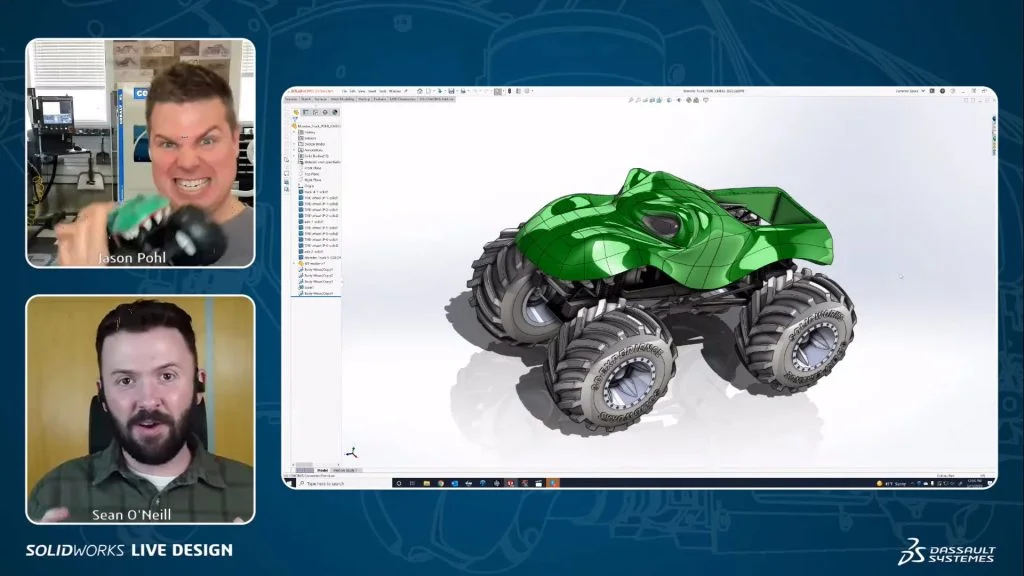
Similarly, on his end, there were a few ways he could’ve accounted for the chassis dimensions pre-assembly. Rather than waiting for me to finish the design, his approach was: make a roughly defined boxy shape resembling the chassis bounding box to get the monster truck roughly to scale (using powerful uniform AND non-uniform scaling capabilities in the xShape app).
If you’re into making organic shapes for maker or industry projects, I recommend checking out this episode! Be sure to subscribe to our YouTube channel for more livestream content throughout the year, and check out www.live.solidworks.com for more information on previous and upcoming streams!