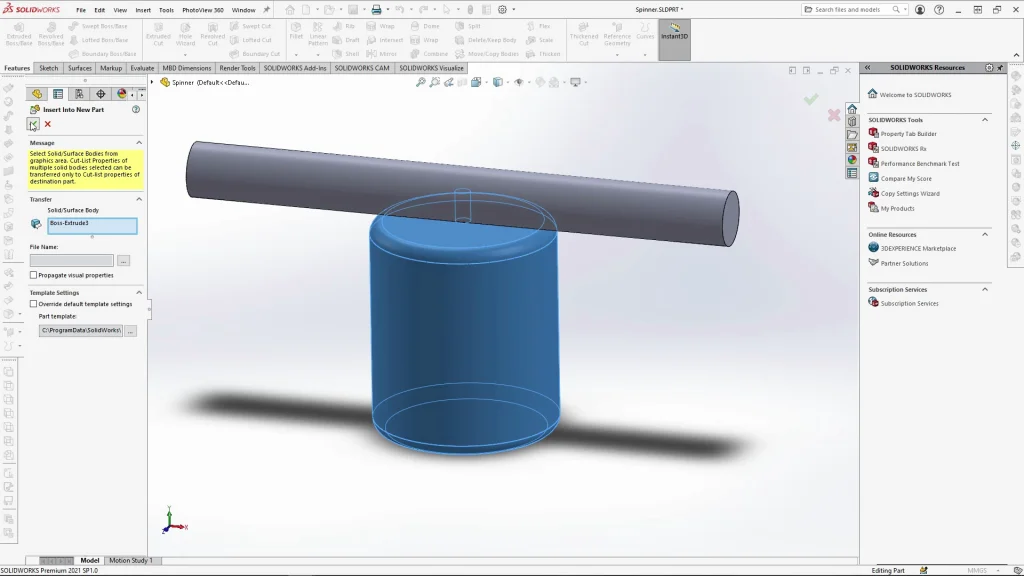
In this tutorial see how to model the domino and 4 track parts for an assembly. The domino run is made up of a starter wheel, a bridge, spinner and ramp with ball. All the pieces are very simple to create with just a few sketches and features. The moving parts of the run, the starter wheel and spinner were created as parts to begin with. They were made up of separate bodies so that they are simpler to model as I know the parts fit together, but also so I could export the bodies into new parts. The starter wheel and spinner were both split into two separate part documents and assembled together in the assembly with mates.
With all the parts complete, they could be assembled into a domino run. As mentioned in the tutorial feel free to create your own layout, but be careful about making the run too complex as it may not work properly and will take much longer for the motion study to complete. All the parts we create are inserted onto a floor part. The floor part was a simple large rectangle extruded, the floor is needed if you want to run the analysis, as without it piece will just fall through the SOLIDWORKS window, the parts need the floor to act as a contact when they fall over.
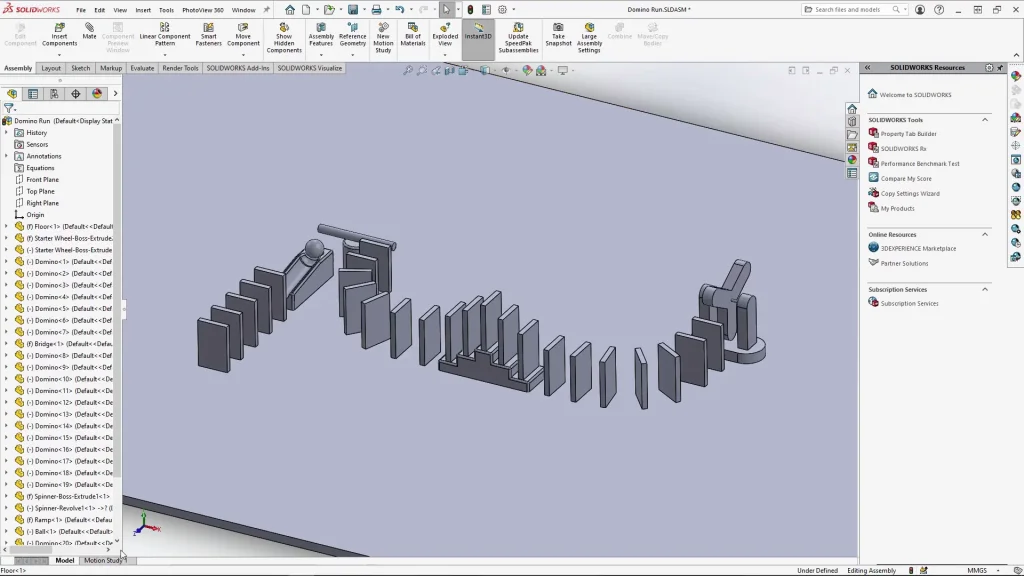
Most of the parts that sit onto the ‘floor’ part are actually mated to the top plane, the reason for this is that, when I am laying out the domino run I want the pieces to stay roughly were I place them. But, if I mate pieces onto the floor rather than the top plane, they move away from where I dropped them, whereas with the top plane they just move down to sit onto it. The tack pieces apart for the moving parts are fixed in position, along with the floor as we don’t want these to move or have any influence on the dominoes. The moving components are mated in position to rotate, and the ball is mated concentric to the top of the ramp. With everything in place the motion study could be set up.
All the mates apart from those keeping the spinner and wheel in position needed to be suppressed for the analysis, otherwise the dominoes would stay stood up on their bottom faces and just slide along the floor. Gravity was added to the study, along with the solid body contacts, I found that adding the acrylic material to the dominoes made them slide around too much after being knocked over. With the set designed to be wooden dominoes rather than plastic, they needed to move like wooden dominoes, so the material was changed to dry aluminum which has more friction. Finally a force was added onto a spoke face of the starter wheel, to spin the wheel towards the first domino and start the dominoes falling. The force was turned off after a quarter of a second so that it didn’t continuously spin, and it gave the impression the wheel had been spun by hand.
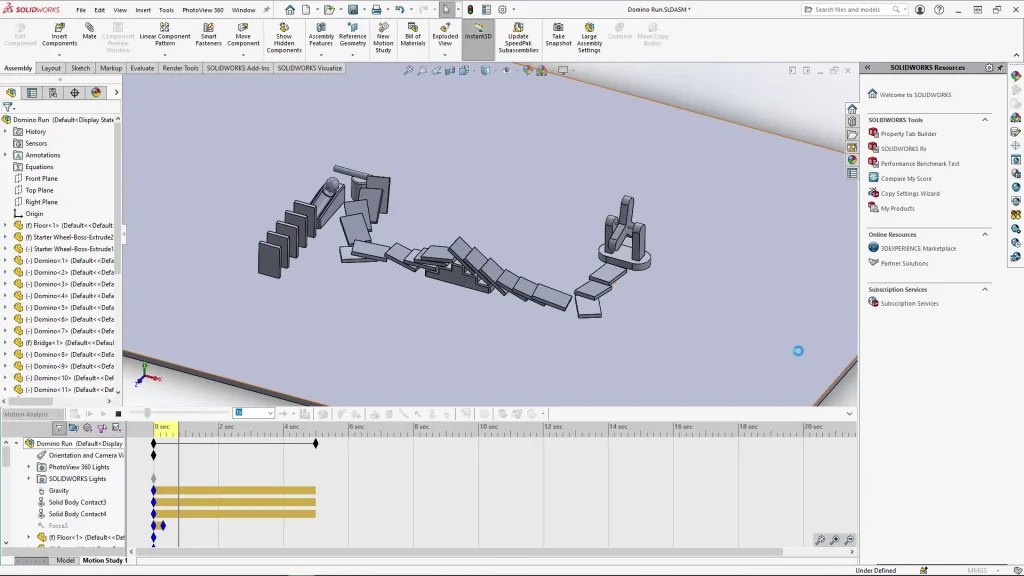
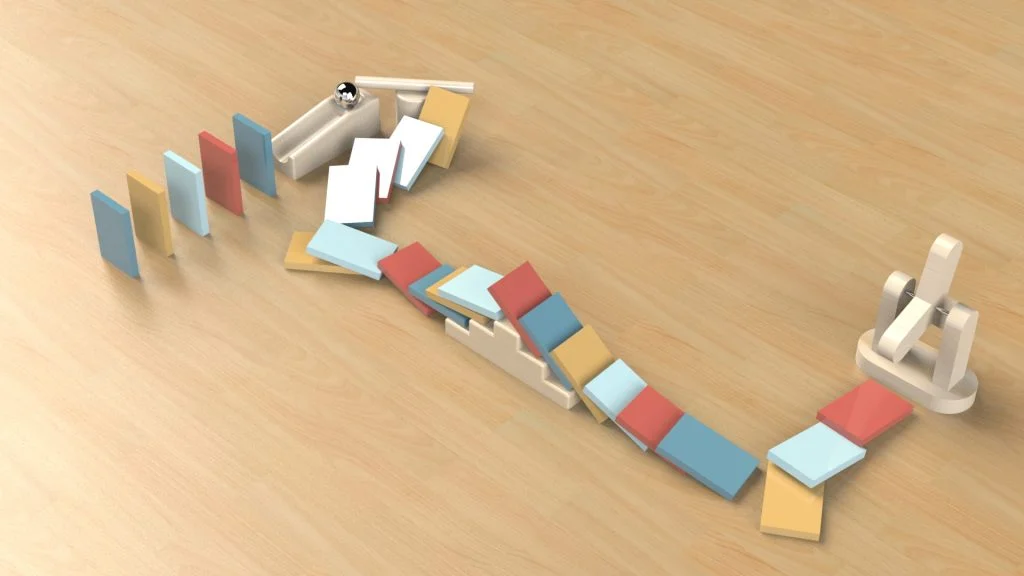
The analysis did take a while to run, but once it was finished, I trimmed down the animation to 3 seconds. You can see the finished result at the end of the tutorial. I used the motion study and exported it into SOLIDWORKS Visualize where I could add some appearances and render the animation. You can see a frame below from the finished rendering.