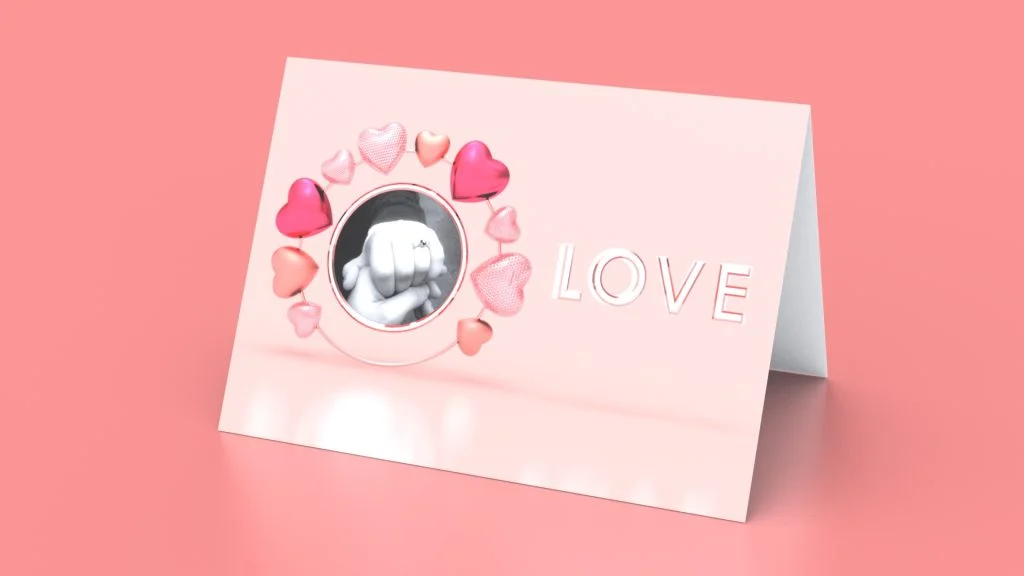

The first part of this tutorial involves creating an assembly with these parts here. There are a range of different ways illustrated in the tutorial in which you can assemble the parts to create different card layouts seen below. Feel free to follow the tutorial or tweak the outcome to create your own design using the parts available.
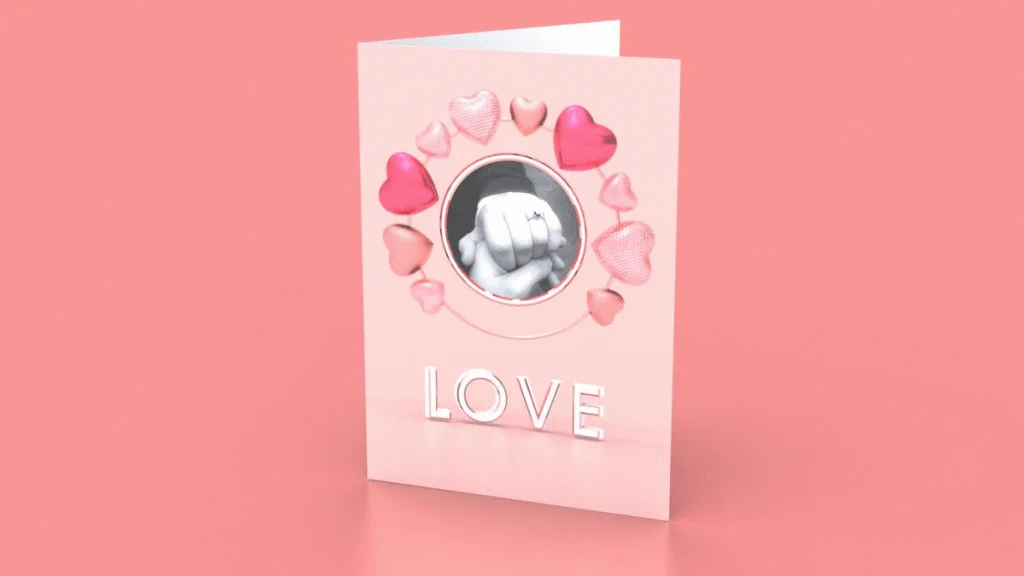
There are three different sized heart beads, the decal/photo frame and the ‘LOVE’ lettering to assemble, the assembly I created in the tutorial is for a portrait card, but you can layout the design to be horizontal too. The heart beads are mated using a combination coincident mates using sketches, and coincident mates using two planes. The beads could then be dragged along the outer ring of the frame for placement.
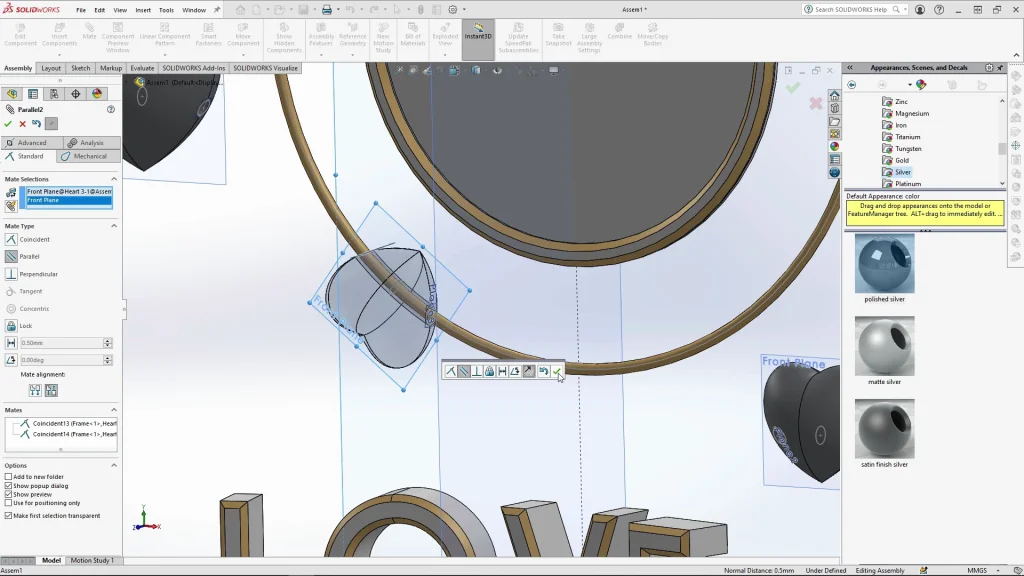
The decal/photo was applied to the frame by opening the part itself and applying the decal to the center face. If you want to follow the tutorial you will need a photograph to apply as a decal. Base appearances have already been added to the parts in preparation for rendering, you can apply all the appearances in visualize, but by doing this you can quickly edit the current appearances in visualize as the appearances are already grouped by parts or faces.
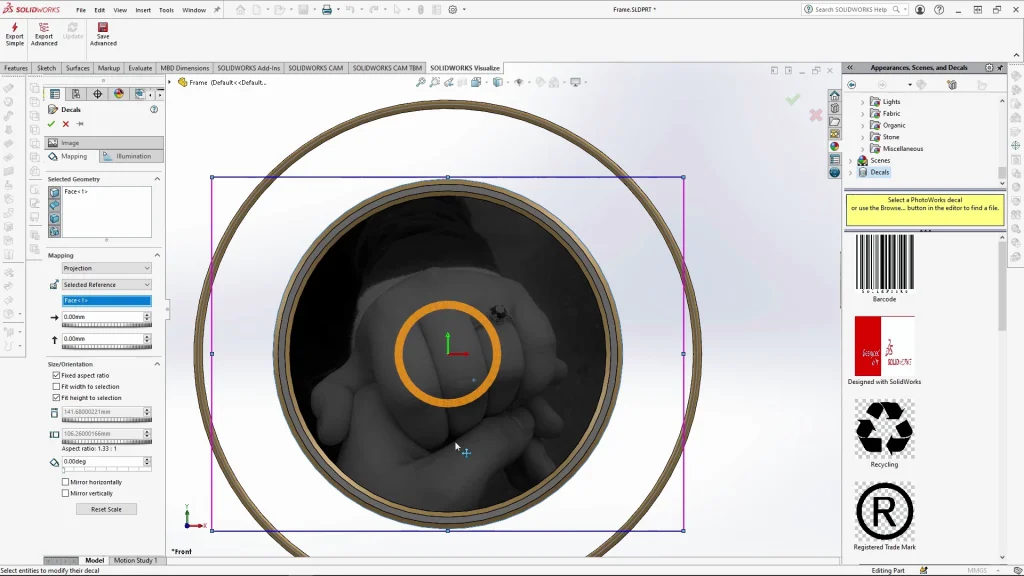
Once the assembly is finished, I can export the model directly into SOLIDWORKS Visualize. For this model I needed to use export advanced. This then exports the assembly with all the parts visible in the model tree in Visualize. If I had used export simple, it would export as one whole part, which makes it very difficult to change individual appearances. It also makes it easier to move individual parts within Visualize without the need to amend the assembly.
The tutorial demonstrates how to change the rendered image aspect ratio, which allowed me to create a photo sized rendering. I also demonstrate how to edit the render background, for studio changes, background color and floor effects. For this project I decided to use the blurred studio because the light reflections are blurred and softened on very reflective appearances such as metal which was perfect for the meatal appearances I applied.
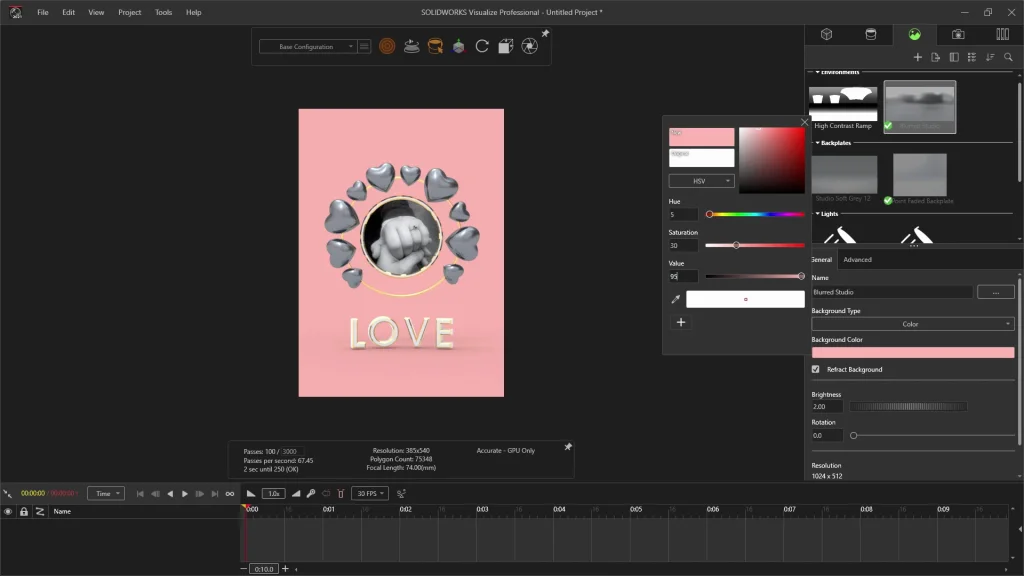
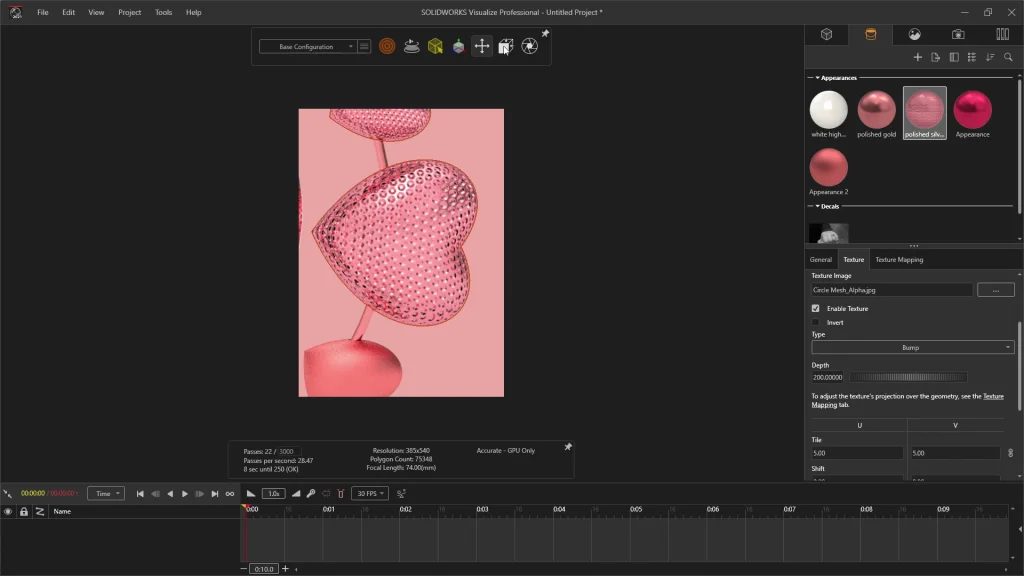
The appearances of the parts are edited within Visualize by changing the color, material roughness, and also adding texture. The below screenshot shows added bump texture which I applied with an increased depth of 200, and a tile size of 5 by 5, I wanted to create a jeweled like finish to some of the hearts. All the appearances I used were metal apart from the white plastic on the lettering and frame. I managed to create a rose gold effect using the metal appearance, zero roughness and inputting precise color values into the color swatch of the appearance.
I uploaded the final rendered image to a create your own card website to have printed just in time for Valentine’s Day. Its very simple to do, but if you’re low on time you could always email it with a note, after all handmade is always best!