

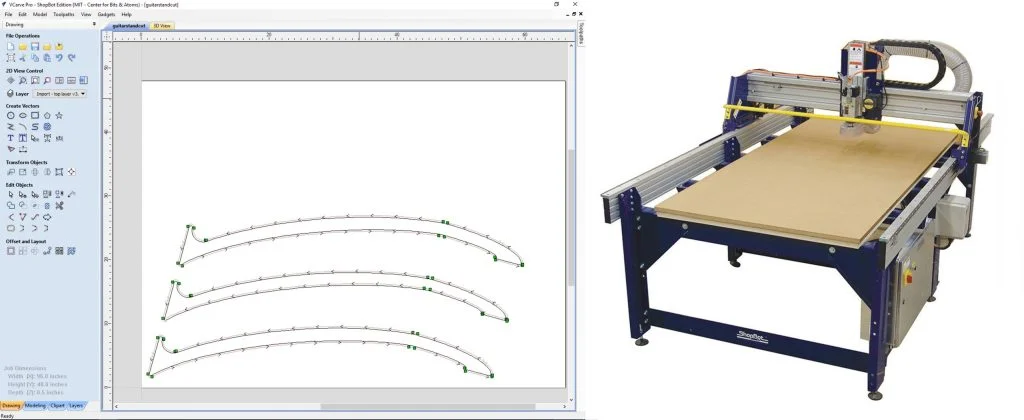
Where we last left off, I had finished a prototype that I wasn’t quite happy with. One of my main issues with the prototype was that the fit and finish wasn’t quite up to par with what I wanted my end result to be. This was due in part to the drawbacks of using the laser cutter on a larger project, such as charring around the edges of cut lines. So to counteract these drawbacks, I decided to create the guitar stand on the DASSAULT SYSTEMES 3DEXPERIENCE Lab’s ShopBot CNC router.
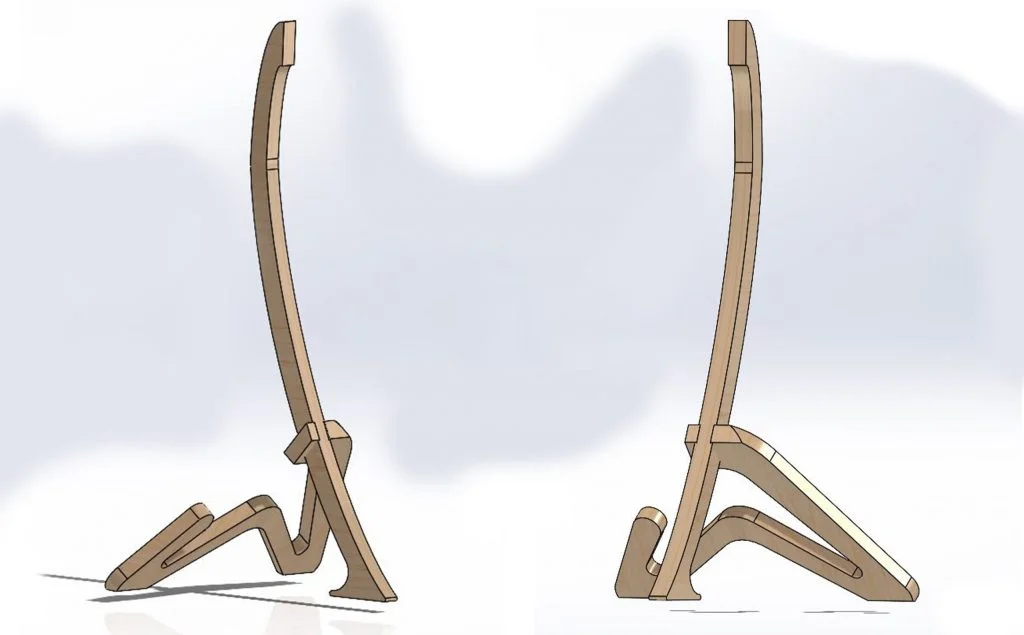
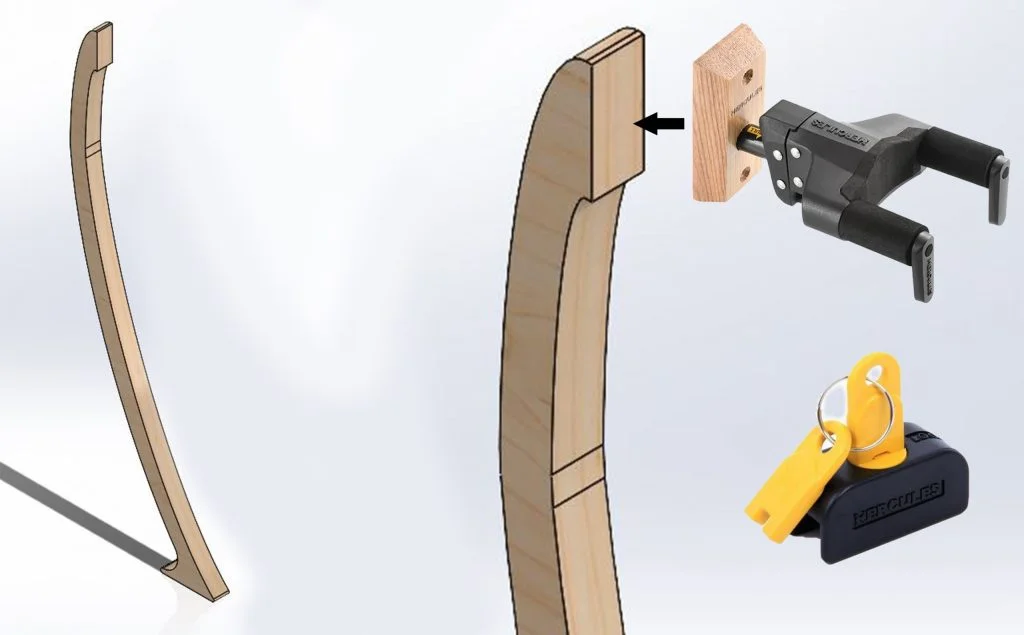
One of my first goals was to recreate the silhouette of the guitar stand with some design and dimension changes. I added a longer base for more stability, while taking design cues from the guitar itself. I also added a larger top mounting surface to accommodate for a Hercules wall mount system, in order to include a locking mechanism. I adapted the wall mount to fit onto the guitar stand design, as the Hercules system is a safe, and well-developed mechanism for holding a guitar of an unusual shape, such as the Lava Drop X xDesign edition.
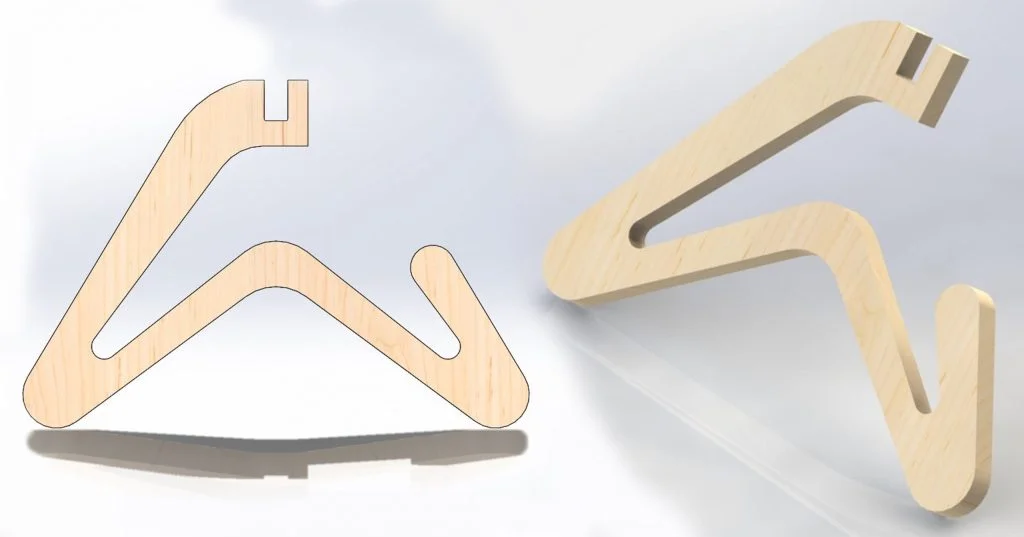
I also rethought the base of the guitar stand, taking more design cues from the guitar itself and implementing them into the rest of the guitar stand. I did this by following the curves of the guitar and creating a floating section between two points of the ground and the main structural part of the stand itself.
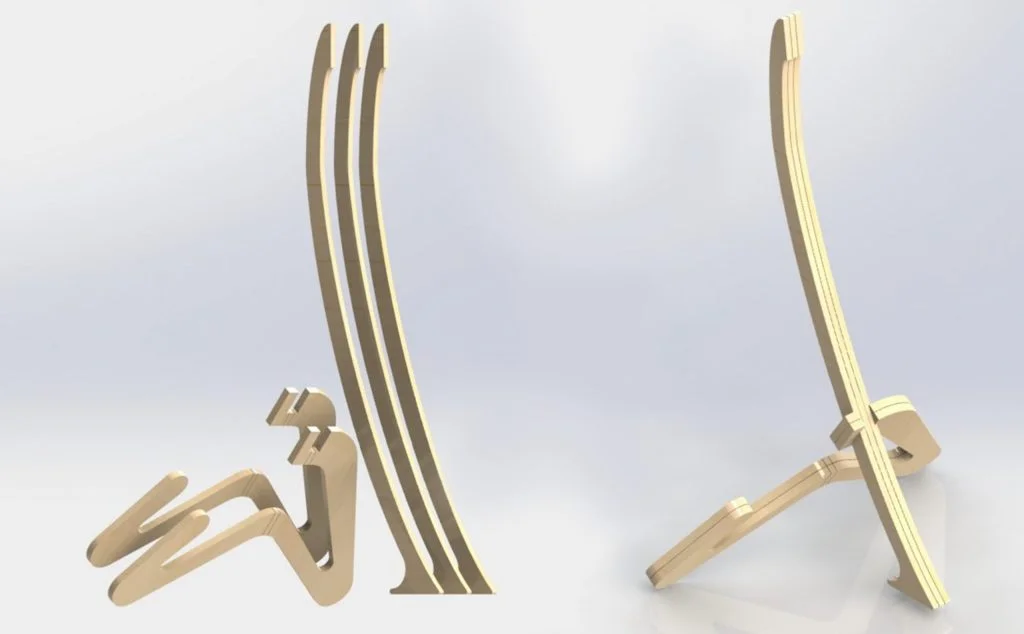
The next step was to split up the guitar stand into separate pieces made up of 1/2” plywood. Below is an exploded view, showing the breakdown and assembly of the stand.
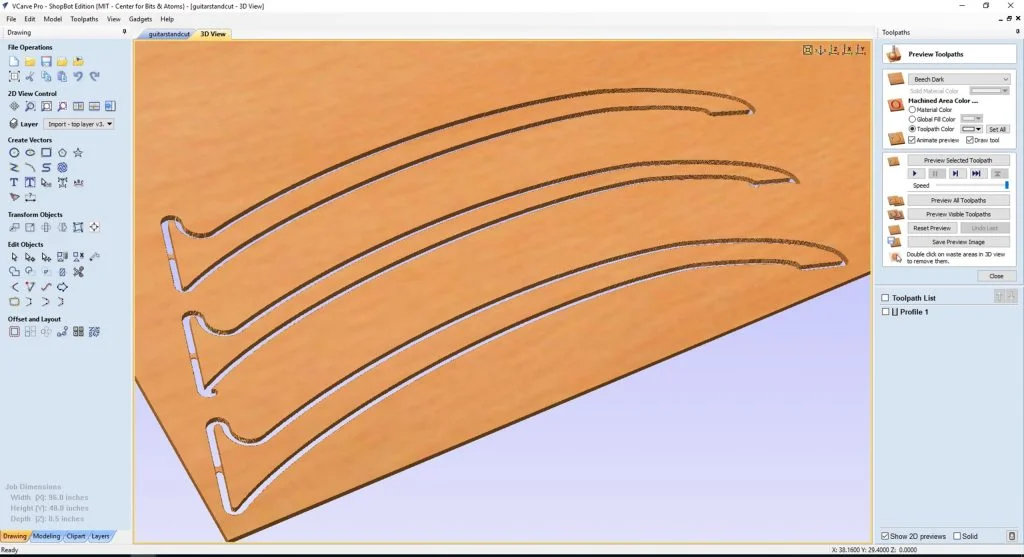
A big hurtle for this project was learning how to use the ShopBot, and VCarve Pro CAM program by myself. I took to watching video tutorials, and taught myself the procedure for creating the parts on VCarve, as well as creating the toolpaths for each part within the software. Thus I learned the cutting procedure on the ShopBot. It was a daunting task as the ShopBot was brand new to me. But after much research I found it quite an easy task to manage. In a way, the VCarve software is kind of similar to how cutting on the laser cutter works, with vector drawings, or dxfs.
After completing this project, I am now very comfortable utilizing the FabLab’s ShopBot. I have even mentored fellow DS colleagues, and Fab Academy students on how to use the ShopBot to create their own projects.
After cutting all of the components of the guitar stand out on the ShopBot, the different layers were glued together. And then days of sanding all of the edges, surfaces and corners followed. I spent time getting the surface finish just how I wanted it. Making the fit and finish of this final version of the guitar stand 100 percent up to par with my expectations.
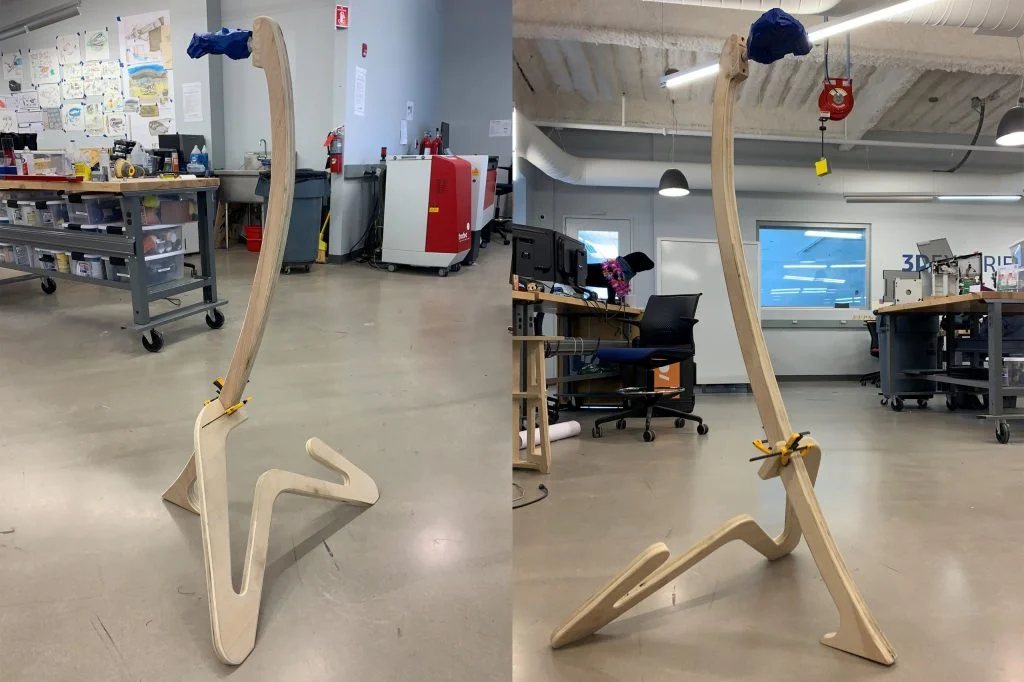
The next steps in finishing this guitar stand is to primer and paint it, as well as finalize the mounting hardware components for connecting the two main parts together.