

My name is Colleen Gallagher and I am an Electrical Engineering Major entering my fourth year at Northeastern University. This post will discuss three different videos, produced by me, covering how to model and 3D print various items using a Makerbot Replicator. These items include an elephant phone holder, a personalized dog tag and a racecar.
First off, what kind of 3D printer is a Makerbot Replicator? A Makerbot is classified as an FDM printer or rather Fused Deposition Modeling. This technique involves heating filament to its melting point and then extruding it layer by layer, building from bottom to top. It is the most common type of 3D printer. This method is very similar to that of FFF or Fused Filament Fabrication. Specifically, the Makerbot Replicator is a 3D printer meant for hobby-ists and small businesses rather than full scale production at huge companies. This is because of its small size, relatively low price tag, and user friendly interface. Therefore, it is perfect for students and educators of all ages!
Elephant Phone Holder
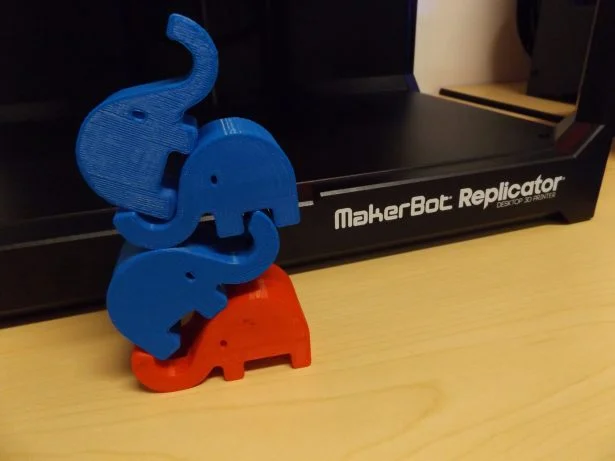
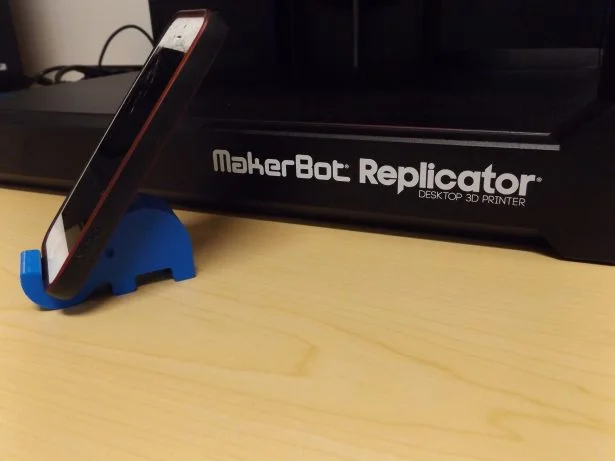
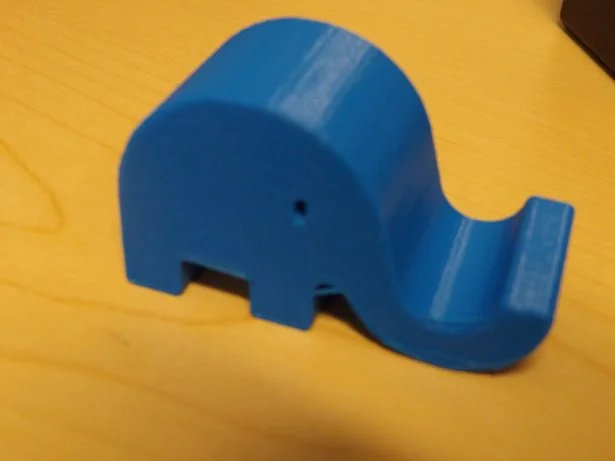
Not only is this project adorable, it is also very functional! This project was separated into 4 short videos to show all of the steps including sketching, adding features such as extrude and extrude cut, and printing. The most difficult part is sketching the initial shape, making sure that the trunk will be able to hold the cellphone in place. In addition, this video shows the potential for design changes. For example, you could add another extruded cut within the trunk to create an opening for a cellphone charger.
Race Car
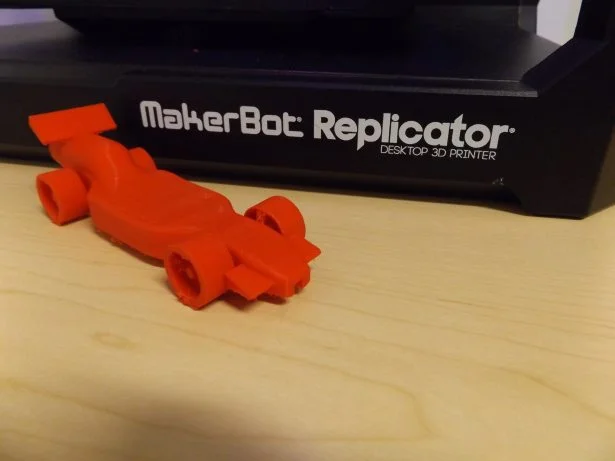
For this next project, the model can be found within the SOLIDWORKS Design Library, specifically the Educator Curriculum 2015 file named “RaceCar Project”. In this video, I explain the importance of adding supports to 3D print more complex models such as the racecar. This video also shows how to make changes to the tail and how those changes affect the resulting 3D print.
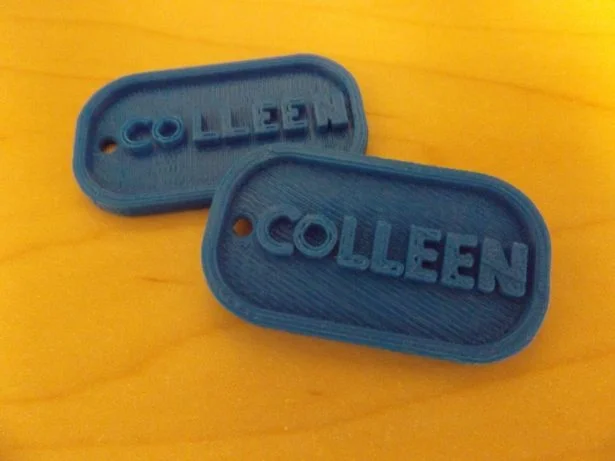
Personalized Dog Tag
This last project has your name written all over it! It is split up into 3 videos for the 3 main steps involved: the base, the lettering, and the printing. This project incorporates the most features (fillet, hole wizard, shell, extrude) but because of its size, it is the quickest 3D print! After you have spelled your name correctly, you want to make sure that the modeling of the letters are thick enough. If the letters are too thin, the resulting 3D print will not be as legible or as neat as pictured below.
Video Links
You can find these videos on the SOLIDWORKS Youtube page or click on the links provided.
Elephant Phone Holder:
Personalized Dog Tag:
Do you have any cool or fun projects that you modeled in SOLIDWORKS and printed using a Makerbot? Let us know! Show us pictures of your 3D prints in the comment section below. For other cool models to 3D print, check out Makerbot’s Thingiverse.
Colleen Gallagher
Electrical Engineering
Northeastern University Class of 2018