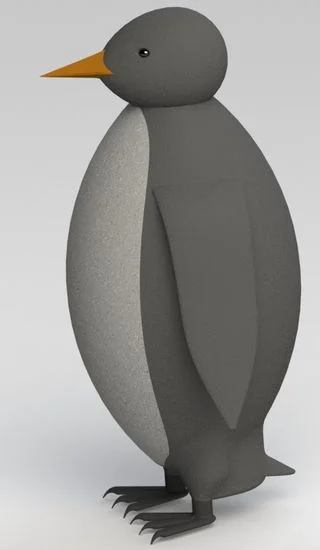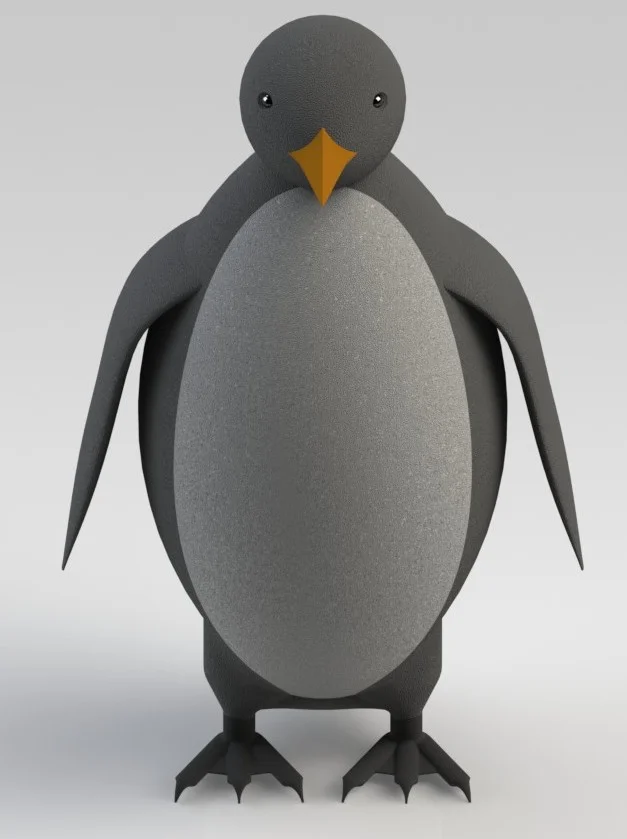
For this post, I decided to do something more on the creative side, which was to make a penguin. The body and the head were both created using a revolve feature. I created the beak using multiple planes based off the front plane and a point on the penguins head. On those planes I made sketches for the beak that I then lofted. I connected the peak up to the head with an extrude feature that used the “up to next” option. I used a series of variable fillets to round over where two beaks would meet up. A variable fillet was needed because the beak tapers down to a point so a constant fillet would not be able to work. The main part of the feet was created by using a sweep feature. I made sure that the sketch that I used for the sweep was centered on the sketch which made it easier to make the rest of the feet as everything was centered on the one plane. The webbing between the feet was made by just extruding a sketch mid-plane. The nails for the penguin were created by using a loft of two sketches. The wings were modeled by using a loft feature. I did use a centerline parameter to give the wings the curve that I wanted. I created that center parameter sketch first and then I based the rest of the planes and profiles off of it. I just created one foot and wing and then mirrored them about the right plane. I also filleted all the edges to smooth out the shape of the penguin. After I was done the modeling, I added color to different parts of the penguin so that it would look more realistic. The center patch of white was created by using a split line on the penguin’s body. I first drew an oval on a plane that was offset from the body. I then used the split line feature to split the surface of the body. That face then could be set as white in color. Feel free to download my model and take a closer look. Enjoy!!
Ian Jutras
Mechanical Engineering 2013
Worcester Polytechnic Institute
