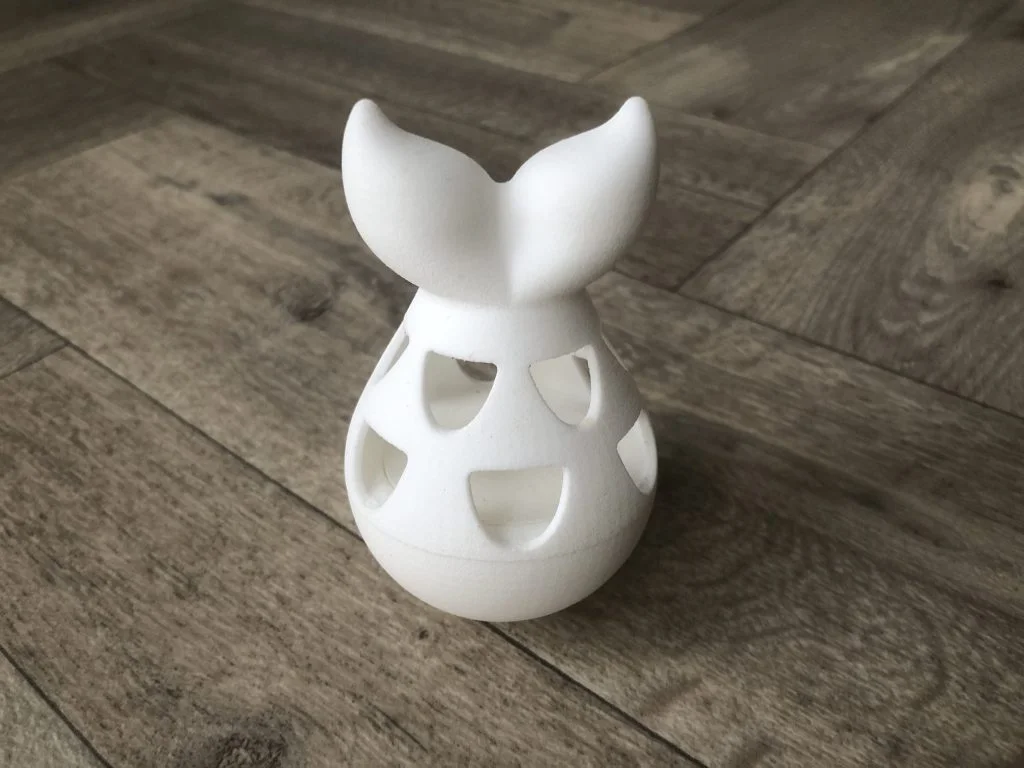

During this SOLIDWORKS Tutorial you will learn how to create your very own cat treat toy for 3D printing. The tutorial covers inserting DXF files, Lofting multiple profiles using guide curves, swept profiles along a helix, wrap deboss on a curved face and circular patterns. The DXF files used in this tutorial are available to download here.
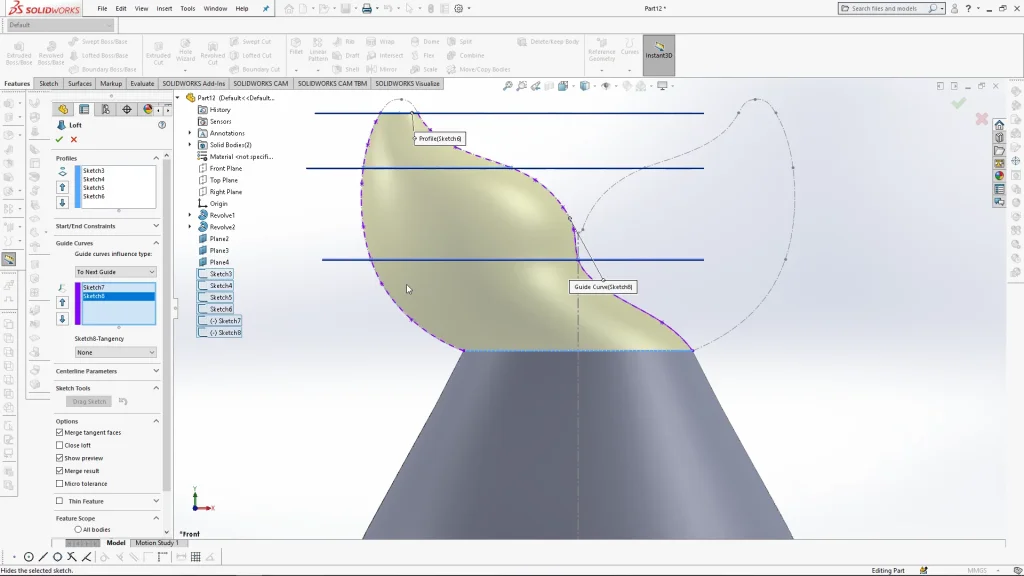
A DXF file of the fish shape was used to construct most of the design. It was used as a guide for new planes, sketches, and an axis for circular patterns. The fin design was created using several new planes along the guide sketch, there were simple circle sketches on each plane that were lofted along guide curves, again utilizing the original DXF sketch. The tip of the fin was added using dome and smoothed by a fillet. The fin could then be mirrored as a body, and combined to the top piece of the toy.
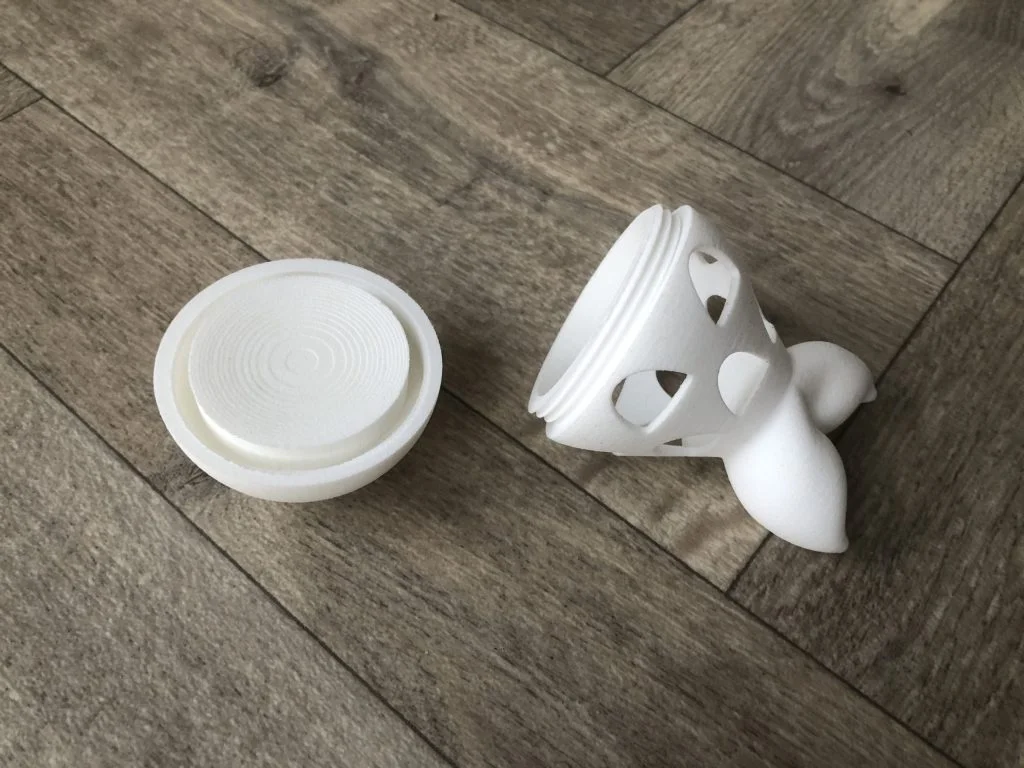
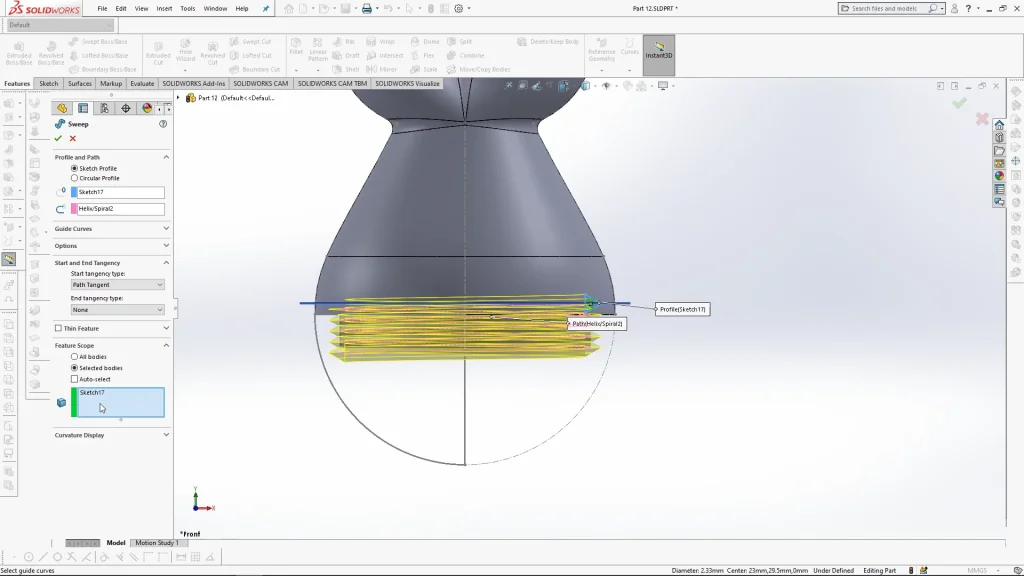
The two parts of the toy are held together by a screw fastening which was created using a sweep. A copy of the sweep body is the combined and subtracted from the base part to create the negative of the fastening. The tutorial also shows how a swept cut was used to add tolerances for the 3D printing material to allow for the parts to screw together with ease.
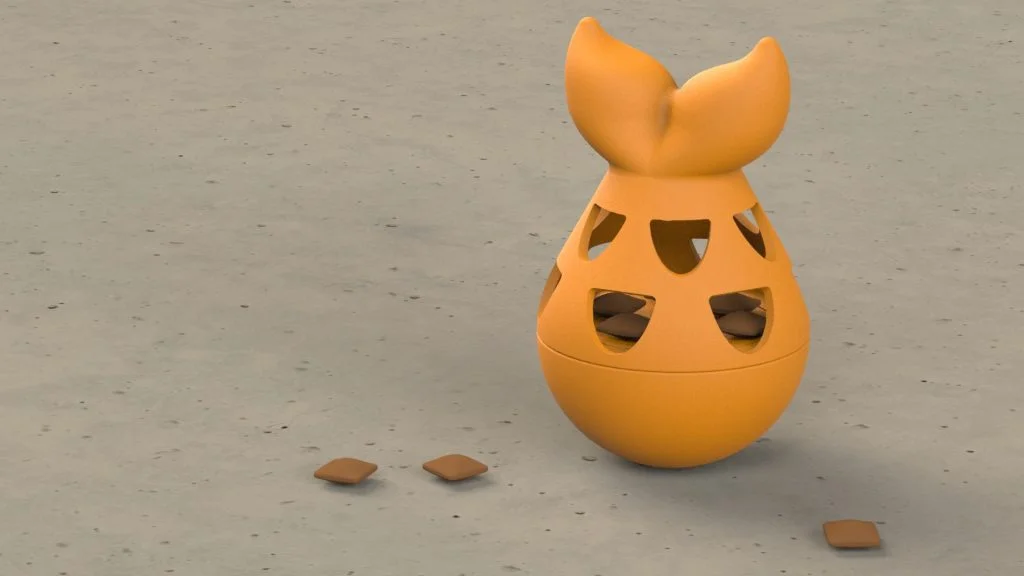
The final model has its two separate bodies saved to separate parts. These parts can then be saved as STL files for 3D printing. In this tutorial an unpolished Polyamide (SLS) was used to 3D print the toy, it was then put to the test by my two cats Loki and Bramley. As mentioned in the tutorial, the toy could be made more difficult to win the treats by making the scale holes smaller, higher up the top piece or less frequent. You can download the STL files for this model from this link here. . Just be aware of the material you are using to print.