You’ve been tasked with laying out the piping route for your current project and the design requires a very specific valve to be included. There’s a problem though – you’re not 100% sure how to get from the suppliers’ 3D model to being able to utilize it within your routing layout in SOLIDWORKS Premium. Let’s take a look at how to do it.
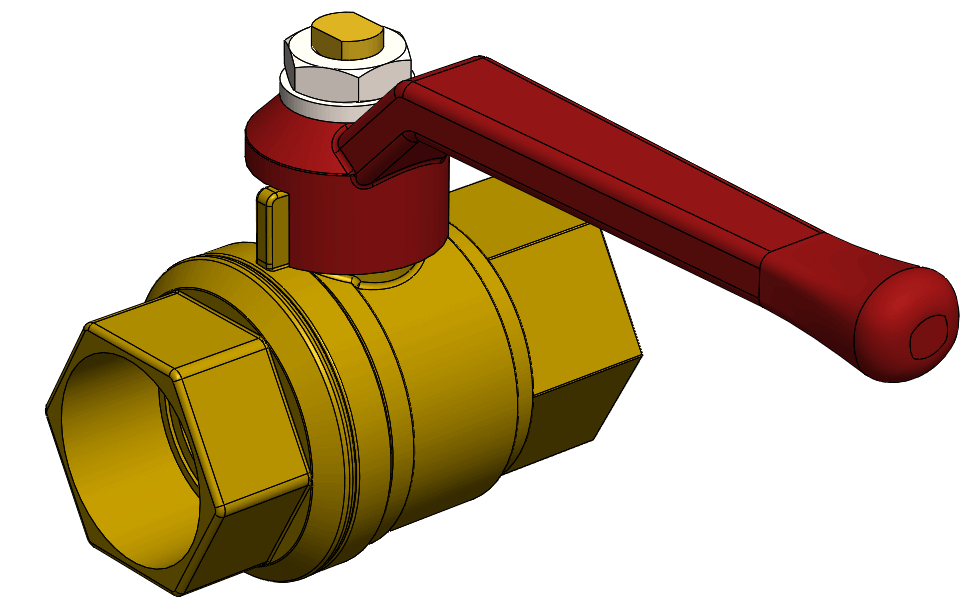
For this tutorial, we’re going to assume you have successfully found a model of the component you wish to use (manufacturer web sites, 3D ContentCentral and similar share sites are the best place to look if you haven’t). We’ve chosen two versions of a 25mm ball valve, one part based…
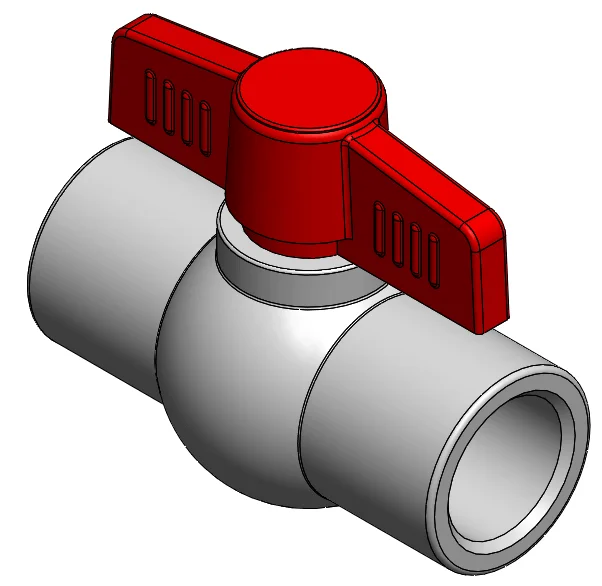
…and one assembly based.
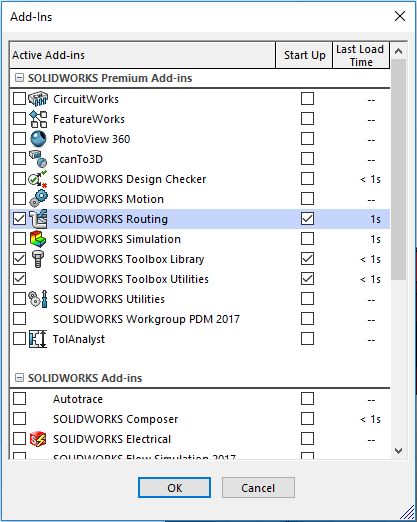
Firstly, open the component part (we will cover assemblies shortly) in SOLIDWORKS, and ensure you have the routing add-in activated.
Select ‘Tools > Routing > Routing Tools > Routing Library Manager, and select ‘Routing Component Wizard’.
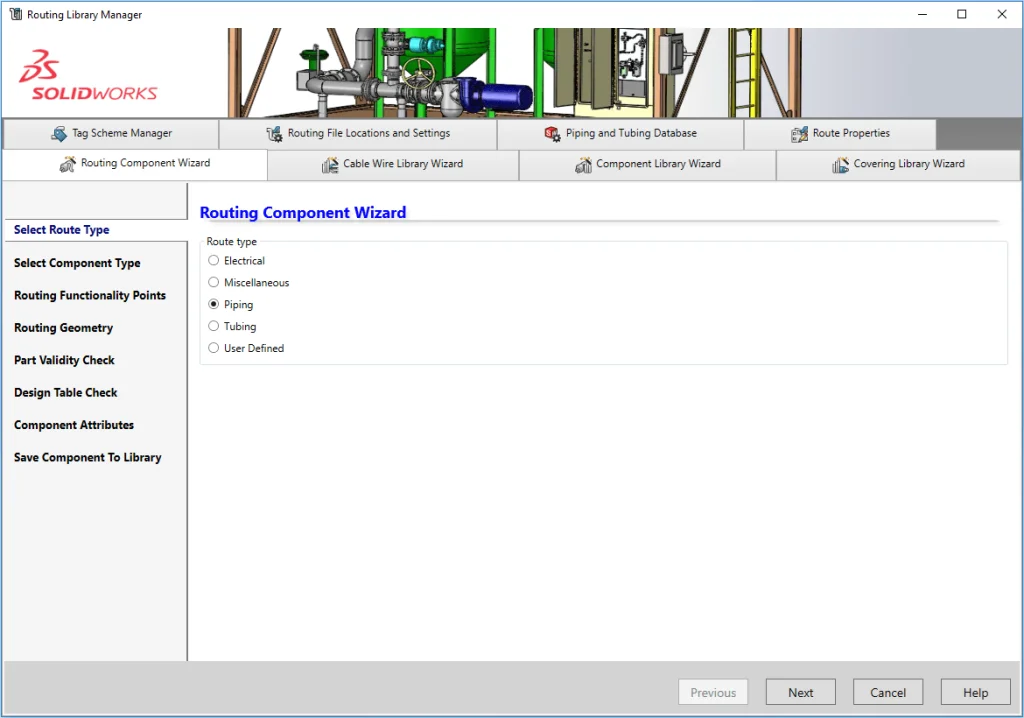
Select Route Type – Choose the option that best describes the route type you want to employ this component in (we’ve chosen Piping) – Click next.
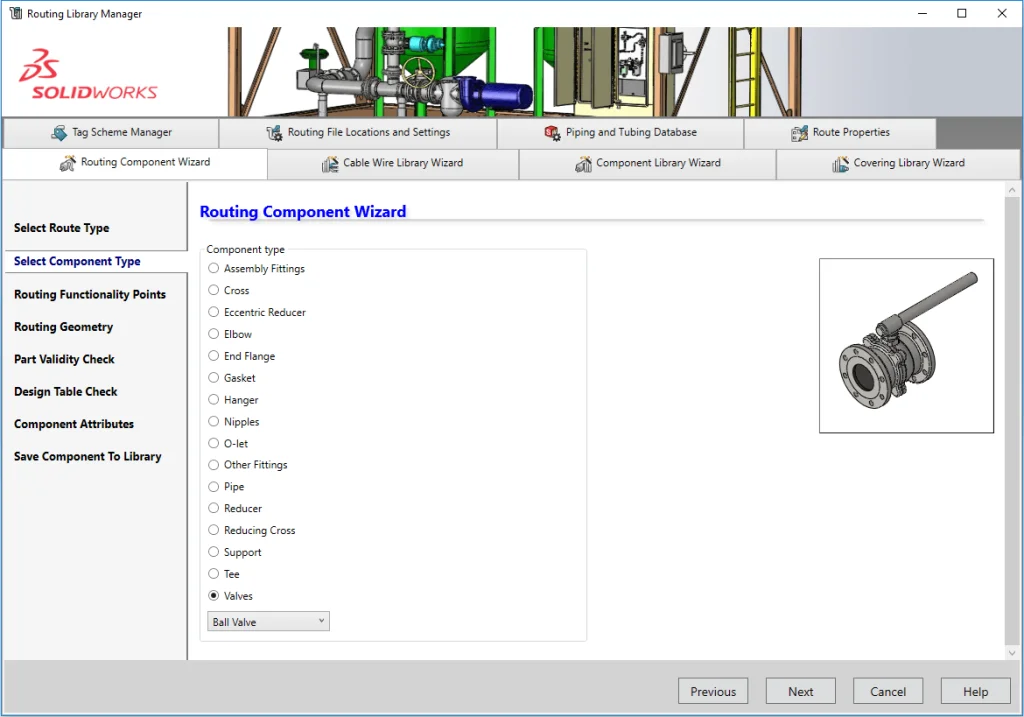
Select Component Type – Select the component type that best suits, As we’re using a ball valve we’ll select ‘valves’, then select ‘Ball Valve’ from the resultant drop down. Click next.
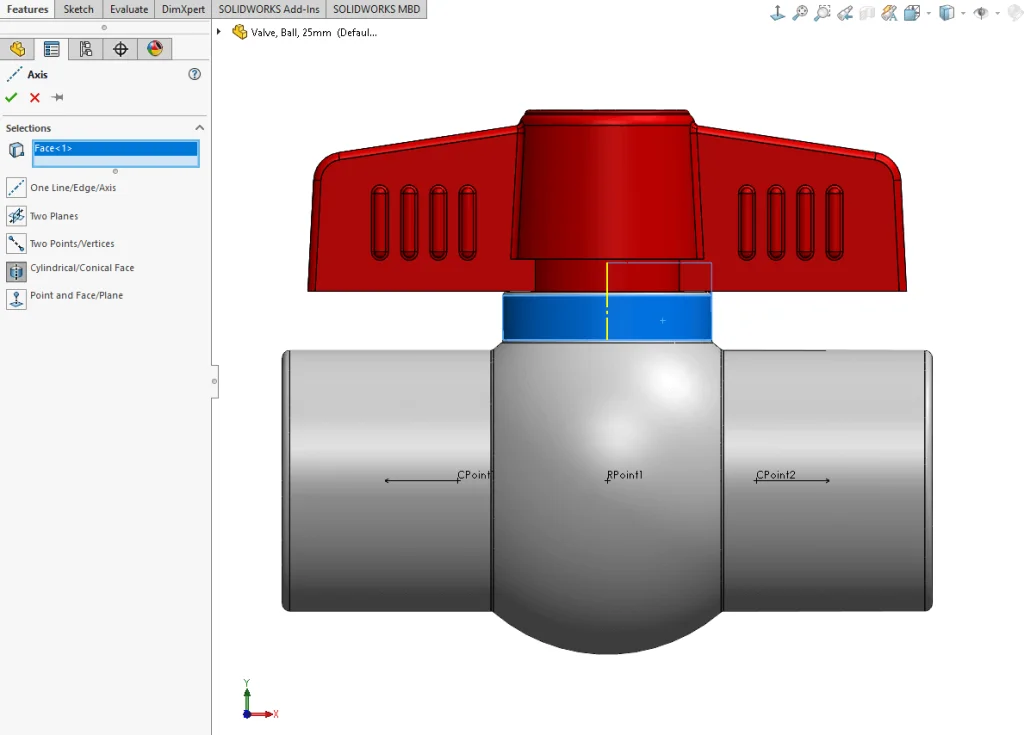
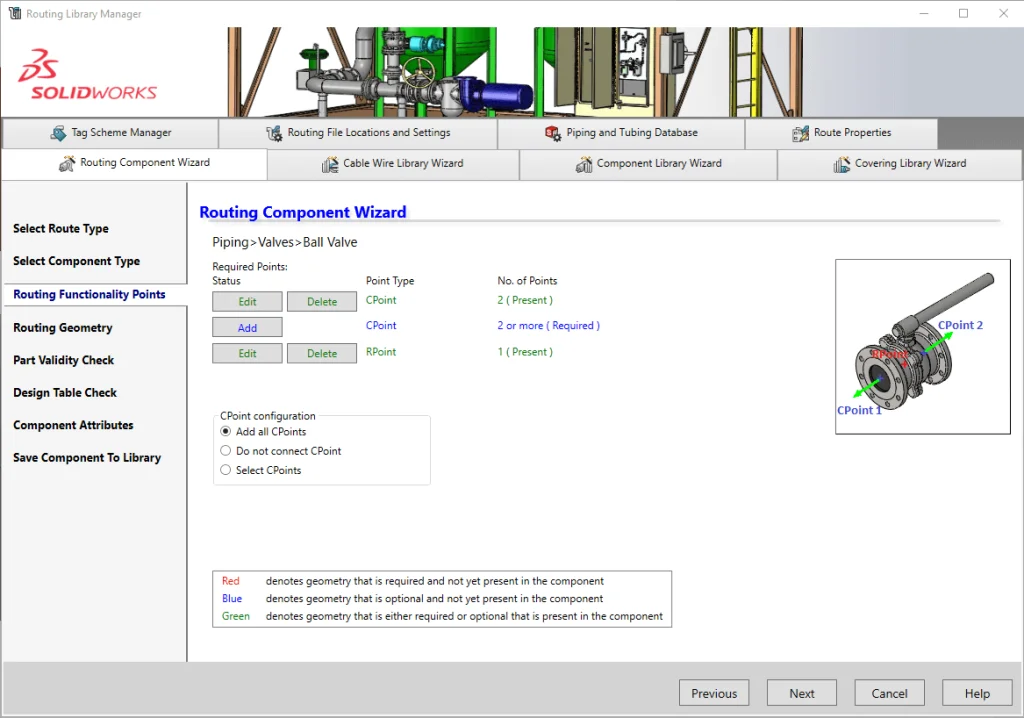
Route Functionality Points – On the next screen we see what additional points are required (listed in red) for SOLIDWORKS to use this component in a routing subassembly.

In the case of my sample component it requires 2 CPoints (connection points – points at which the pipes/tubes will connect to the component and 1 RPoint (routing points – points that aid in the positioning of the components within the routing subassembly, and can be used to position the route if desired. A sketch may be required to position the RPoint).
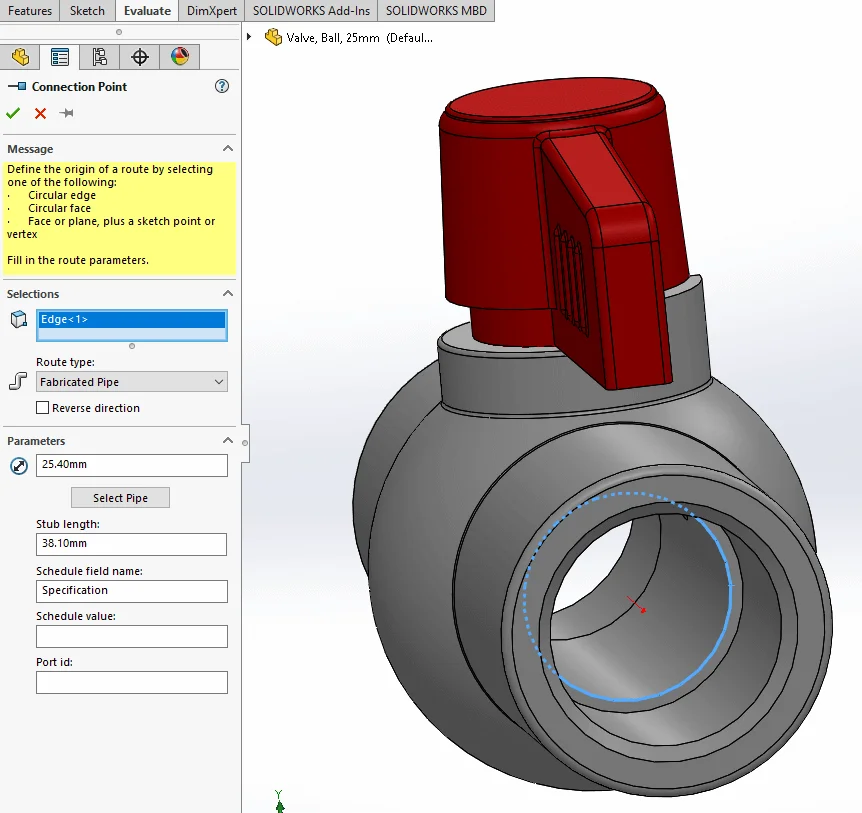
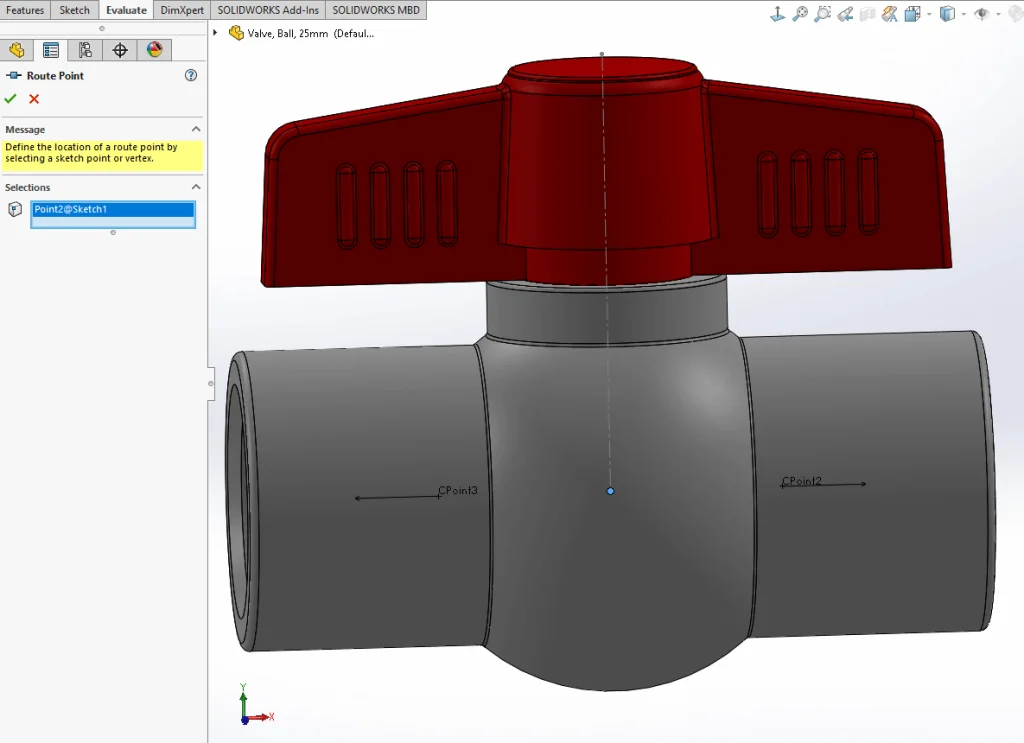
Click on the Add button next to each red item in turn and then select the corresponding geometry on the part. The aim is to eradicate the red from the list of required points, Green and Blue are ok. Click next.
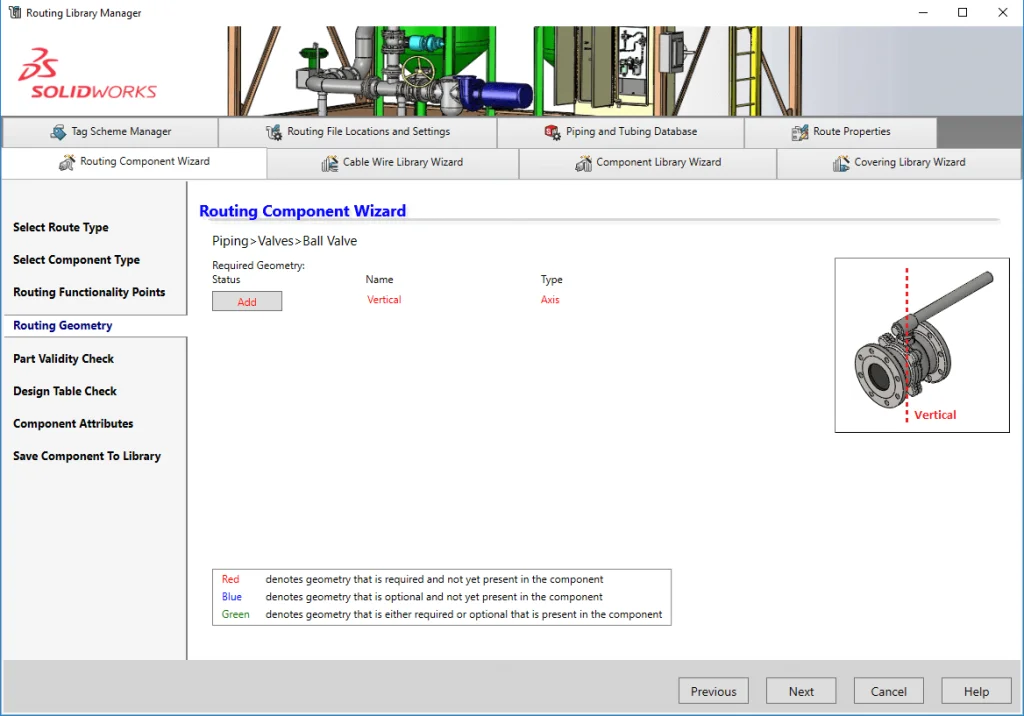
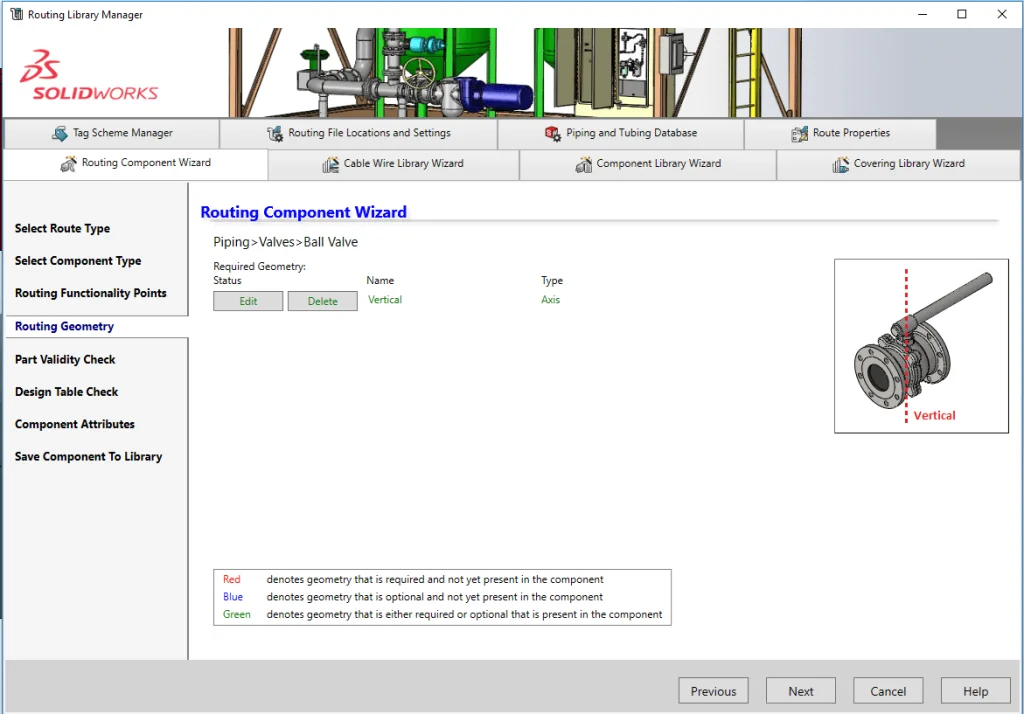
Routing Geometry – This page indicates additional geometry required. In this case an axis. The methodology is the same as with the points – only with an axis. You can use an existing one or create a new one. We don’t have an existing one so we’ll opt for new. Click next.

Part Validity Check – This is the confirmation page, if any required items were missed in the last couple of pages, here’s where you’ll get a second bite at them. But you won’t have been that remiss, would you? Click next.

Design Table Check – If a design table was present in the component this is where it would be checked to ensure it is up to scratch. However, unless you have been lucky enough to have found/downloaded a SOLDWORKS native component there will not be a design table, so this page will be skipped.
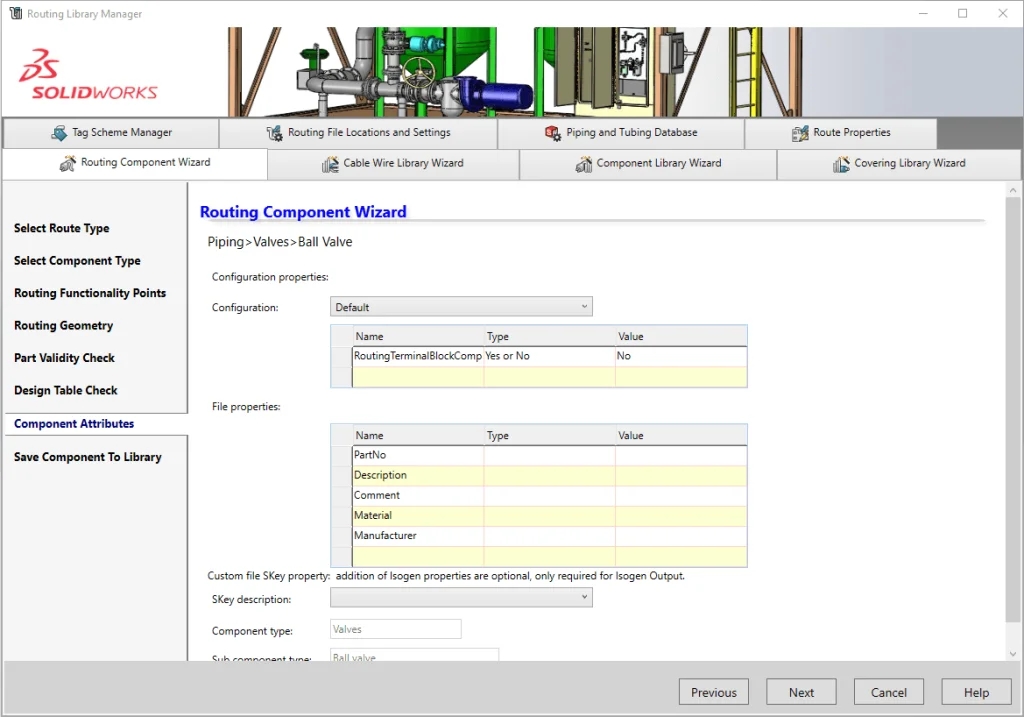
Component Attributes – We can add component specific, file specific and SKey properties. Click Next.
Save Component To Library – This one does exactly what it says on the tin (or the button for anyone that hasn’t seen those adverts for a well known wood stain brand). Enter/confirm the name and location and click Finish. It then informs you that the save is complete and asks if you wish to include it in the database. If this is a component that is likely to be used repetitively then it is probably advisable to say yes, or no if not.
Either way, that’s your part component complete. Good work!
We hope you found that useful!
Have you seen our blog archive where we have posted plenty of helpful articles? We also have a fantastic video library filled with easy-to-follow videos on a number of topics inspired by other SOLIDWORKS users – take a look. Also, don’t forget to follow Innova Systems on twitter for daily bite size SOLIDWORKS tips, tricks and videos.