

After teaching 1000’s of students and writing about SOLIDWORKS for over 25 years, David Planchard, emeritus WPI, is exploring xDesign. Through the SOLIDWORKS xDesign Lesson series, David helps educators understand the differences and similarities between xDesign and SOLIDWORKS through simple examples. He also introduces new apps in the engineering design process.
I always recommend to my students to have a 3-button mouse when using SOLIDWORKS. There are always students who do not listen. They use a 2-button mouse (or none at all) for a day or so, and then realize I was correct.
Students lose files in SOLIDWORKS. They do not create file folders. If they do, students forget where the files are located. If they store them on a USB, they lose their USB. I always recommend to understand file management and to know where their folders are stored.
In the first part of the lesson, I will show how to review and change the Select Preference and find additional help materials.
In the second part of the lesson, I will demonstrate how to create a Collaborative space using the 3DSpace app.
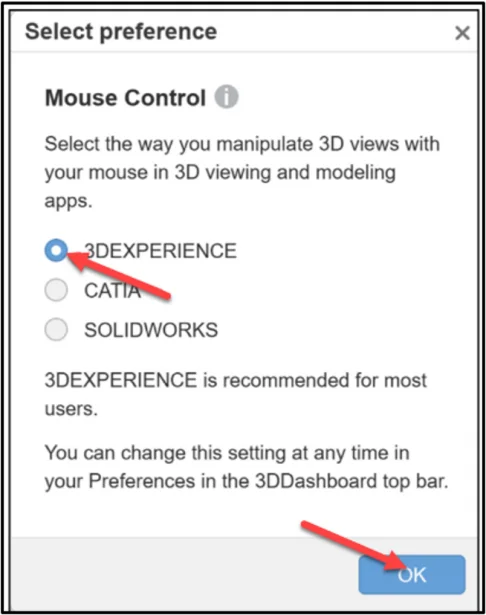
The first time you create a component in xDesign, you are requested to select Mouse Control preference: 3DEXPERIENCE, CATIA or SOLIDWORKS. For my series of lessons, I selected 3DEXPERIENCE.
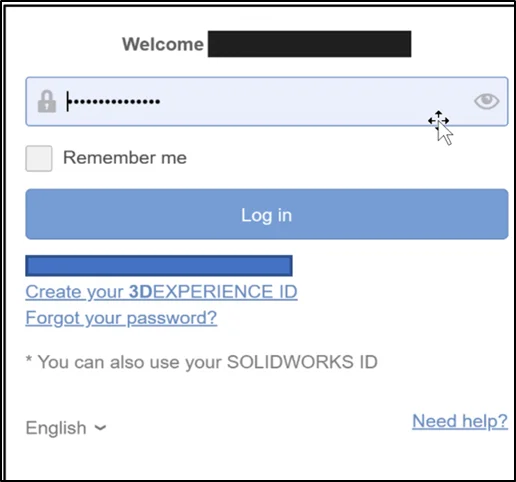
Login to the 3DEXPERIENCE platform.
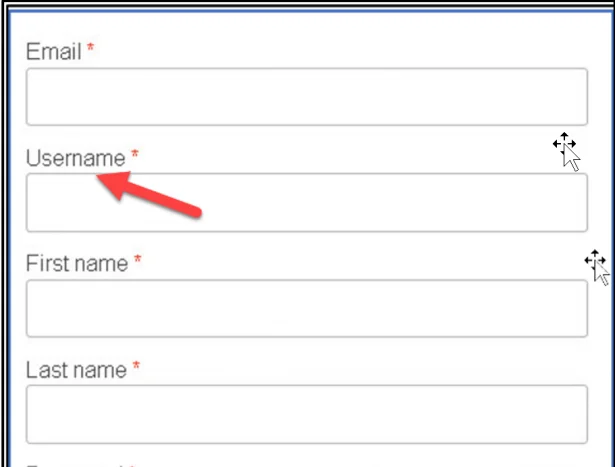
View your user profile. When you created your 3DEXPERIENCE ID, you created a Username*. Your Username* is displayed. By default, it is your initials. In this example it’s DP.

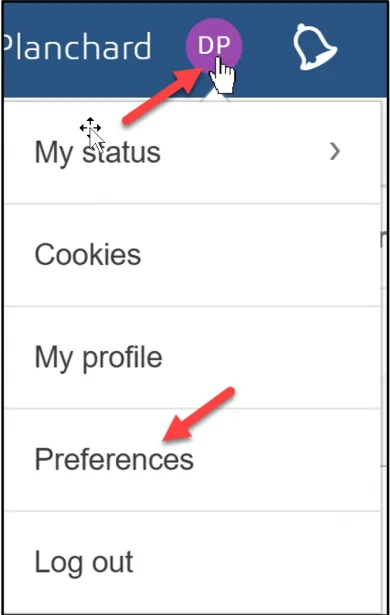
Click your Username initials. Note: You can later modify your initials with a picture.

View your options.
Click Preferences.
The Preferences box is displayed. English is the default language.
Click Mouse Control.
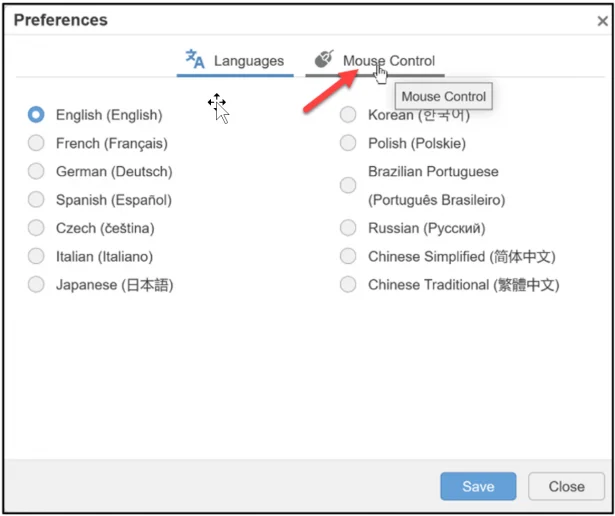
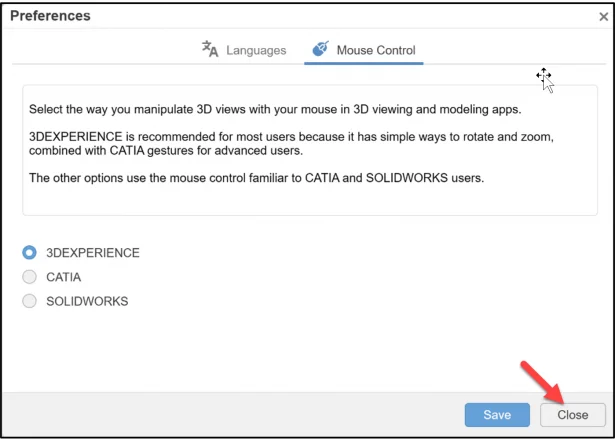
View your options. In the original setup, I selected 3DEXPERIENCE. This area provides the ability to change your Mouse Control setup. The Mouse Control options select the way you manipulate 3D views with your mouse in 3D viewing and modeling apps.
Close the Preferences box. Return to the user profile area.
Click Close to save your option.
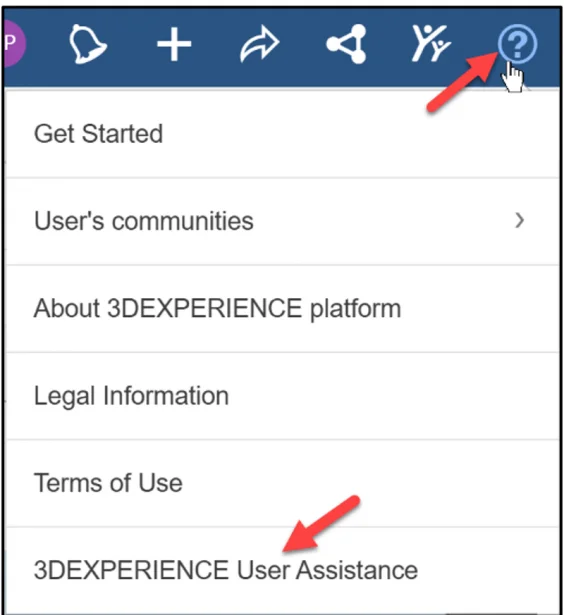
Locate additional help. Use 3DEXPERIENCE User Assistance.
Click the question mark. View your options.
Click 3DEXPERIENCE User Assistance.
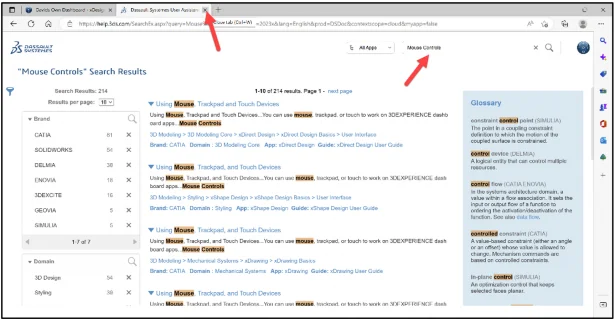
View the Welcome to 3DEXPERIENCE User Assistance window.
Enter Mouse Controls in the Search box. Explore the results.
Close the 3DEXPERIENCE User Assistance window.
Click the User Assistance tab as illustrated.
In this section of the lesson, I will demonstrate how to create a Collaborative space using the 3DSpace app.
The default Location defines the Collaborative space (cloud storage) where your components are saved. This also makes it easy to communicate and share designs with your team members, regardless of location.
When you create a New Component in xDesign, you select the Collaborative space location as illustrated below.
Collaborative space is defined by an administrator (instructor or IT personnel) or the user, if the user (not a student) has access rights.
Create a Collaborative space.
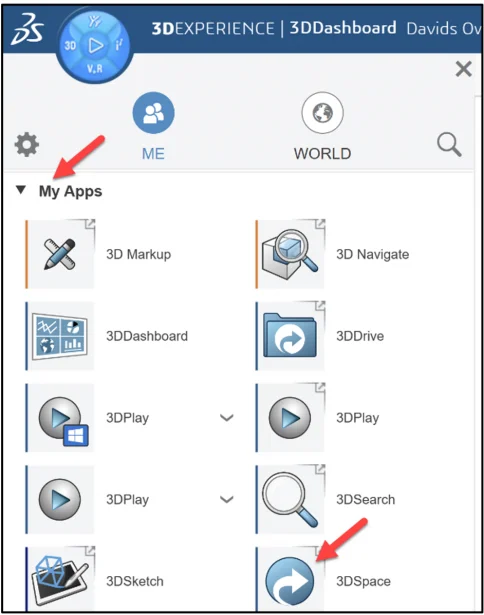
Click 3DSpace from My Apps.
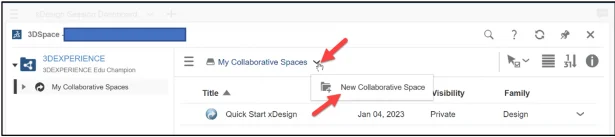
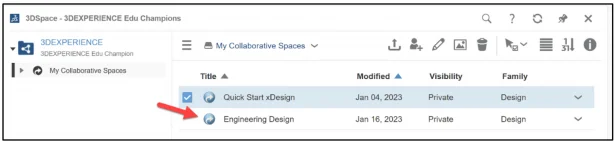
View the 3DSpace dialog box. In this example, I created a Collaborative space called Quick Start xDesign.
Create a Collaborative space if you are an administrator or user with access rights.
Click the drop-down arrow from My Collaborative Spaces.
Click New Collaborative Space.
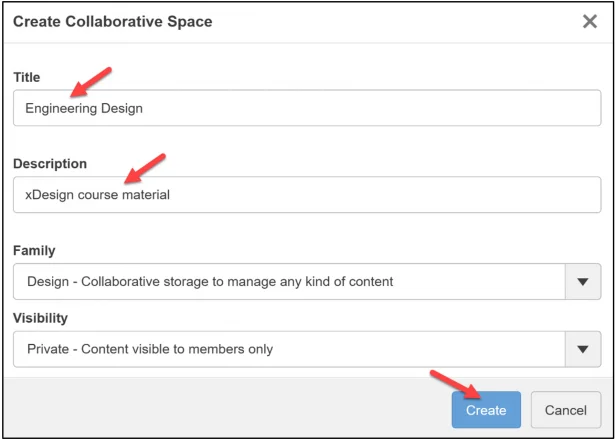
The Create Collaborative Space box is displayed.
Enter the requested information.
Accept the defaults (Family & Visibility) at this time.
Click Create.
View the created Collaborative space, Engineering Design.
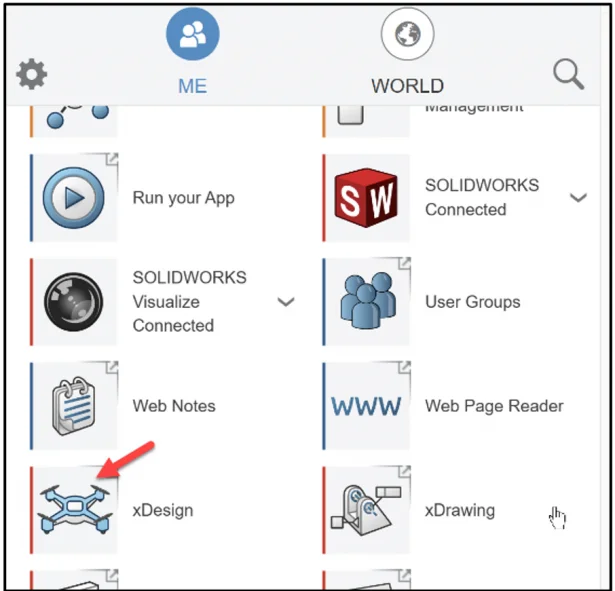
Start xDesign.
Click xDesign from My Apps. The xDesign app creates prismatic parts and assemblies.
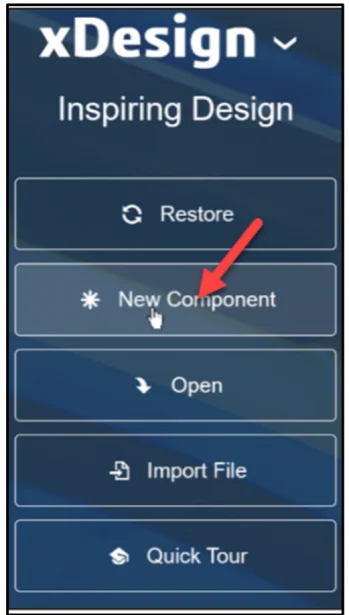
Create a new component. Note: You may see the Restore option if you timed out or your internet connection was interrupted.
Click *New Component.
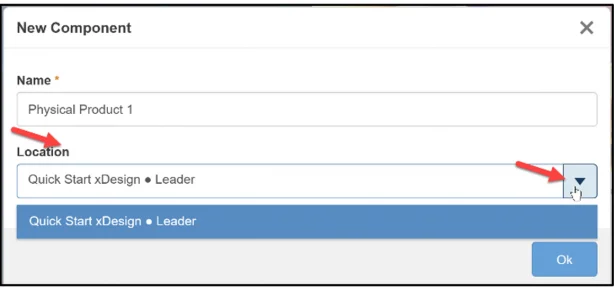
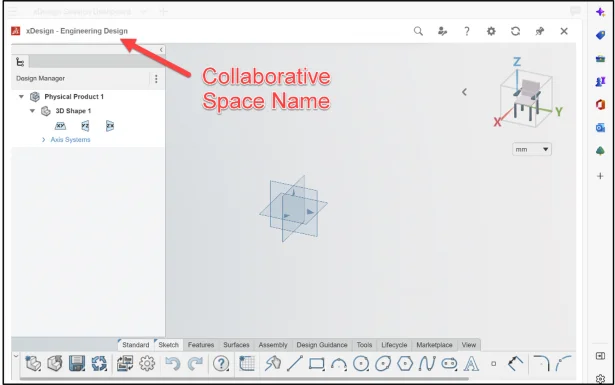
The default Name* of the component is Physical Product 1.
The default Location defines the Collaborative space (cloud storage) where your components are saved. The default location maybe named: Common Space.
Your Collaborative space location will differ depending on administrator (instructor or IT personnel) or the user, if the user (not a student) has access rights setup.
As an example, two Collaborative space locations are displayed in the New Component box: Engineering Design and Quick Start xDesign.
Select and display the new Collaborative space location.
Click OK.
The Collaborative space name is displayed in the Work Area.
Close xDesign.
Click Close from the Action bar.
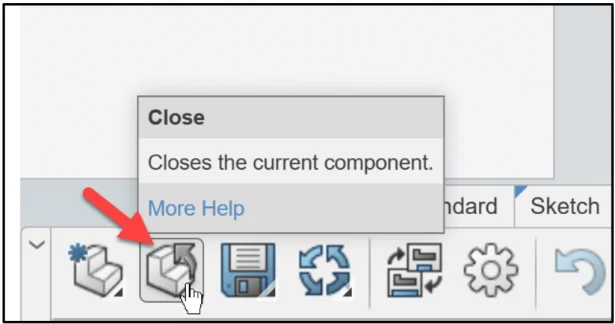
Do not save Physical Product 1.
Click Don’t save.

Academic Community: After you create a 3DEXPERIENCE ID, Educators, can get more information on xDesign and SOLIDWORKS. Request to join the 3DEXPERIENCE Academic Community for free at go.3ds.com/academiccommunity.
Student Community: Students, join the student community for free at go.3ds.com/studentcommunity. Check out great posts on Mechanism Mondays, Heritage Tuesdays, FEA Fridays, and Solid Saturdays (animations).
Stay tuned for David’s next SOLIDWORKS xDesign Lesson #3: Planes.
To review the first lesson, go to SOLIDWORKS xDesign Lesson #1: Getting Started.
Design well, Marie