
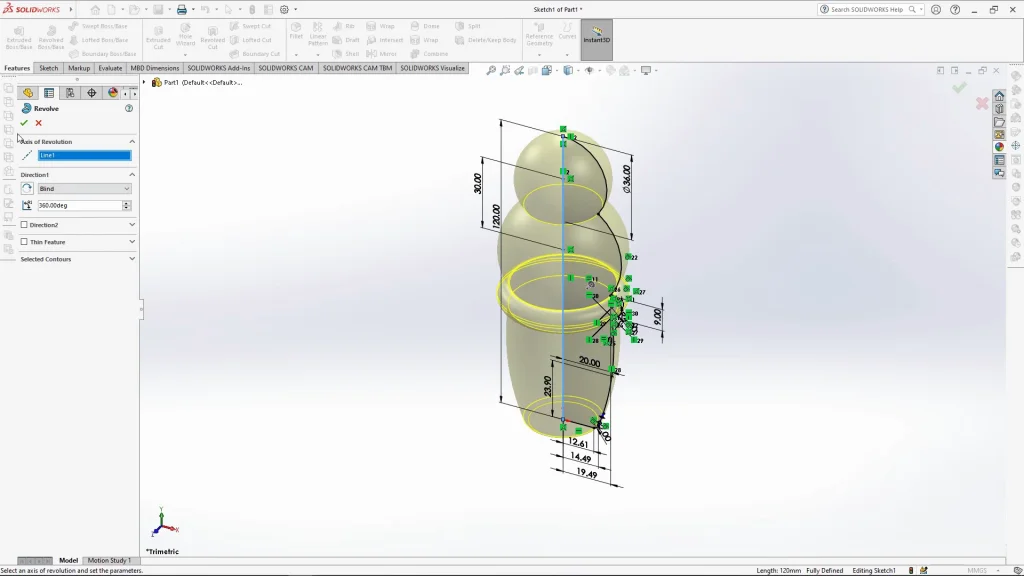
This tutorial involves some simple revolved profiles to form an ice cream shaped bowling skittle and ball. The skittle set is based around a wooden toy set, so the bowling ball is solid rather than the typical bowling ball shape. The bowling alley part seen in the rendering below is available to download here. The bowling alley isn’t necessary if you want to create you’re own flat floor part for the final assembly, it is a simple extruded part with some alley borders to keep the ball on track.
The revolve tool was one of the first tools that I experimented with when I started using SOLIDWORKS, its capabilities are endless, and you can be super creative with it. In this case it was used for both the skittle and the ball. When defining the revolve sketch, I took advantage of the fully define sketch tool, which quickly calculates, adds dimensions and defines your sketch, this can be useful if you’re unsure of how to define a sketch entity, but also if you want to do it quickly.
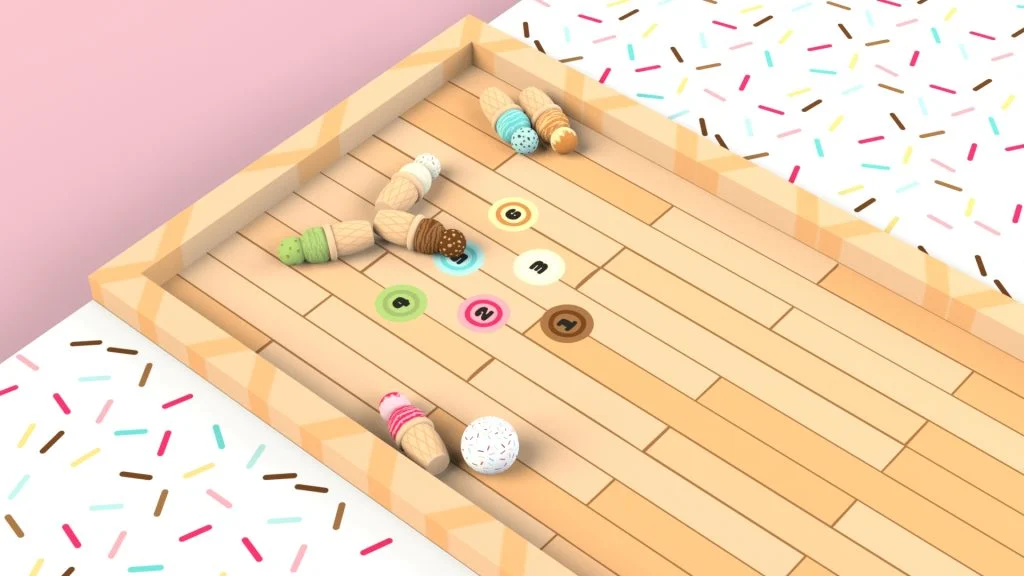
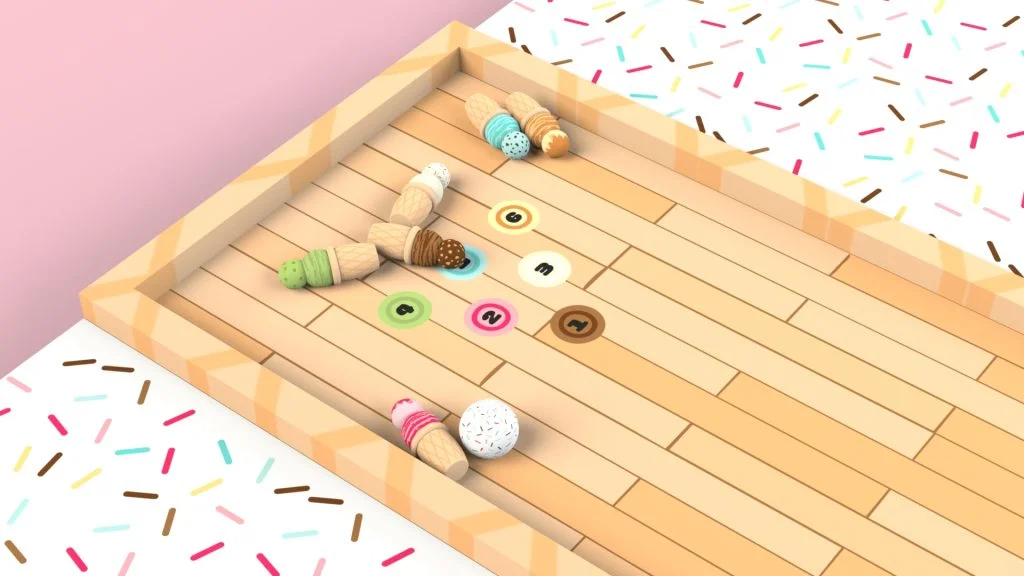
With the skittle revolved, decals were added using the label mapping type. This works well on both spherical and cylindrical faces, although decals may need to be manipulate in size and/or design.
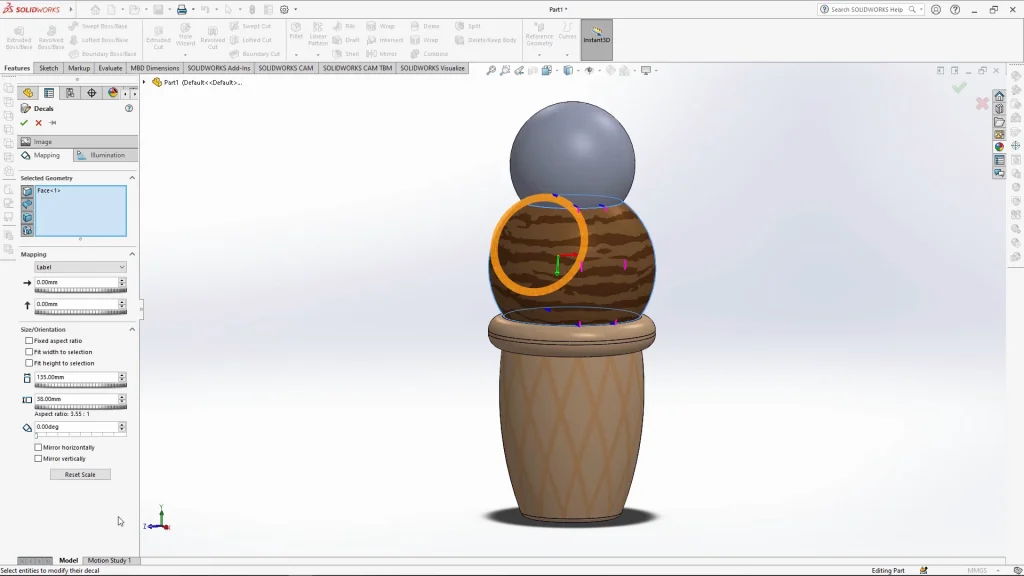
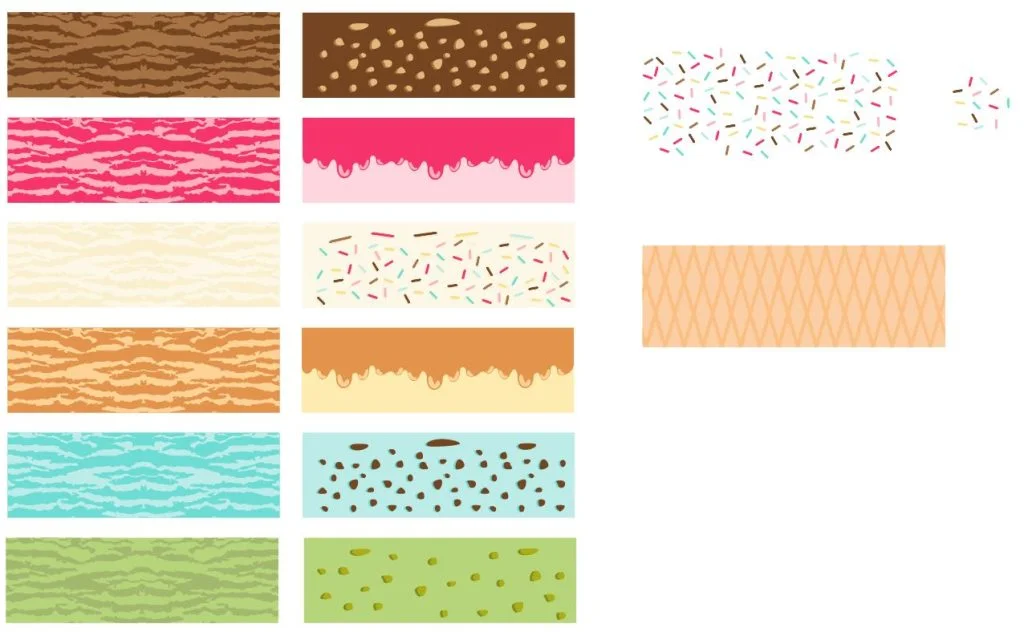
Below is a visual of all the decals used, as you can see, the top ice cream scoop decals that are spherical at the top needed to be edited for the top of the curve, as the artwork is stretched towards the top. The useful thing with SOLIDWORKS is that I can edit and export the decals, and they change in SOLIDWORKS in real time as I do it so, this allows me to how to fix the decals. When designing the decals below, some seen on the left side where mirrored from the middle, so they could overlap as they were applied as a label. Others in the centre the details or patterns didn’t run to the sides so that the color could overlap, and the shapes around the top of the decal that would sit at the top of the sphere were stretched because they become squished around the top of the sphere.
When dealing with more complex designs like the sprinkles on the bowling ball. two decals where used, the first was a label decal which was wrapped around the ball, with spaces around the top of it, the spaces were then filled in with a projected png decal. using a png decal allowed me to mask the white background and only bring in the sprinkles, this meant that I could overlap the projected decal without covering the one underneath. All the decals for this tutorial are available to download here.
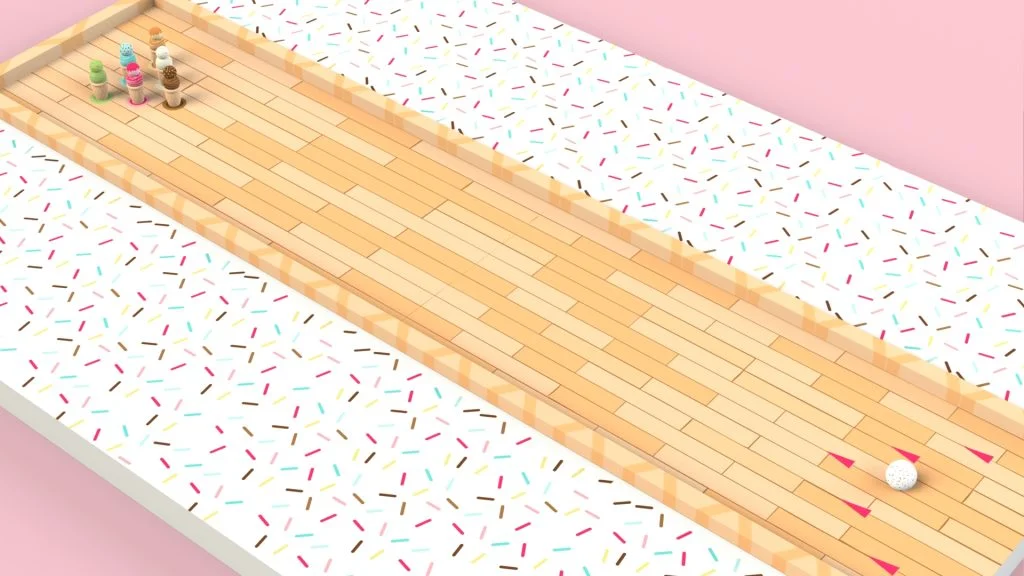
Only one skittle was created, decals were edited for each ice cream skittle colors, and save as was used to save 6 different skittle parts. Finally once all the parts were created, the bowling alley is brought into an assembly. As mentioned in the tutorial you need to ensure that the floor of the motion analysis is fixed. Otherwise the floor will just fall when gravity is added to the analysis. The motion analysis is really simple, but the results are quite fun, especially when you’re aiming for a strike! The skittles are mated to the alley floor coincident but this mate is suppressed for the motion analysis, otherwise the skittles would stay upright and just slide as the ball hits them. Gravity and contacts were added to the analysis, along with a force on the ball in the direction of the alley. Before the analysis is run, ensure that you tick the use precise contacts box, without this, the skittles fall before the ball even touches them.
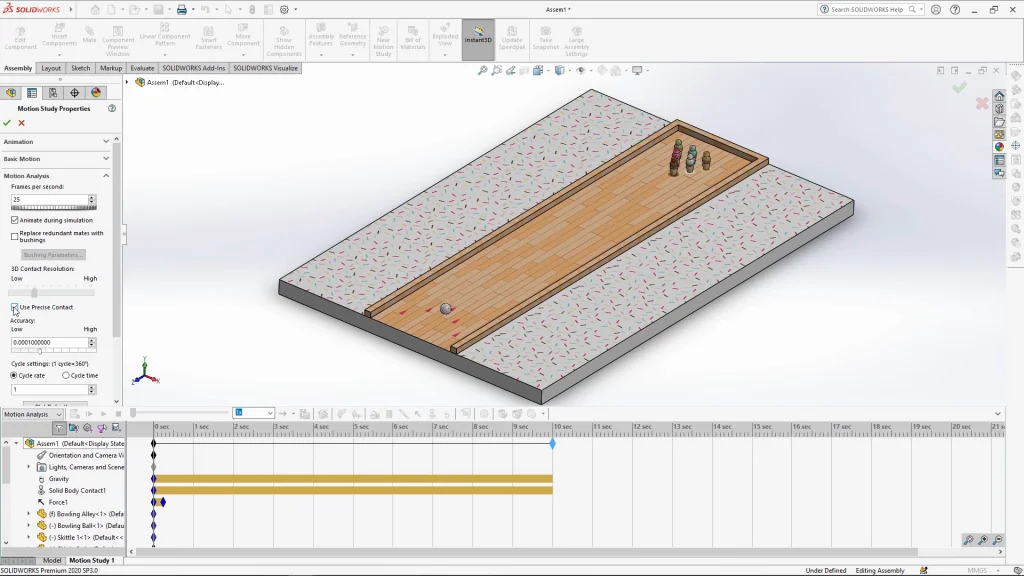
The force applied to the ball was switched off 0.25 seconds after it begins so that the ball eventually stops rolling, otherwise the force would be constant. As you can see from the rendering below, I did get a strike in my analysis. I hope you enjoy this tutorial.