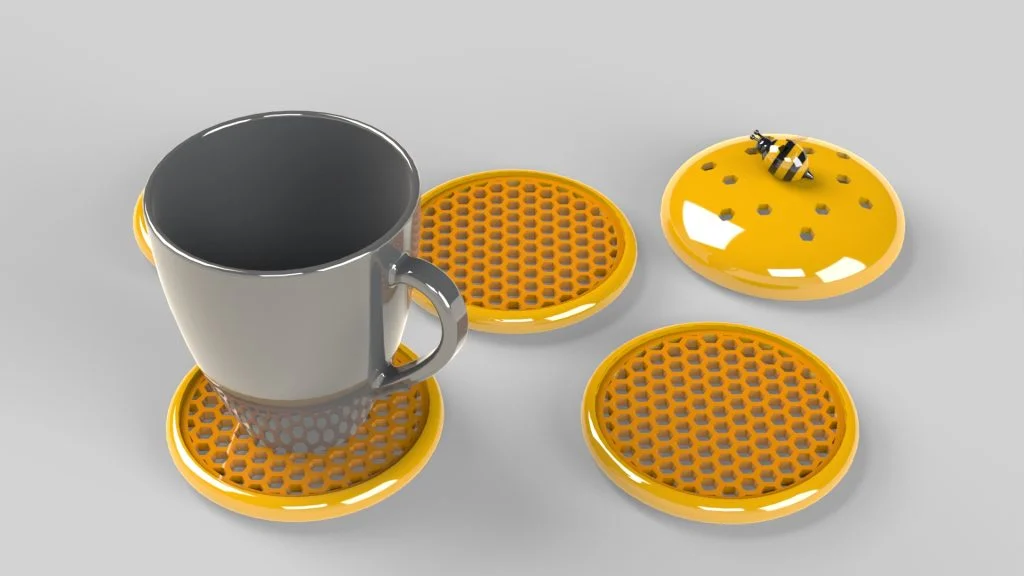

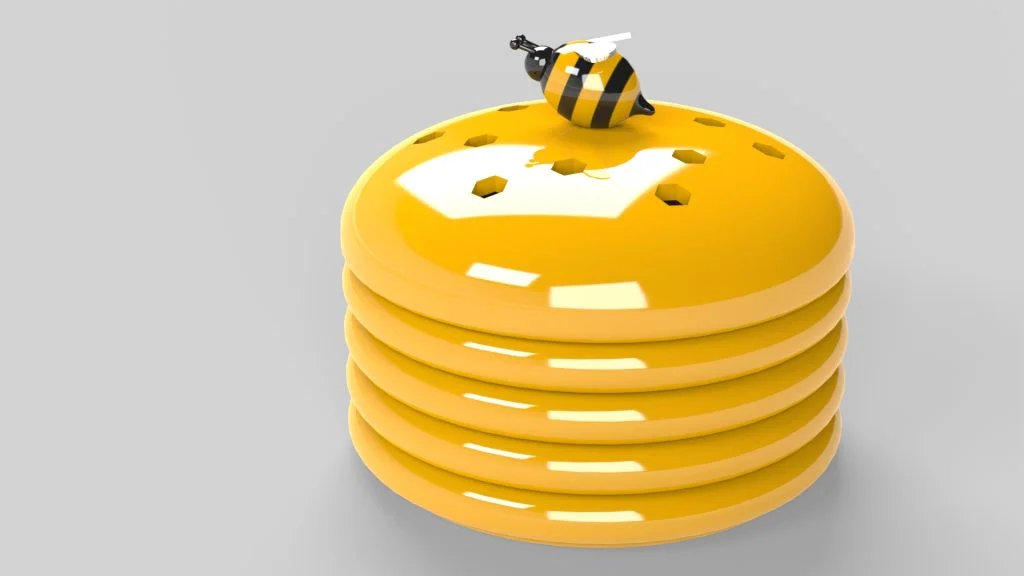
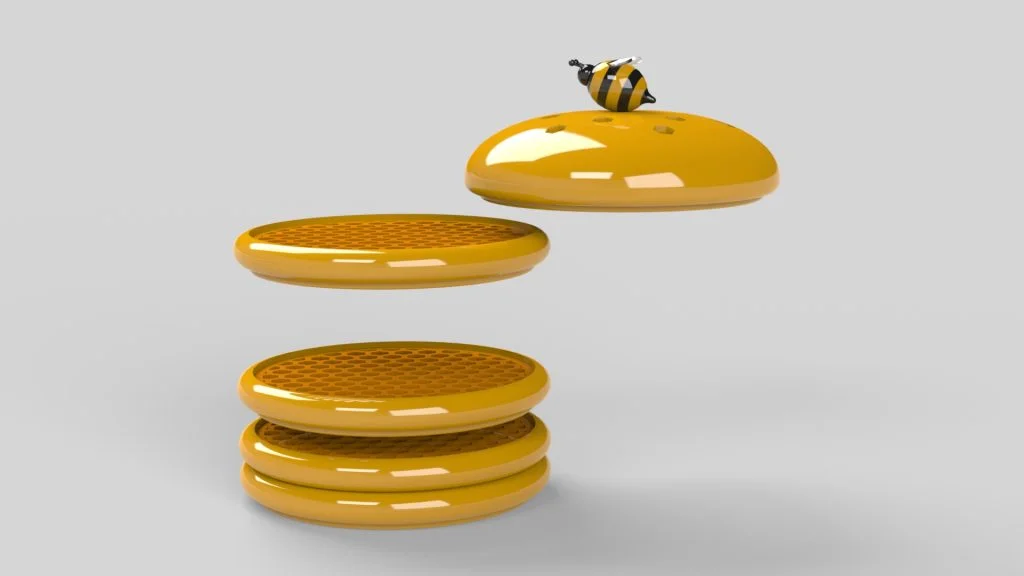
In this tutorial you will be shown a range of simple modelling features to create a honeycomb coaster and a beehive lid with a bee topper. This tutorial uses a wide range of modelling features including, boss and cut extruding, filleting, revolving, shelling, mirror bodies, dome and combine. When the parts are assembled together, 4 coasters are stacked with the lid on top to create a beehive.
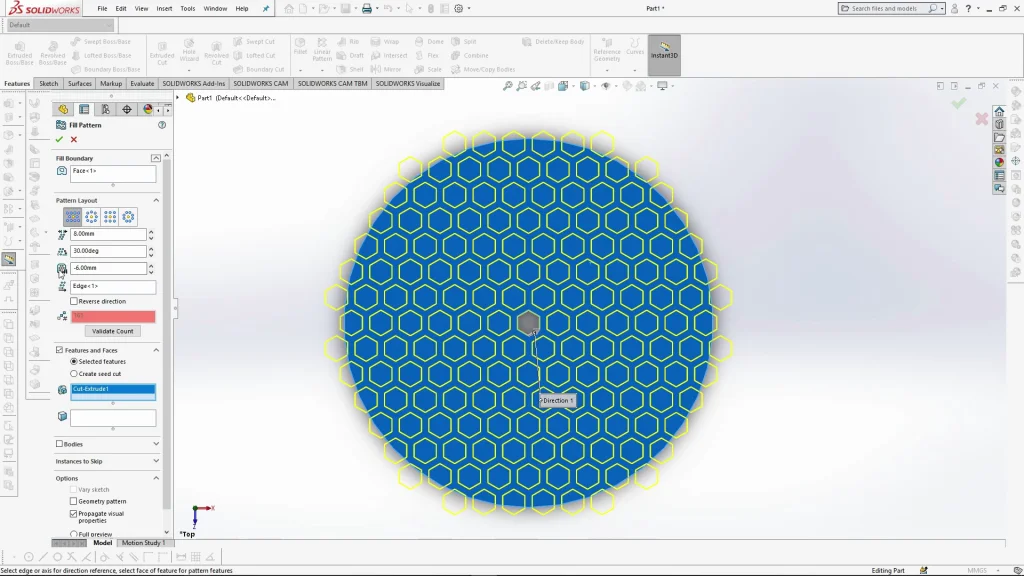
In the first part of this tutorial the coaster is created using boss extrude, cut extrude and fillet. The honeycomb design is created using the fill pattern tool which allows you to create a single feature and repeat/pattern it across a face or within a sketch boundary. In this case, an extrude cut hexagon was fill patterned across the top face of the coaster.
Decals are applied to the coaster using projection mapping to create the color finish. Before the design is rendered SOLIDWORKS Visualize, you can assign appearances to the decals and edit their properties, for this design a plastic appearance was used to achieve the bright, reflective finish. The decals for this tutorial are available to download here.
The next part in the tutorial is the coasters lid, this is created with boss extrude, the curve of the beehive is achieved using the fillet tool, changing the fillet type to asymmetric allows you to play around with the type of curve by changing the dimensions of the curve from the top and side of a fillet. As you can see in the below rendering, an asymmetric fillet generates a non circular profile. The hexagonal cut outs were created using cut extrude and the circular pattern feature.
The bee topper is created in the same part as the lid, but it is kept as a separate body. The profile of the bee is revolved and rotated into place using move/copy bodies. The bee details are modeled with the help of new planes, created with guide sketches. As single wing and antenna are created on one side of the bee and mirrored using mirror bodies, the bee bodies and coaster lid are then combined into a single bodied part. Decals are again applied, and a glass appearance is added to the bee wings.

The finished parts (cup not included) are brought into an assembly and saved. The assembly was used to create an exploded view of the design which was animated in motion analysis and exported to SOLIDWORKS Visualize to produce a rendered animation, the final animation can be seen at the end of the tutorial.