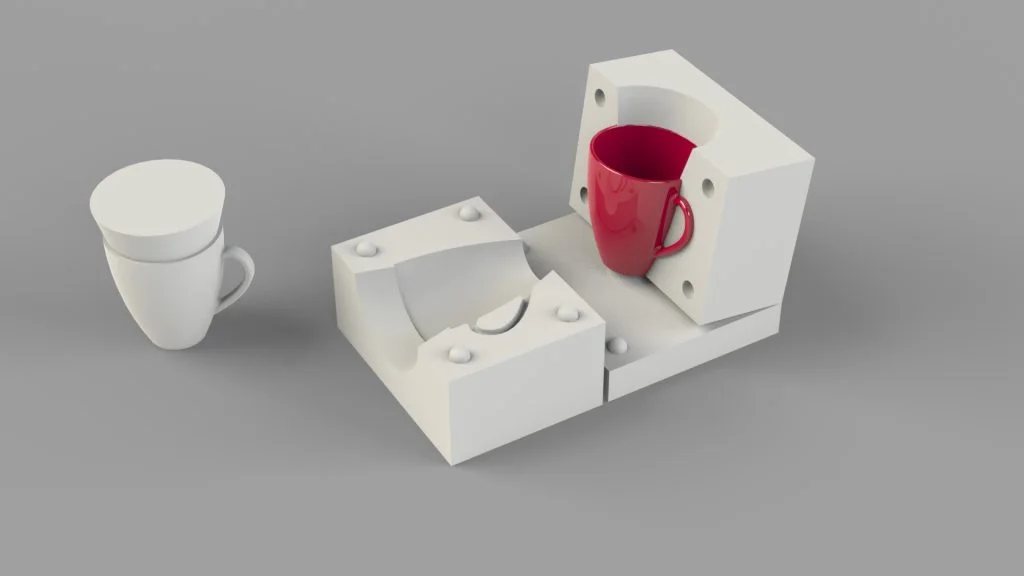

In this SOLIDWORKS Tutorial, we walk through the process of designing a cup for a plaster mold. Plaster molds are used to create either slip cast or press molded ceramics. In this case, the plaster mold is for casting a cup in liquid clay. The tutorial covers creating the cup using a revolved profile, with a swept handle, and adding a spare using a drafted extrude (a spare is added to a model to create an extra recess in a mold to pour in more liquid clay, as a mold casts water in the clay is drawn into the plaster leaving a wall of clay on the plaster mold, as this happen the slip level decreases, without a spare the clay level would drop below the top of the cup and it would cast unevenly).
All the mold parts are created in the one Part document, the bodies of the part are then saved as separate parts, and a final Assembly is created. There is a short animation at the end of the tutorial demonstrating the exploded view of the mold.
The final red ceramic cup, is available to DOWNLOAD HERE!