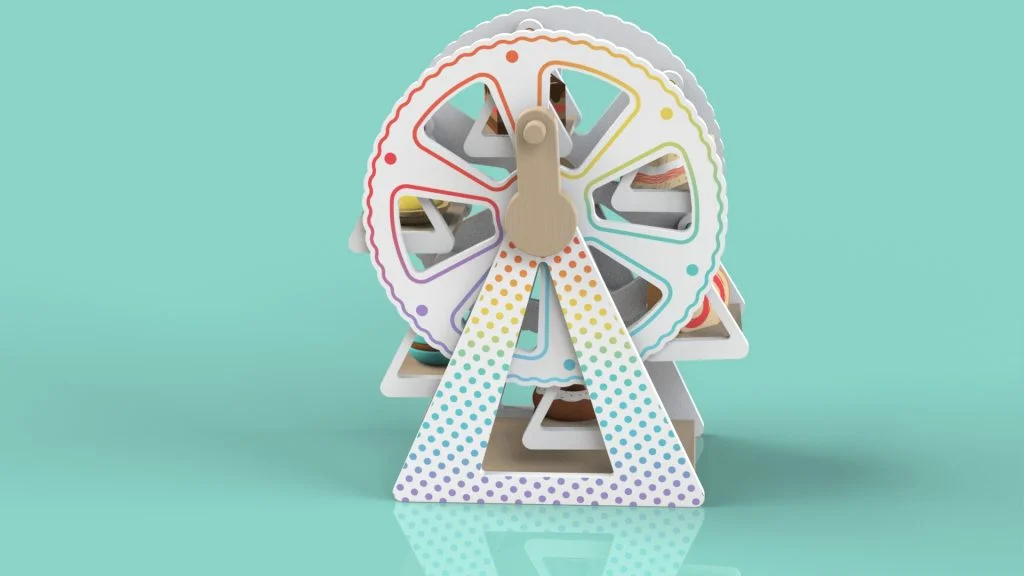

This is a two part SOLIDWORKS tutorial to create an Afternoon Tea Ferris Wheel Toy. In Part 1 of this tutorial you can learn how to draw and create the parts for a moving Ferris Wheel. A range of sketch tools are used in the tutorial including the Circular Sketch Pattern, Offset Entities, Sketch Fillet and the Midpoint Line Sketch Tool.
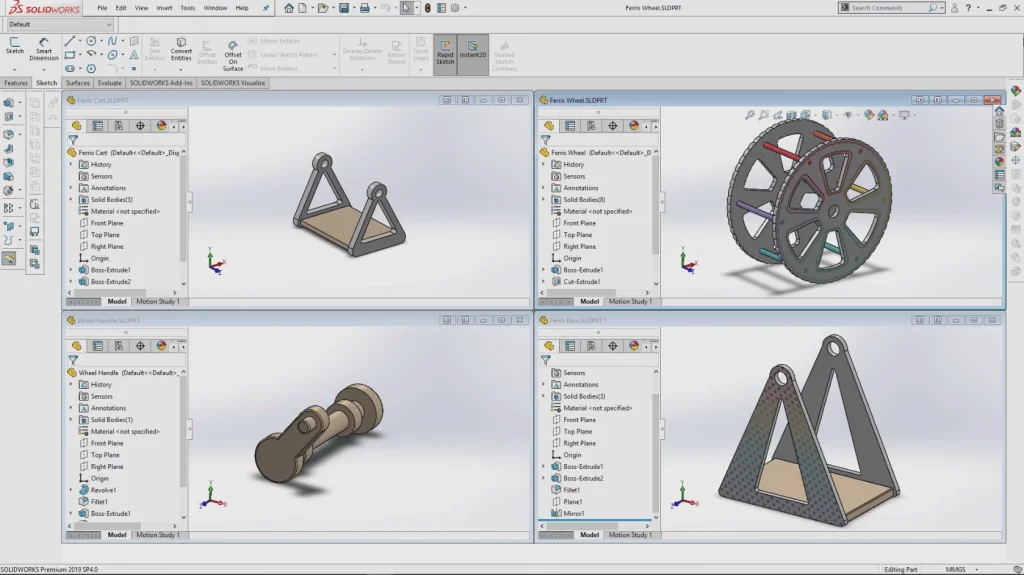
The tutorial involves creating 4 separate pieces of the Ferris Wheel to be used in an assembly in Part two of the tutorial.
In Part two of the tutorial all the parts will come together in an assembly, including the food accessories. Using the finished assembly a motion analysis will be created using motors, contacts and gravity. The analysis can then be exported to SOLIDWORKS Visualize to become a rendered animation which is featured at the end of the tutorial.
The decals and accessory parts for the design are available to download here.