

This is a SOLIDWORKS tutorial to create a Magnetic Penguin Puzzle. This tutorial focuses on the use of the Split Tool. A DXF of the outer Penguin shape is imported into SOLIDWORKS and Extruded. The Split Tool is then used to separate the single bodied part into multiple bodies. The Split Tool was used in 3 stages to create 22 bodies from the single body. The bodies are saved as individual parts and edited separately using the fillet tool to soften the edges of the puzzle blocks but also to add the appearances and the decals to the Penguin face blocks. All the Penguin Parts are then mated together in an Assembly to create the finished puzzle.

With the finished Assembly of the Penguin Puzzle a simple Motion Analysis is created using Gravity and Contacts. A floor part was also added to the Assembly to stop the parts falling through the Environment floor, but also to add the water appearance to. The motion analysis is used to create a short animation.The animation is exported to SOLIDWORKS Visualize to be rendered.
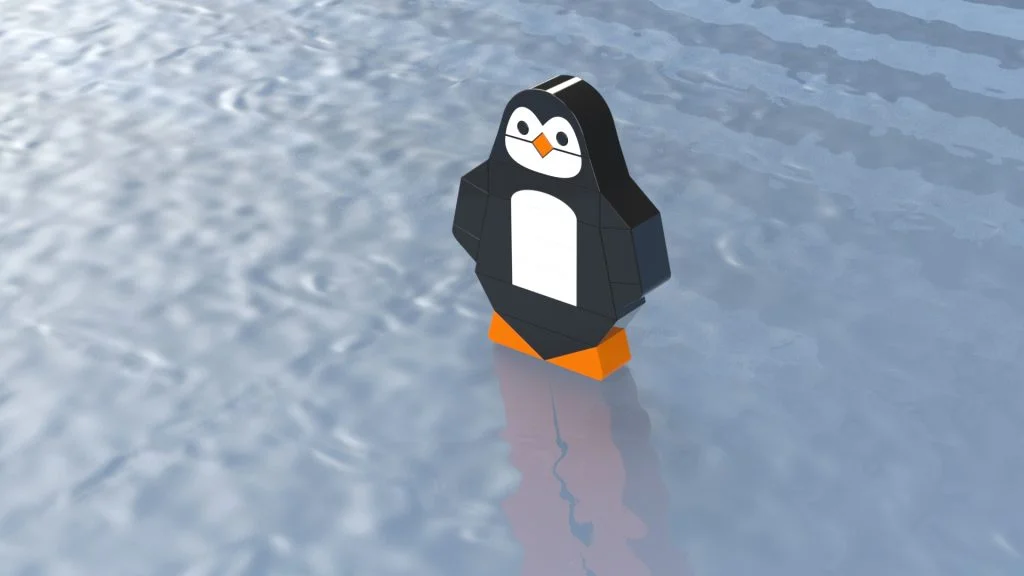
The final animation was edited to play backwards to demonstrate how all the puzzle parts of the penguin go together.

The decals and DXF file for the design are available to download here!