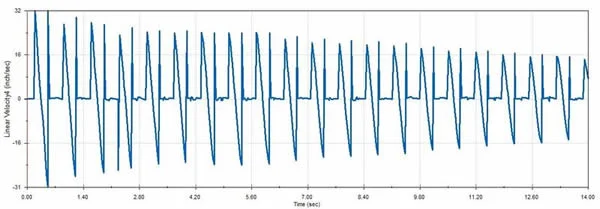
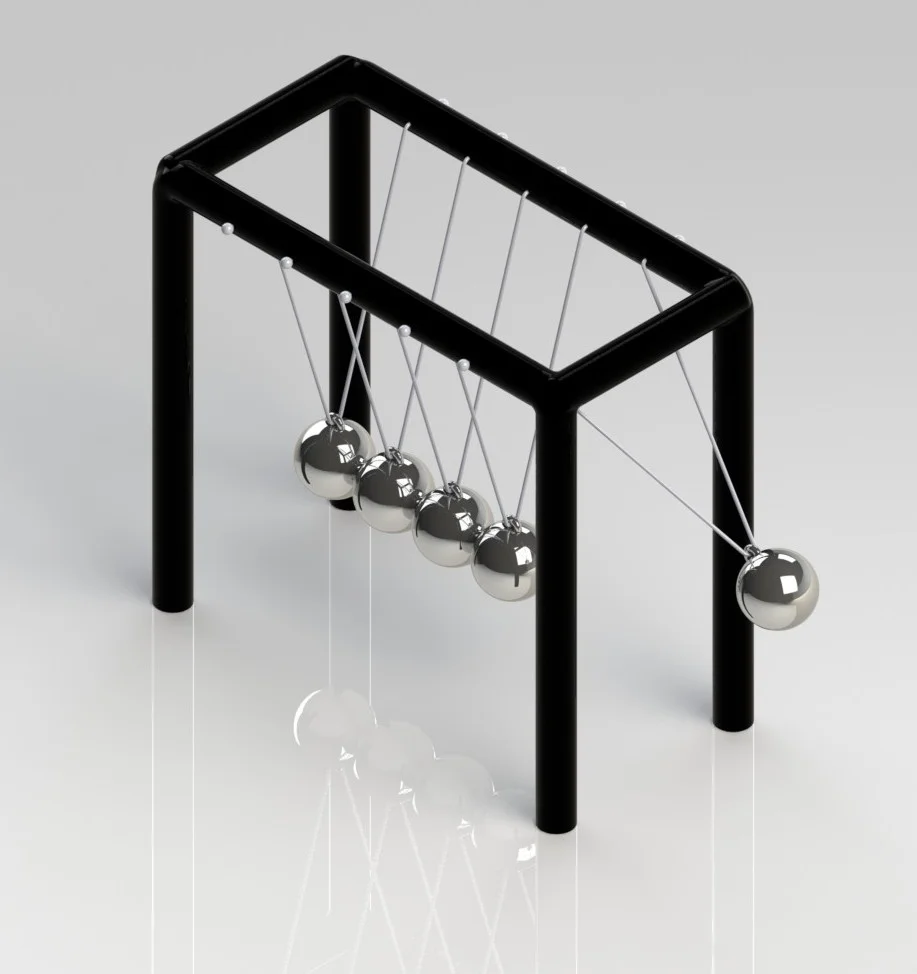
For this post I made a Newton’s Cradle. It was a fairly easy build. The frame was just a couple sweep features. The spheres were made using the revolve feature and then another sweep feature was utilized to create the arc that the string goes though. The string was created using another sweep feature and then little spheres were created on the ends to simulate knots. The main reason for making this was for the motion analysis that was applied to it after it was built. In order to do the motion analysis, the SolidWorks Motion add-in needed to be activated. Next the motion study tab was selected at the bottom of the window. Gravity was added in to the study in the negative y-direction. The next part was challenging at first. This was trying to figure out how to get the spheres to simulate as if they were solid, thus not allowing them to pass through each other. The contact feature was used to solve this problem. A solid body contact was created for each pair of neighboring spheres. For simplicity, I deselected the material and friction options under each contact pair. I also set the restitution coefficient to 1. Once I had all 4 contact pairs set up I was almost ready to begin. Before I could run the study I needed to move one of the end spheres to a position other than where it would be at rest. At this point I ran the study and achieved the results seen in the video above. After running the study, you are able to generate plots of velocities, displacements, and other such quantities using the results obtained. Shown below is the x-component of the velocity of two of spheres which are in contact with each other. Take note that the velocity decreases as time increases which is what to be expected if you were to use a Newton’s cradle in real life. I hope you enjoy.

Ian Jutras
Worcester Polytechnic Institute
Mechanical Engineering 2013
